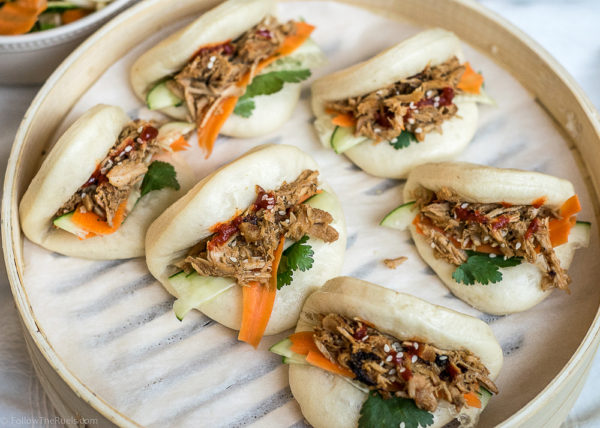
If you have ever been to a Chinese or Korean restaurant you may have come across these wonderfully light, pillow-y steamed buns. Sometimes they are filled with a delicious meat and sometimes they are served on the side for you to fill yourself, like a tortilla.
My husband is obsessed with these little steamed buns. Is there some special ingredient that makes them extra yummy? Nope. It’s pretty much like any bread recipe. The difference is how its cooked – with steam (obviously). It just changes the entire consistency of the roll. It’s not dry and flaky like a piece of bread. It’s soft, almost like a marshmallow, and the yeast flavor is much more mellow than bread. It is the perfect vehicle for pulled pork, pork belly, or any other flavorful piece of meat. Think of it like the Chinese pita.
Actually, making the steamed bun dough was very similar to making pita bread, pizza dough, or any other yeast dough. It was just the cooking part that was a little different.
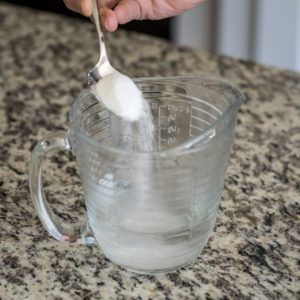
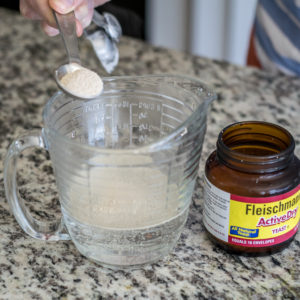
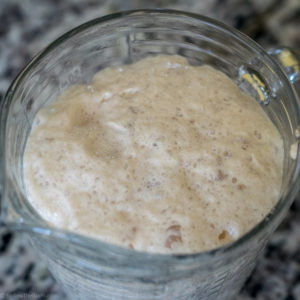
It starts by blooming the yeast in warm sugar water. Since most of the recipes that I found recommended stirring the yeast into the water, that’s what I did. Normally I just sprinkle it on top, but look at how foamy that yeast got! I will probably start stirring in the yeast from now on anytime I make pizza dough.
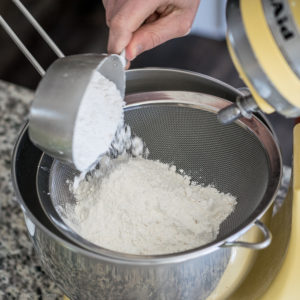
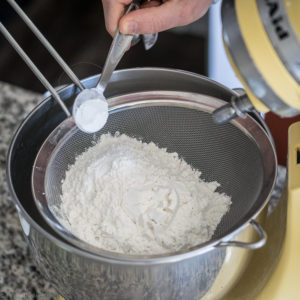
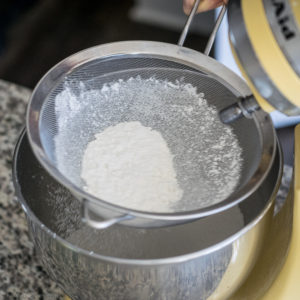
While the yeast was blooming, I sifted together the flour, salt, and baking powder. Again, this is normally a step that I don’t do when I make just about any dough. But the steamed buns are supposed to be soft and smooth, so I definitely didn’t want any lumps in there.
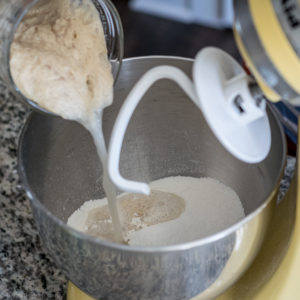
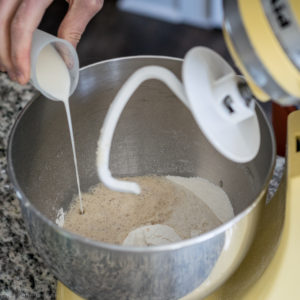
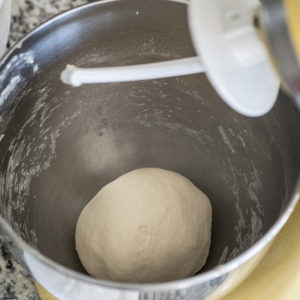
Next, I poured in the yeast water and a bit of milk and then mixed together the dough until it formed a ball and didn’t stick to the sides. Once it got to that point, I kept the mixer going with the bread hook, kneading the dough for about 5 or so minutes. Kneading the dough activates the gluten which is what makes it so flexible. I know that the dough is ready when I stretch it and the dough doesn’t tear. (This should sound very familiar to my pizza dough making post from last week).
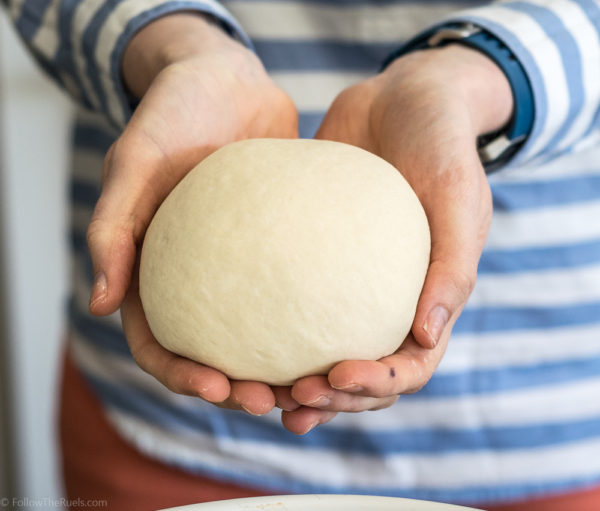
See how perfect and smooth that dough ball is? That’s what I was looking for.
Next, I let the dough rice in a oiled bowl until it about doubled in size.
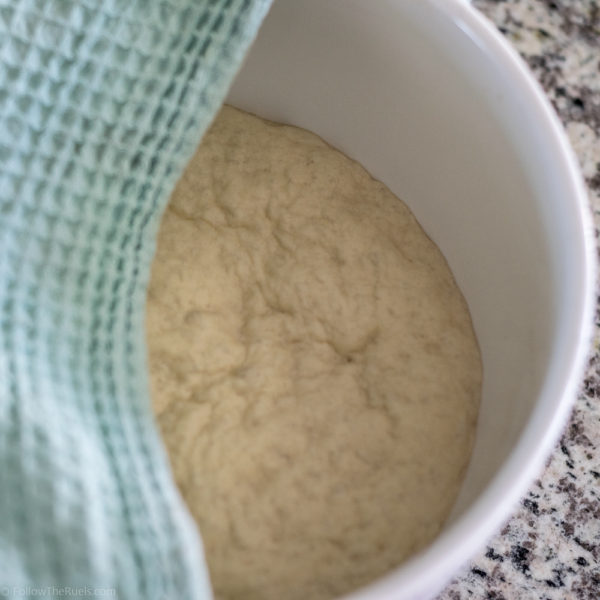
It took about 2 to 3 hours for it to get to this point. But you can proof it a bit quicker in a slightly warm oven if you are short on time. (Read how I proof pizza dough quickly here).
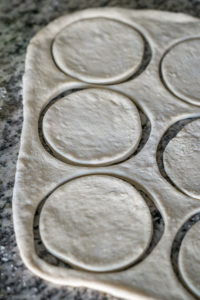
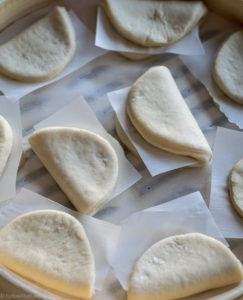
Now here is where the process of making steamed buns starts to depart from making pizza or pita dough. To get that taco like shape, first I rolled out the dough pretty thin, about 1/4 inch, and cut it into circles. I sprayed them with a bit of oil and then folded them in half. I placed a piece of parchment paper in between to ensure that the sides wouldn’t stick together, then I transferred them to the steaming basket.
I guess I should mention that making these does require an investment in a steaming basket if you don’t already have one. There may be a way to make these without one, but you will have to Google that on your own. I purchased mine from Amazon for about $25. Since my husband loves these things, I knew I would get some use out of it, so it was worth it.
I left the folds of dough alone for about 15 minutes or so while I got the pot of water boiling. This also allowed the dough to rise and puff up a bit more before steaming.
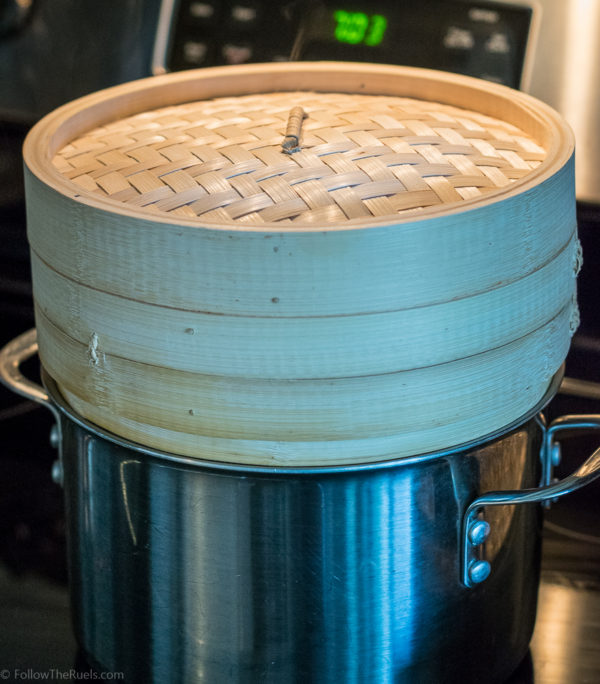
To steam them, I only did one layer at a time. Since I had never tried this before, I wasn’t sure how the steam would penetrate all the way through both layers of the basket. Also, it allowed me a practice round on the first batch. I am soooo glad I did that because the first batch didn’t turn out quite right. If you follow me on Snapchat (followtheruels), then you saw that they were a bit deflated in the center. I think it was because the steam was a bit intense and I may have cooked them a bit too long.
For the second batch, I turned down the heat on the pot, which in turn reduced some of the steam. And I only cooked the second batch for maybe 4 minutes and 30 seconds (most recipes say 5 to 7 minutes). I kept a watchful eye on them and took them off as soon and they looked puffy and the dough no longer looked sticky.
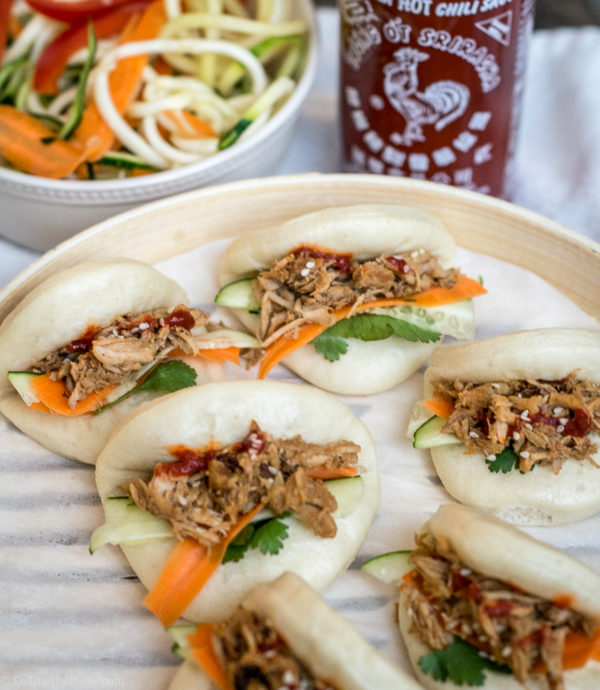
The second batch was perfect! They where nice and puffy and perfectly cooked in the middle. Exactly what we were looking for!
It might be nice to tell you what we filled these bad boys with, wouldn’t it. Here is what I did to make the pulled pork:
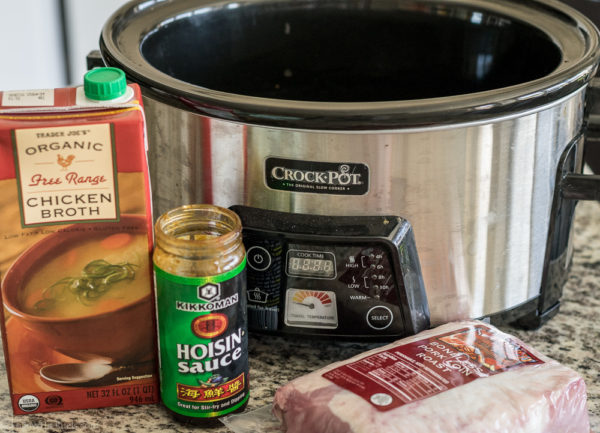
I put the pork, hoisin sauce, and chicken broth in a slow cooker and cooked until the pork was falling apart. Once it was cooked, I shredded it and seared it off in a pan with some of the braising liquid, soy sauce, and Sriracha.
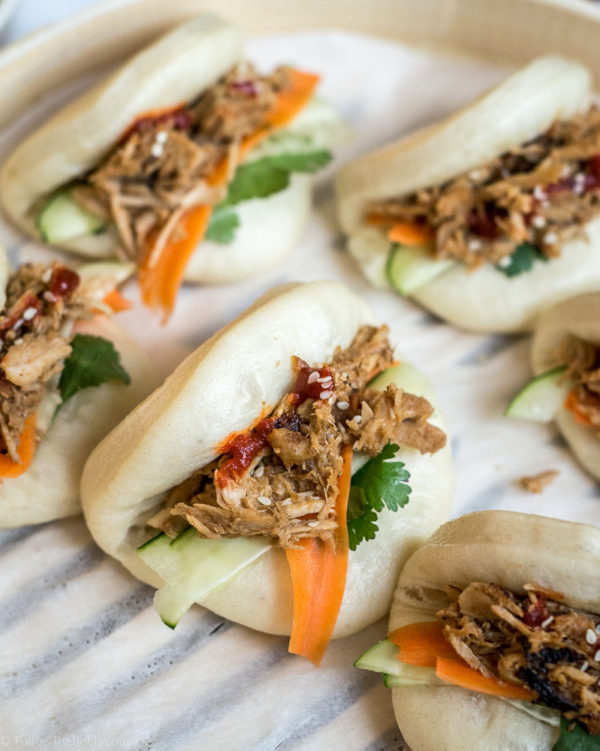
For some extra garnish and crunch, I sliced a carrot and cucumber with a vegetable peeler to get nice thin strips. I put the vegetables in the bun, spooned in the pork, and topped it with a bit more Sriracha. Now it’s like a little Chinese pork taco.
But these are so much better than a pork taco, in my opinion. As I was taking these pictures, my husband gobbled up all the left over steamed buns and pork waiting for me to finish. He couldn’t get enough! I will almost certainly be making these steamed buns again and maybe filling them with pork belly next time for an extra special treat!
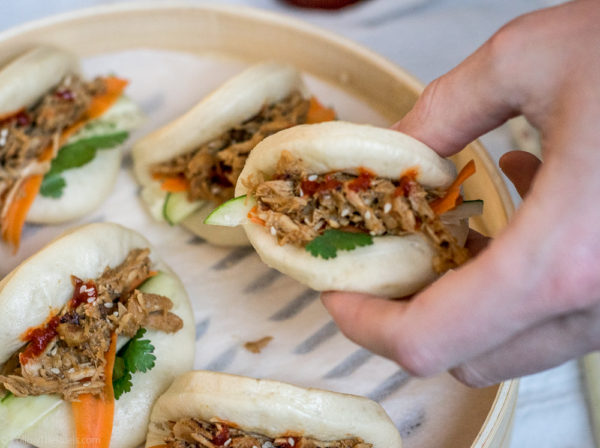
I hope you give this recipe a try. I know making steamed buns seems daunting, it definitely was for me when I decided I should try to make these at home. I did a ton of research and watched videos (see: here, here, and here) to get the technique and recipe just right. Hopefully I have shown you that it is possible to make your own steamed buns at home!
[amd-yrecipe-recipe:23]
what flour did you use for the buns
All purpose flour
I LOVE steamed buns. The closest place that we can get these from is about 2 hours away, so every time we go, I buy at least a dozen to eat throughout the week. Unfortunately, they never make it past the third day haha! I have been dying to make some at home. I’m so excited I came across your recipe! I have the pork in the slow cooker right now, except I didn’t have fresh ginger on hand, so I added dried ginger along with a little lemongrass to brighten it up. Your broth recipe tastes soooooo good and authentic! I have a bag of bao mix that I was going to use for these, but I might try your recipe instead since I’m feeling adventurous. Question: I see you used regular AP flour; have you made these with rice flour yet, and if so, have you noticed much of a difference in the finished product? I can’t wait to see how these turn out! Thanks!
Hey Cassandra! I am so happy to hear you like this recipe! I love steamed buns, too, so I was so happy to finally figure out how to make them at home. I am not sure how they would work with rice flour since it has a much different texture. Also since it’s gluten free, it probably wouldn’t rise and puff up like you want. But if you try it out, let me know how it works!
Hey Lindsey,
Thank you for sharing this recipe, they looked so good that I had to try and make them myself! I don’t have a mixer so I did it by hand. The buns were very tasty and soft but they did not puff up like they have in your photos. The dough was very sticky and quite hard to work with. Do you know what I could be doing wrong?
My partner and I are a part of a dinner club that we try to host once a month, it’s our turn this Friday and I am determined to make these steamed buns as a main to go with my Pan Asian theme dinner. Any advice you could give me would be great.
Thanks Again!
If the dough was too sticky, I recommend adding a bit more flour, about a tbsp at a time until its slightly tacky but doesnt stick all over your hands or cutting board. That may also help with the puffing. Although I have noticed that if the steam is too hot, they just wither instead of puff. Next time test out a couple before hand to make sure your level of steam is just right. For me that means having a gentle boil under the steam basket. Hope this helps!
I’m going to make these for Chinese New Year party I am hosting here in Singapore on Saturday. Can you tell me, how far in advance can I make these?
Gah! I feel horrible for just now replying to this comment considering it IS the Chinese New Year. You can make all of this the day of. The buns just need some time to proof, and I cooked the pork in a slow cooker. So if you start in the morning, you should be good to go. The buns can be made ahead of time if you want to make those early.
I’m very excited to give this recipe a try. Could I freeze excess buns (or the dough)?
Yes! You can do both!
I made these and they were so light and fluffy. I didn’t have a big mixer with paddle attachment. I used a hand mixer with the dough mixers. The dough turned out beautifully. What a fantastic recipe. You can add any ingredients you wish. Let your imagination run wild.
Thanks Amanda!! So glad you enjoyed them! These are definitely one of my favorites. And you’re so right, you can fill them with just about anything!
How is the best way to keep the buns warm?
The buns don’t need to be kept warm to be optimal. If I have to save them for a few hours or overnight, I keep them in an airtight bag. They can be “refreshed” with a quick steam if you would like them to be warm.