• Home
  • Eat
    • Breakfast
    • Appetizers
    • Main Dishes
      • Chicken
      • Beef
      • Seafood
      • Healthy Dishes
      • Paleo Dishes
      • Salads
    • Desserts
      • Decorated Cookies
      • Cookies
      • Bars and Brownies
      • Cakes and Cupcakes
  • Shop
    • Cookie Decorating Supplies
    • Bakeware
    • Cookware
    • Kitchen Gadgets
    • House
  • About
    • Contact
    • Bucket List
  • Cookie Decorating 101

Follow the Ruels

Fondant Flower Stem Cookies

August 20, 2018

There are lots of things that inspire me and my cookie decorations, but I tend to find lots of inspiration from cake decorators! They are just so talented and are working with a very similar medium (and limitations), which make adapting certain cake designs to cookies pretty easy.

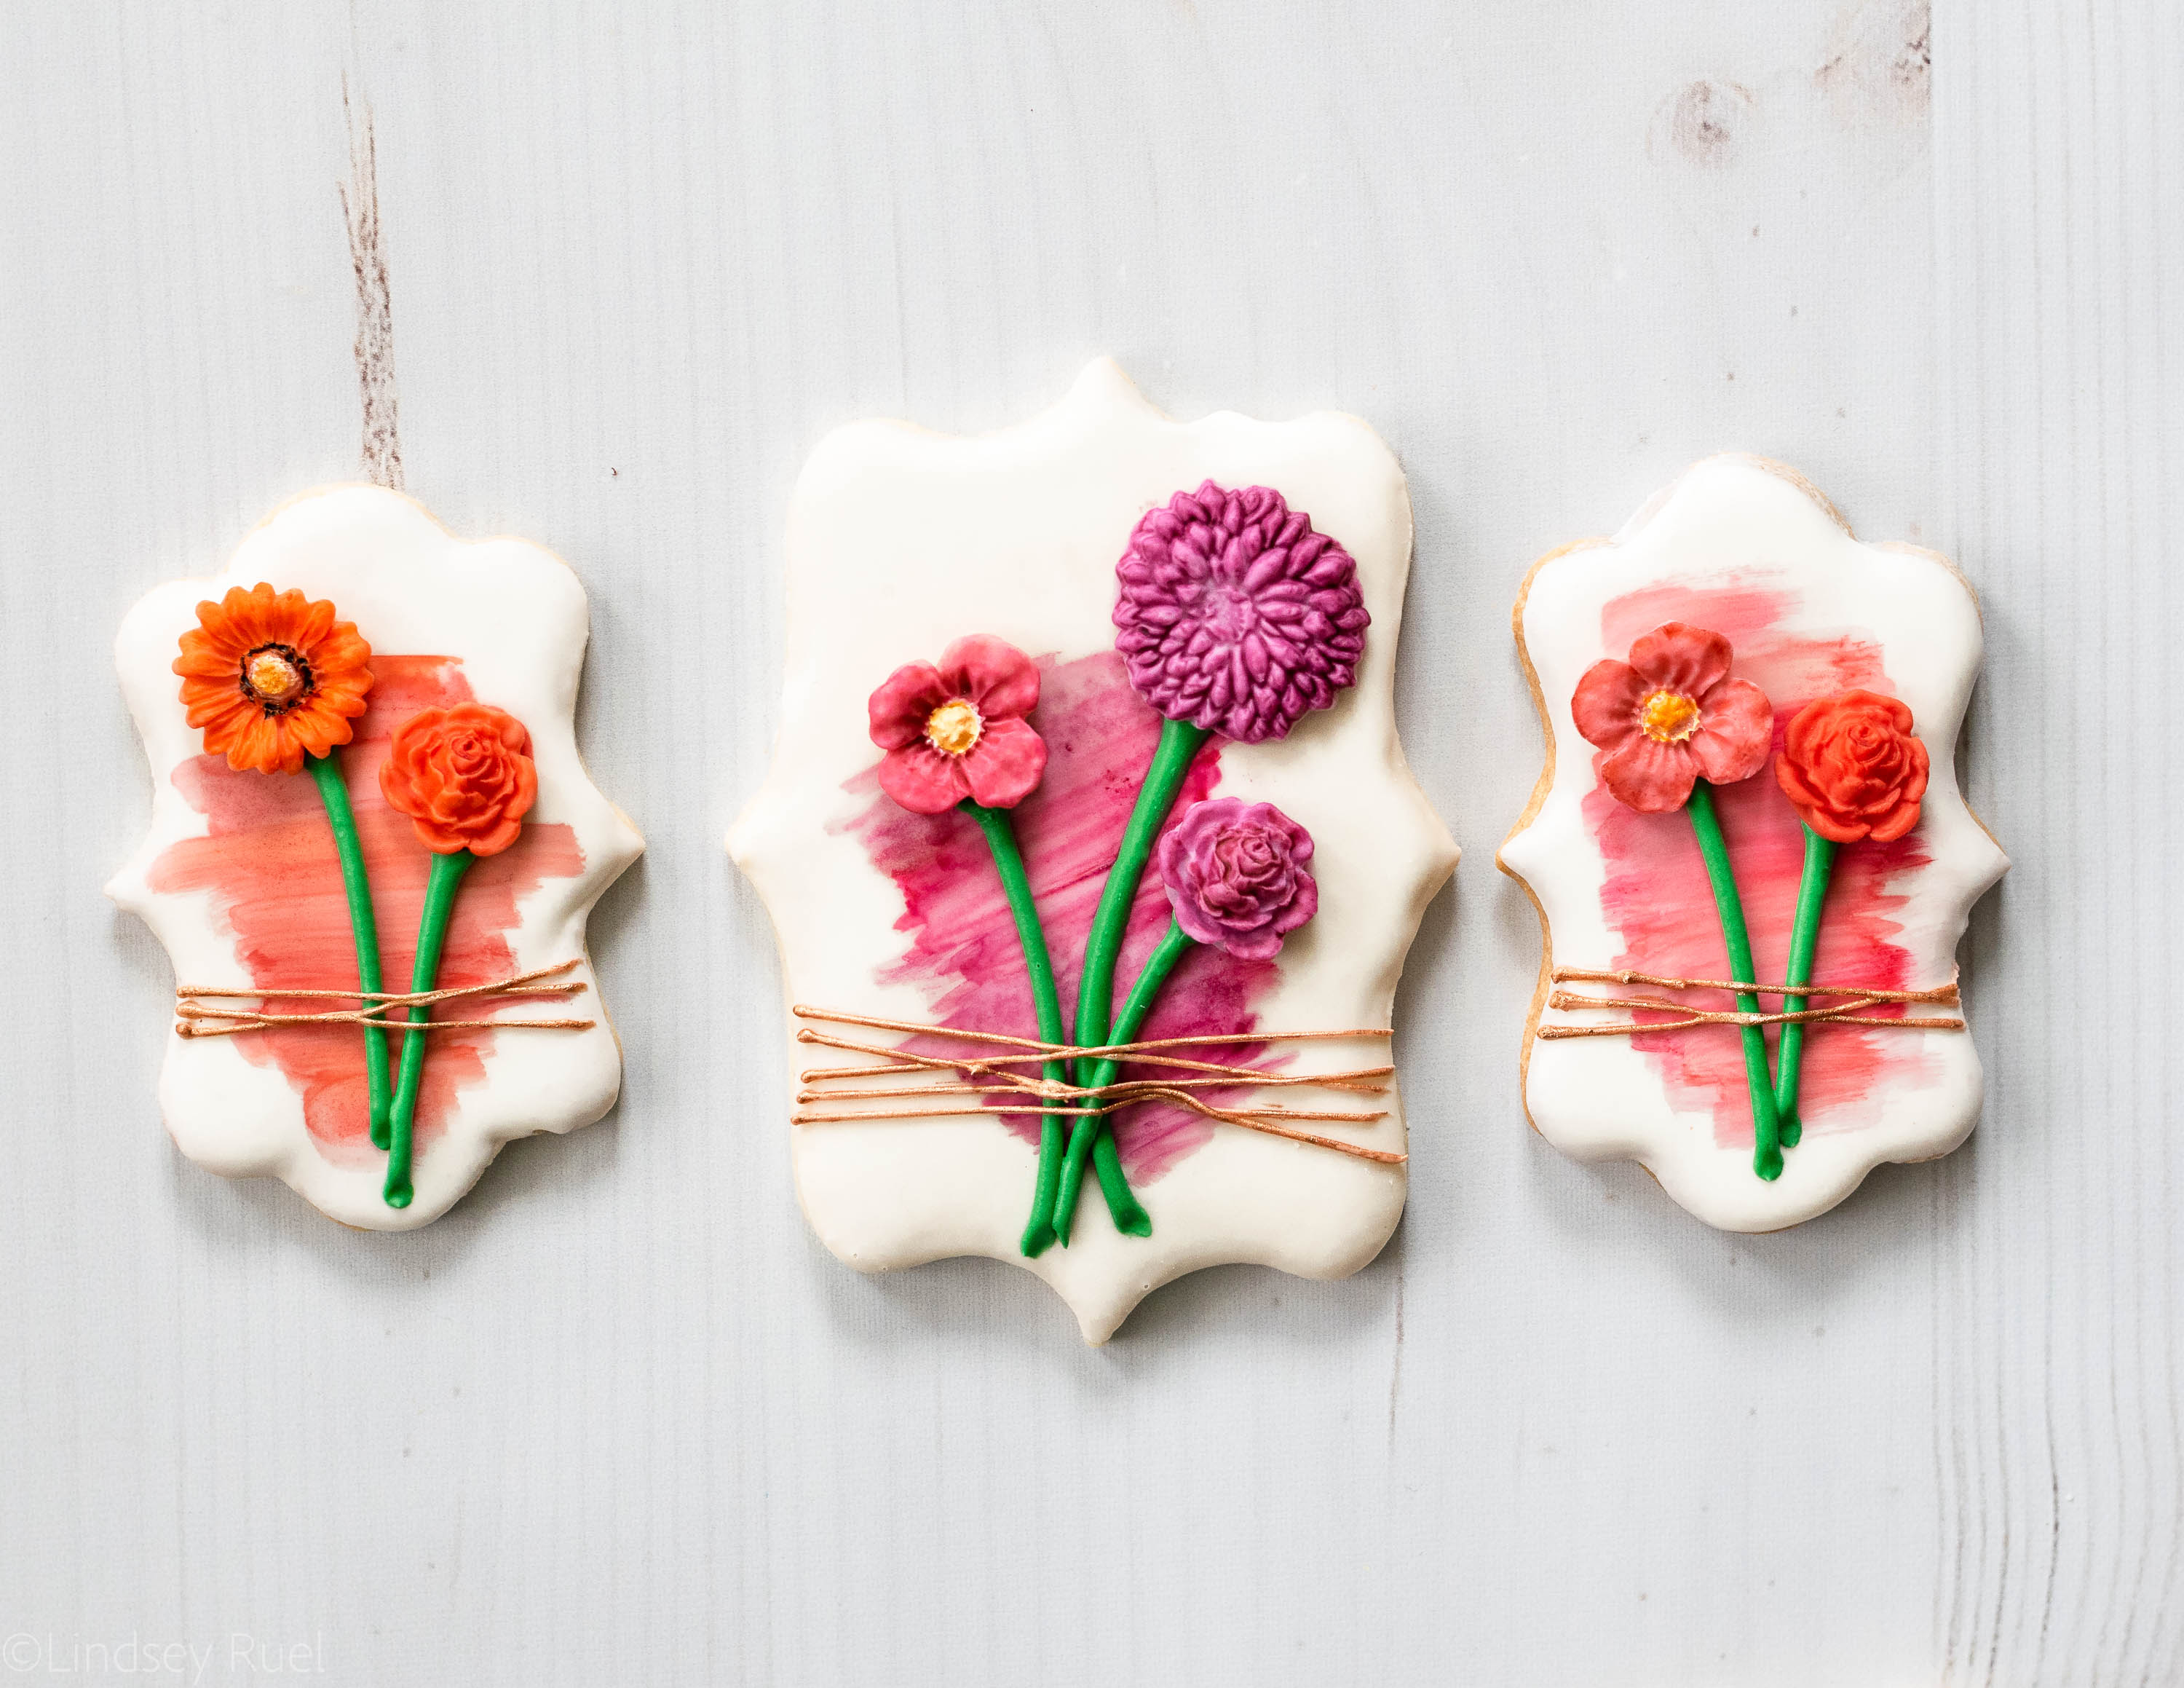
These particular cookies were inspired by a cake an Australian cake designer who goes by @donttellcharles. His cake was very simple. A little bit of a painted effect topped with two beautiful ranunculuses, tied to the cake with a bit of twine. I mean, it’s just gorgeous! 

Which is why I had to make something similar in cookie form. And while they aren’t quite the same – they don’t have fresh flowers on them – I did try to recreate the flowers using clay and fondant molds. 

Tools and Recipes
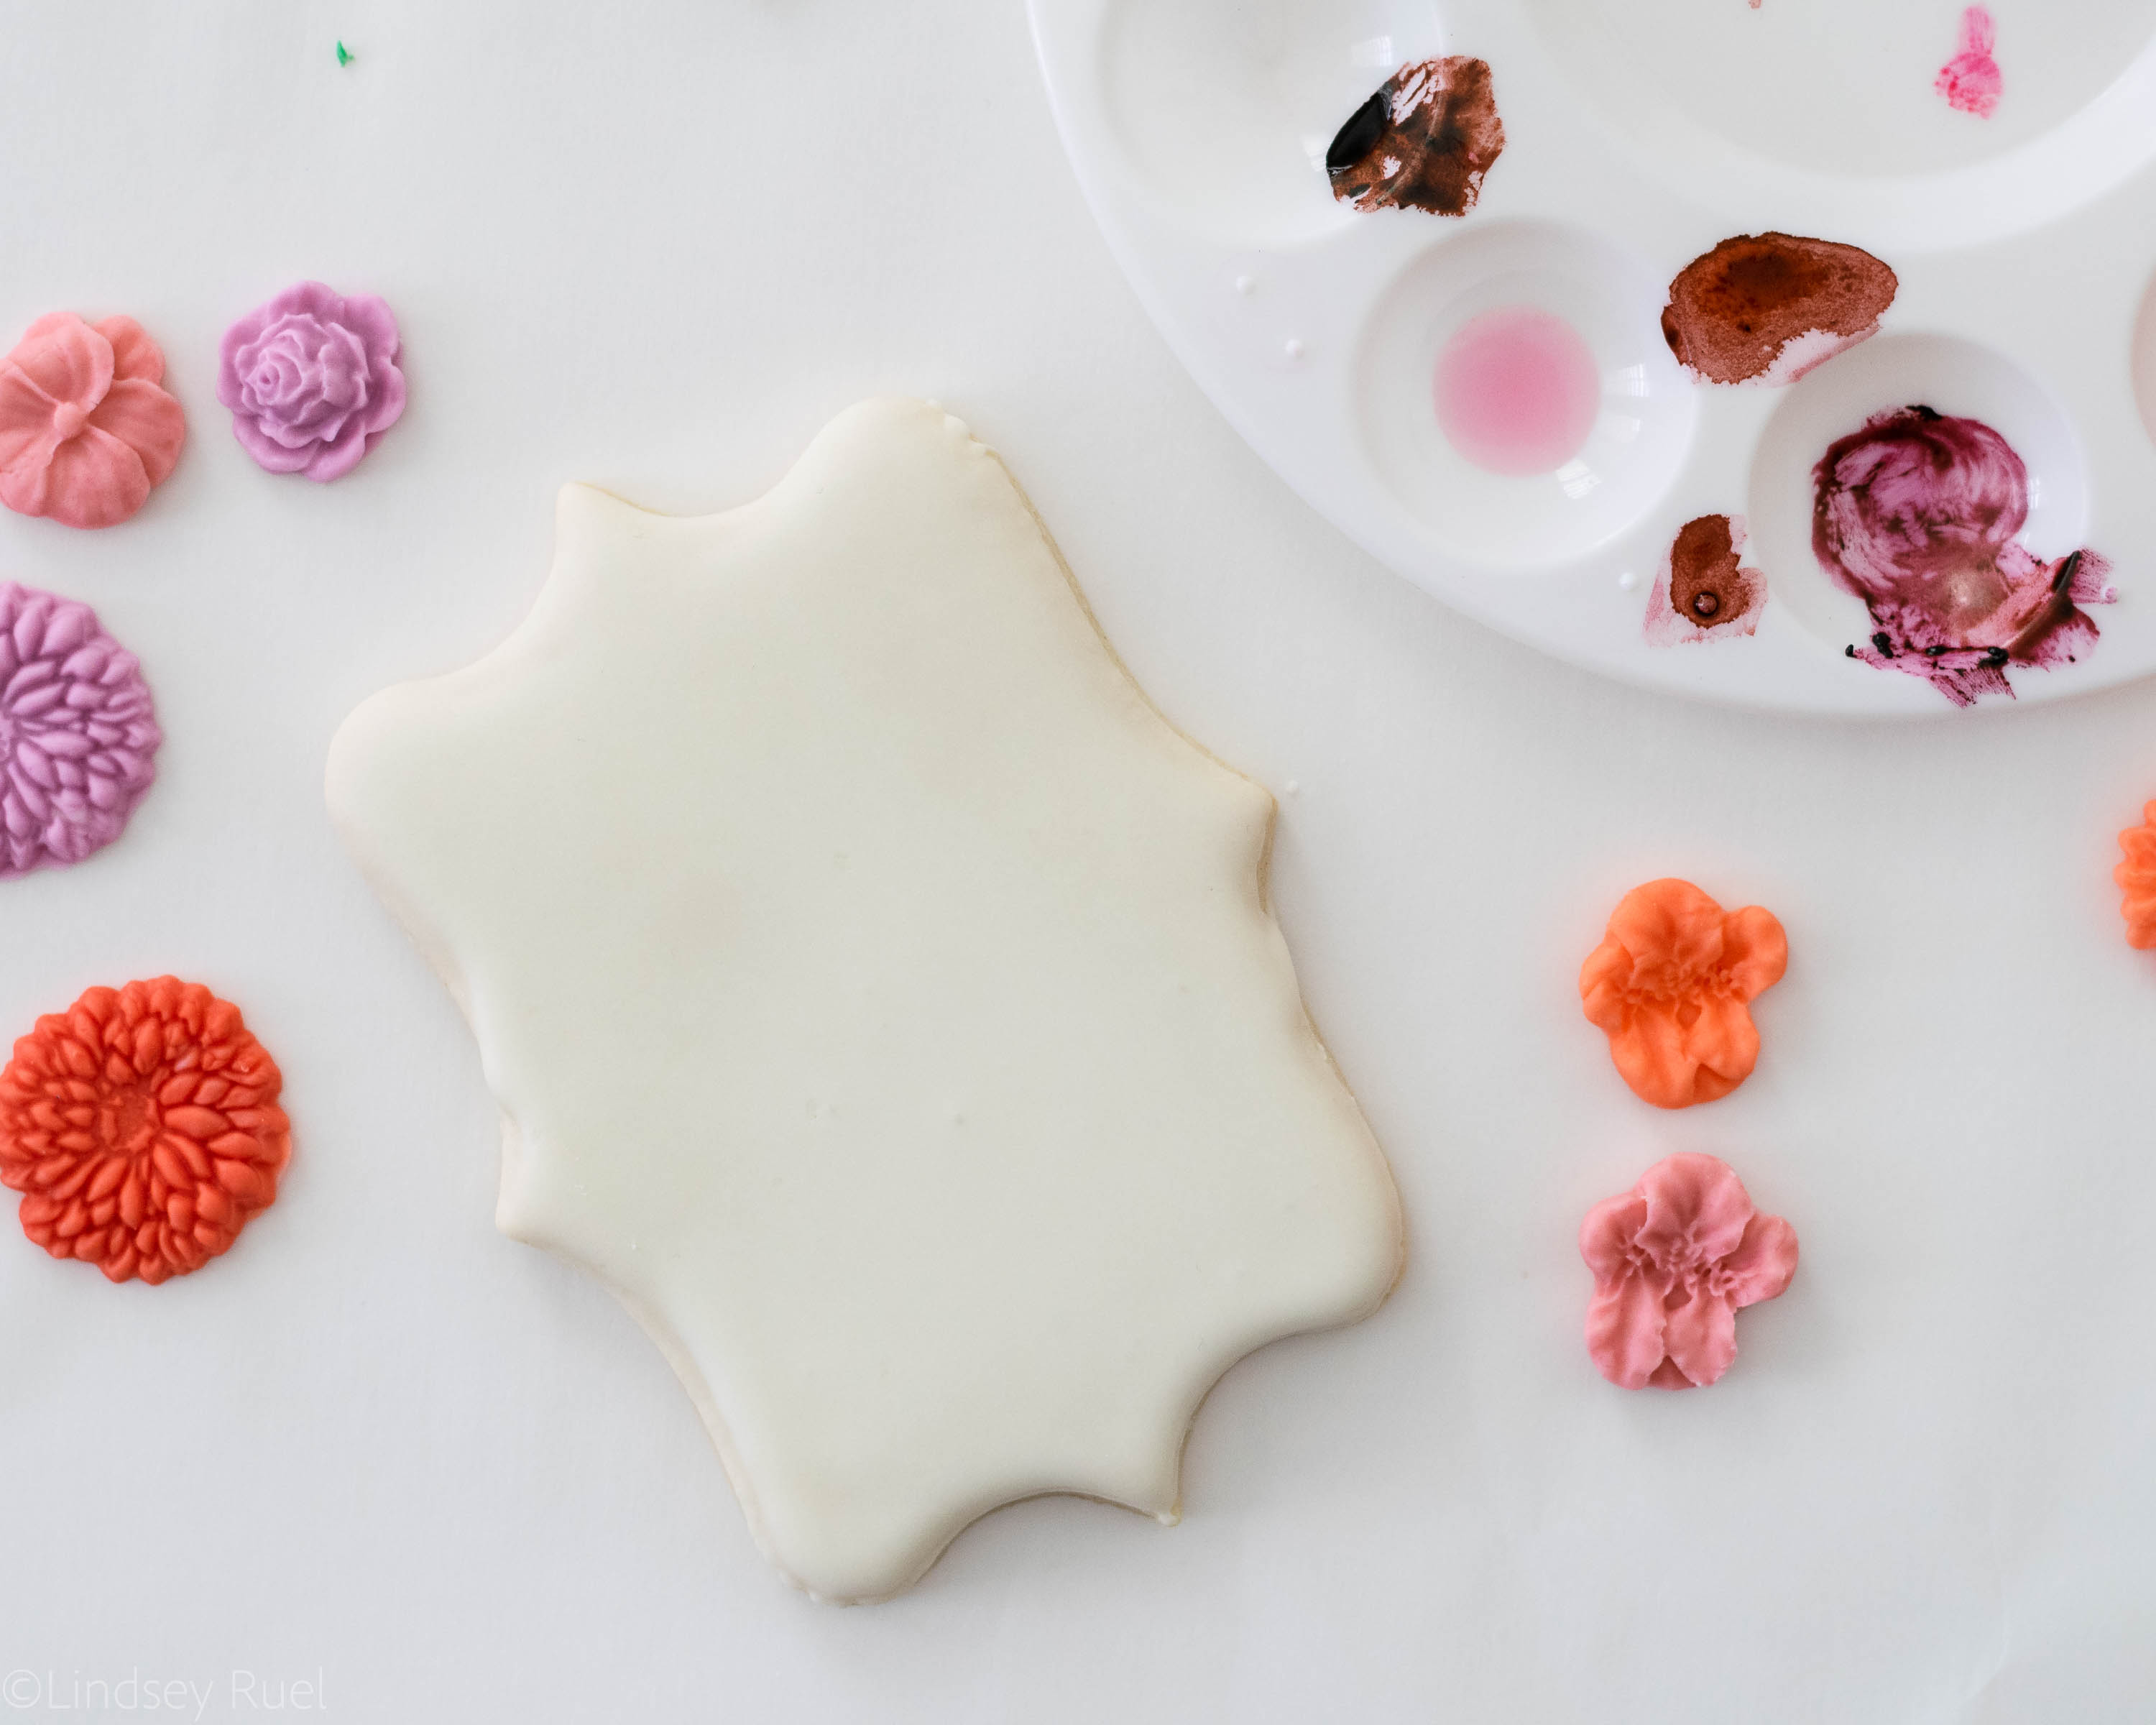
For these cookies you will need sugar cookies cut into some sort of basic shape, like a rectangle or plaque. 

You will also need royal icing:

  • White or plain flood consistency icing
  • Green stiff consistency icing
  • Brown stiff consistency icing

To make the flowers you will need:

  • Fondant
  • Gel food coloring
  • Fondant or clay molds (I included some of my favorites below)

This was my first time using a fondant mold and it could not have been easier! Fondant is so similar to clay and is easy to shape using just about anything. I found one mold at the local craft store in the clay modeling aisle and I bought another one online that is specifically designed for fondant. Both worked the exact same way.

For the rest of the decorating, it would be helpful to have:

  • Clear alcohol (such as everclear or vodka)
  • Paint brushes
  • Piping bags
  • Piping tips in a #9 for the stems and #1 for the twine

[show_shopthepost_widget id=”3248381″]

How to Make Them

First, color your fondant in whatever shades you’d like. Then press small amounts of fondant into the cavity of your mold. 

Make sure to really press and pack the fondant into all the groves.

The fondant doesn’t need to be dry or hardened before you can press the newly formed fondant flower out of the mold. But I would recommend letting them harden a bit before attaching them to the cookie.
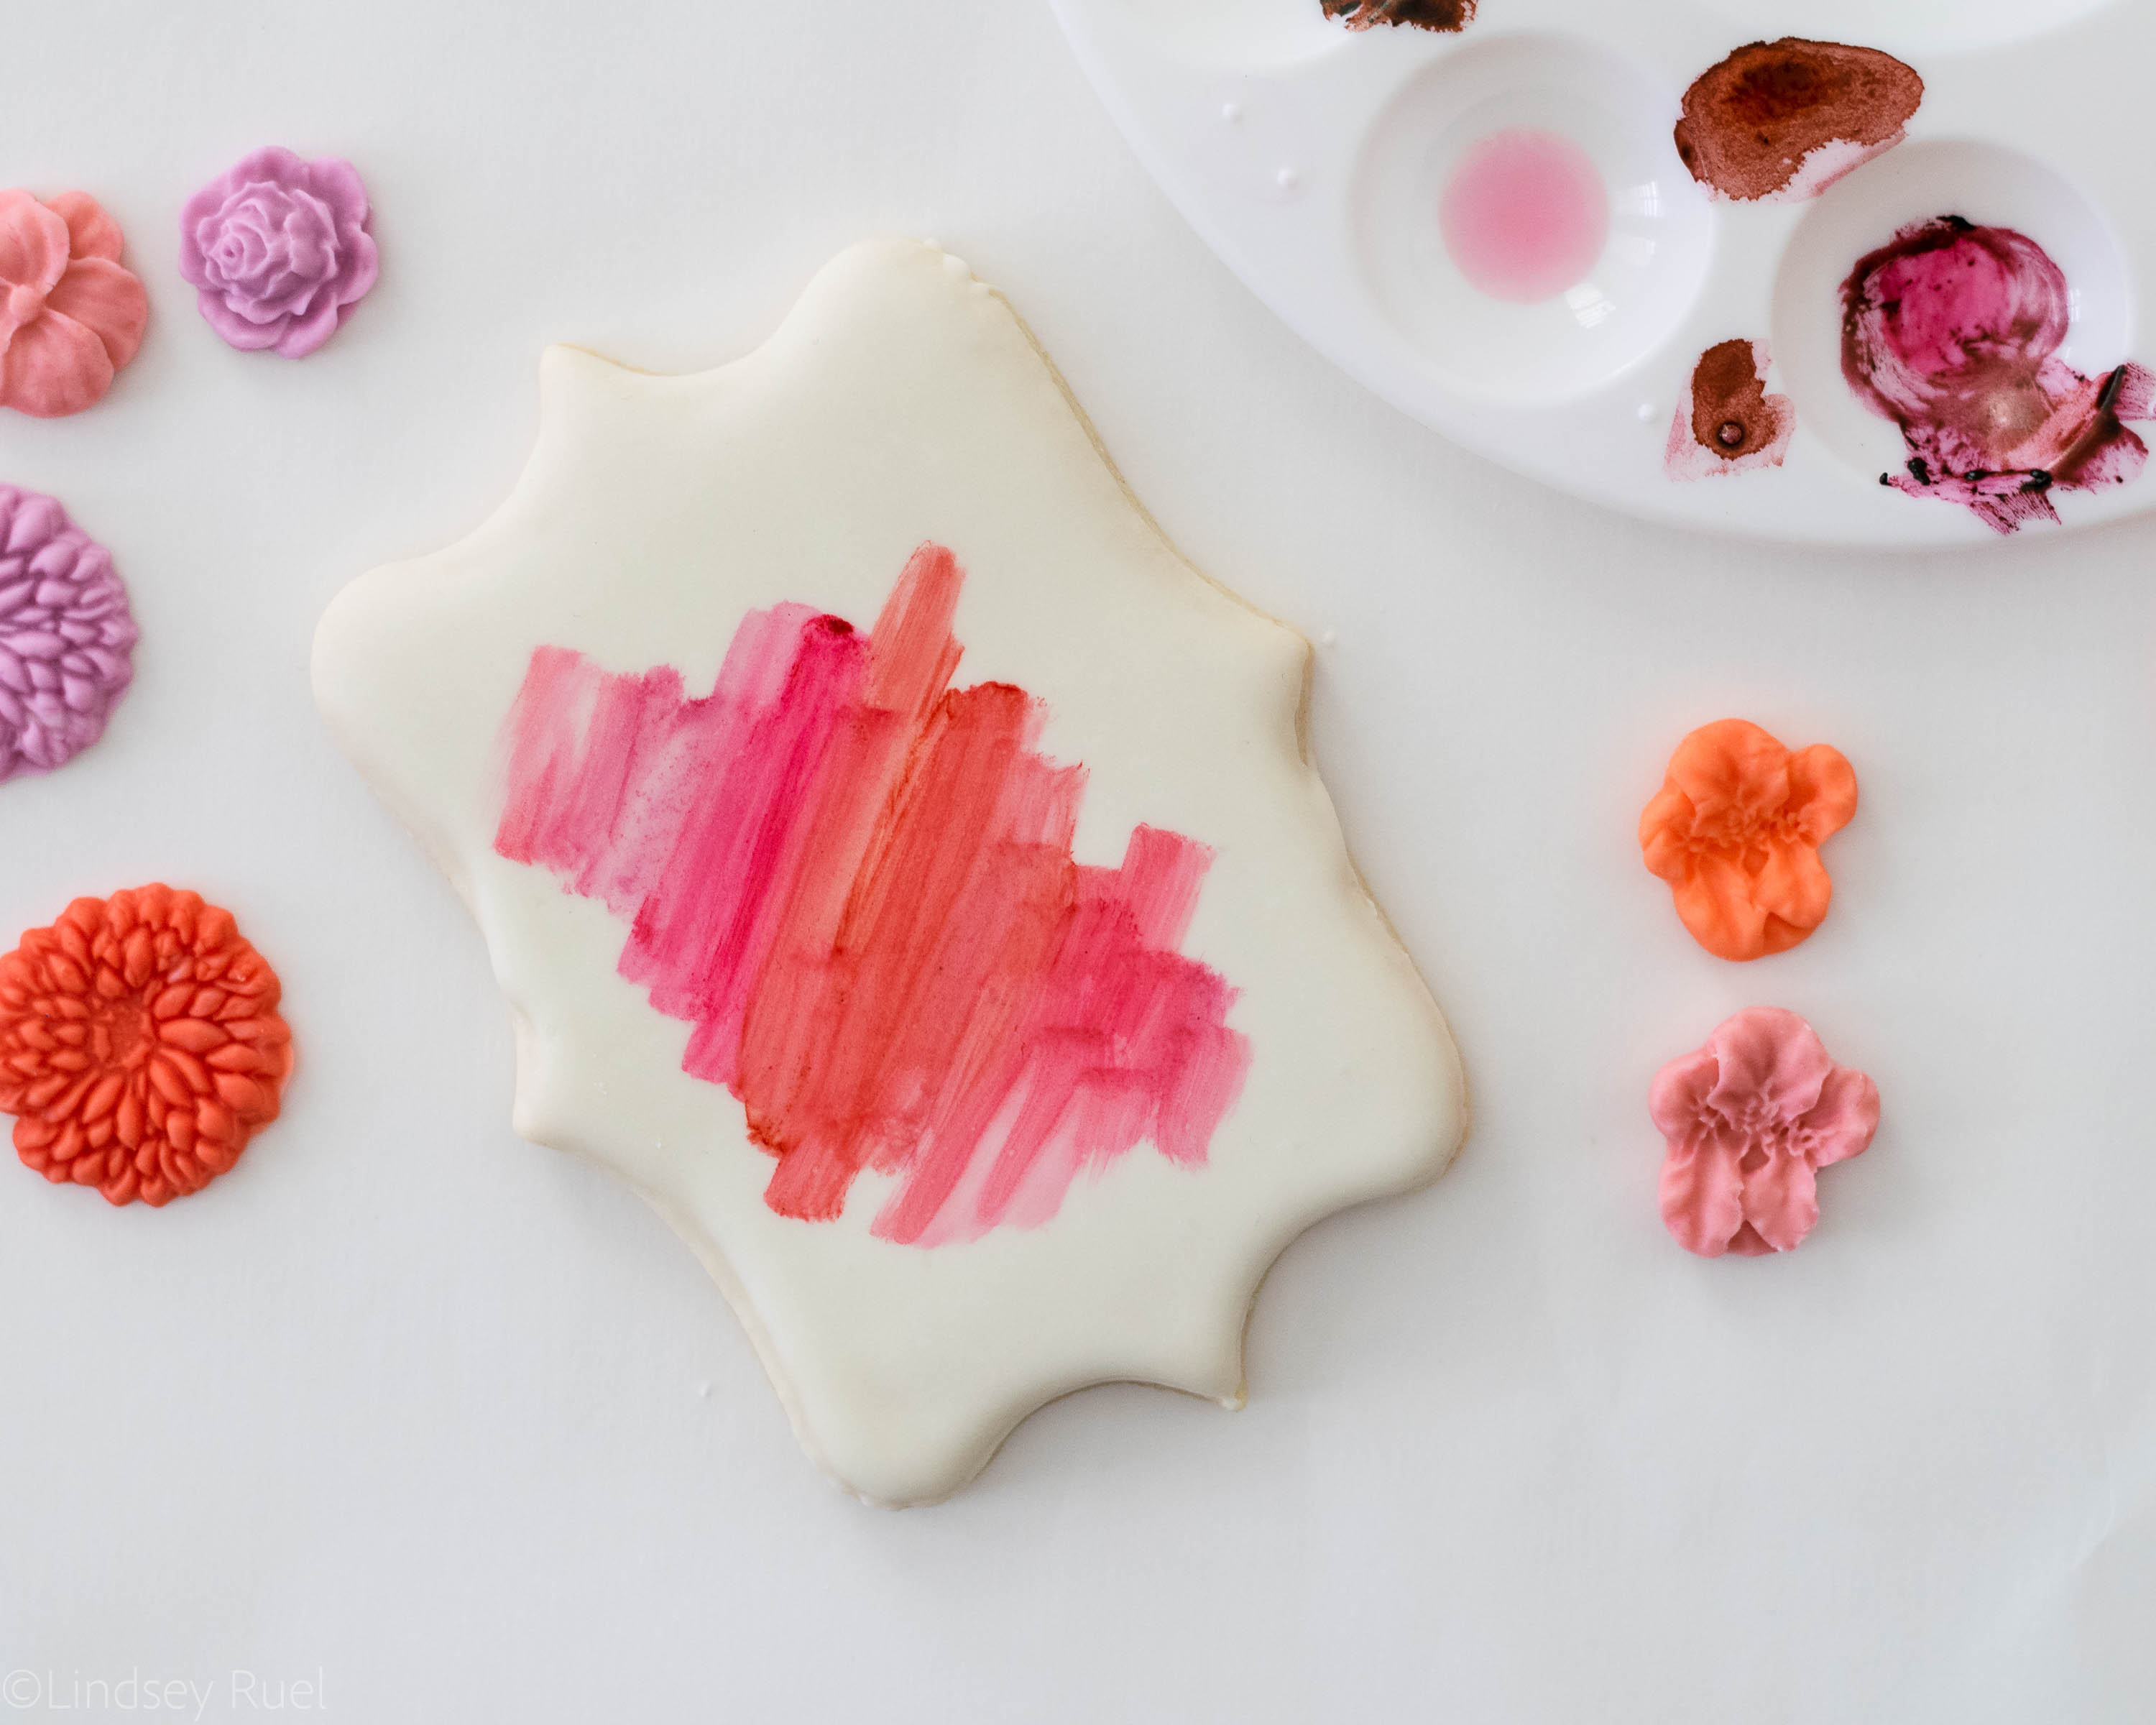
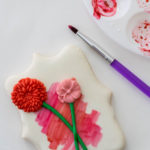
Once you are ready to assemble. Abstractly paint a few complimentary shades of diluted gel food coloring onto the iced cookie. 
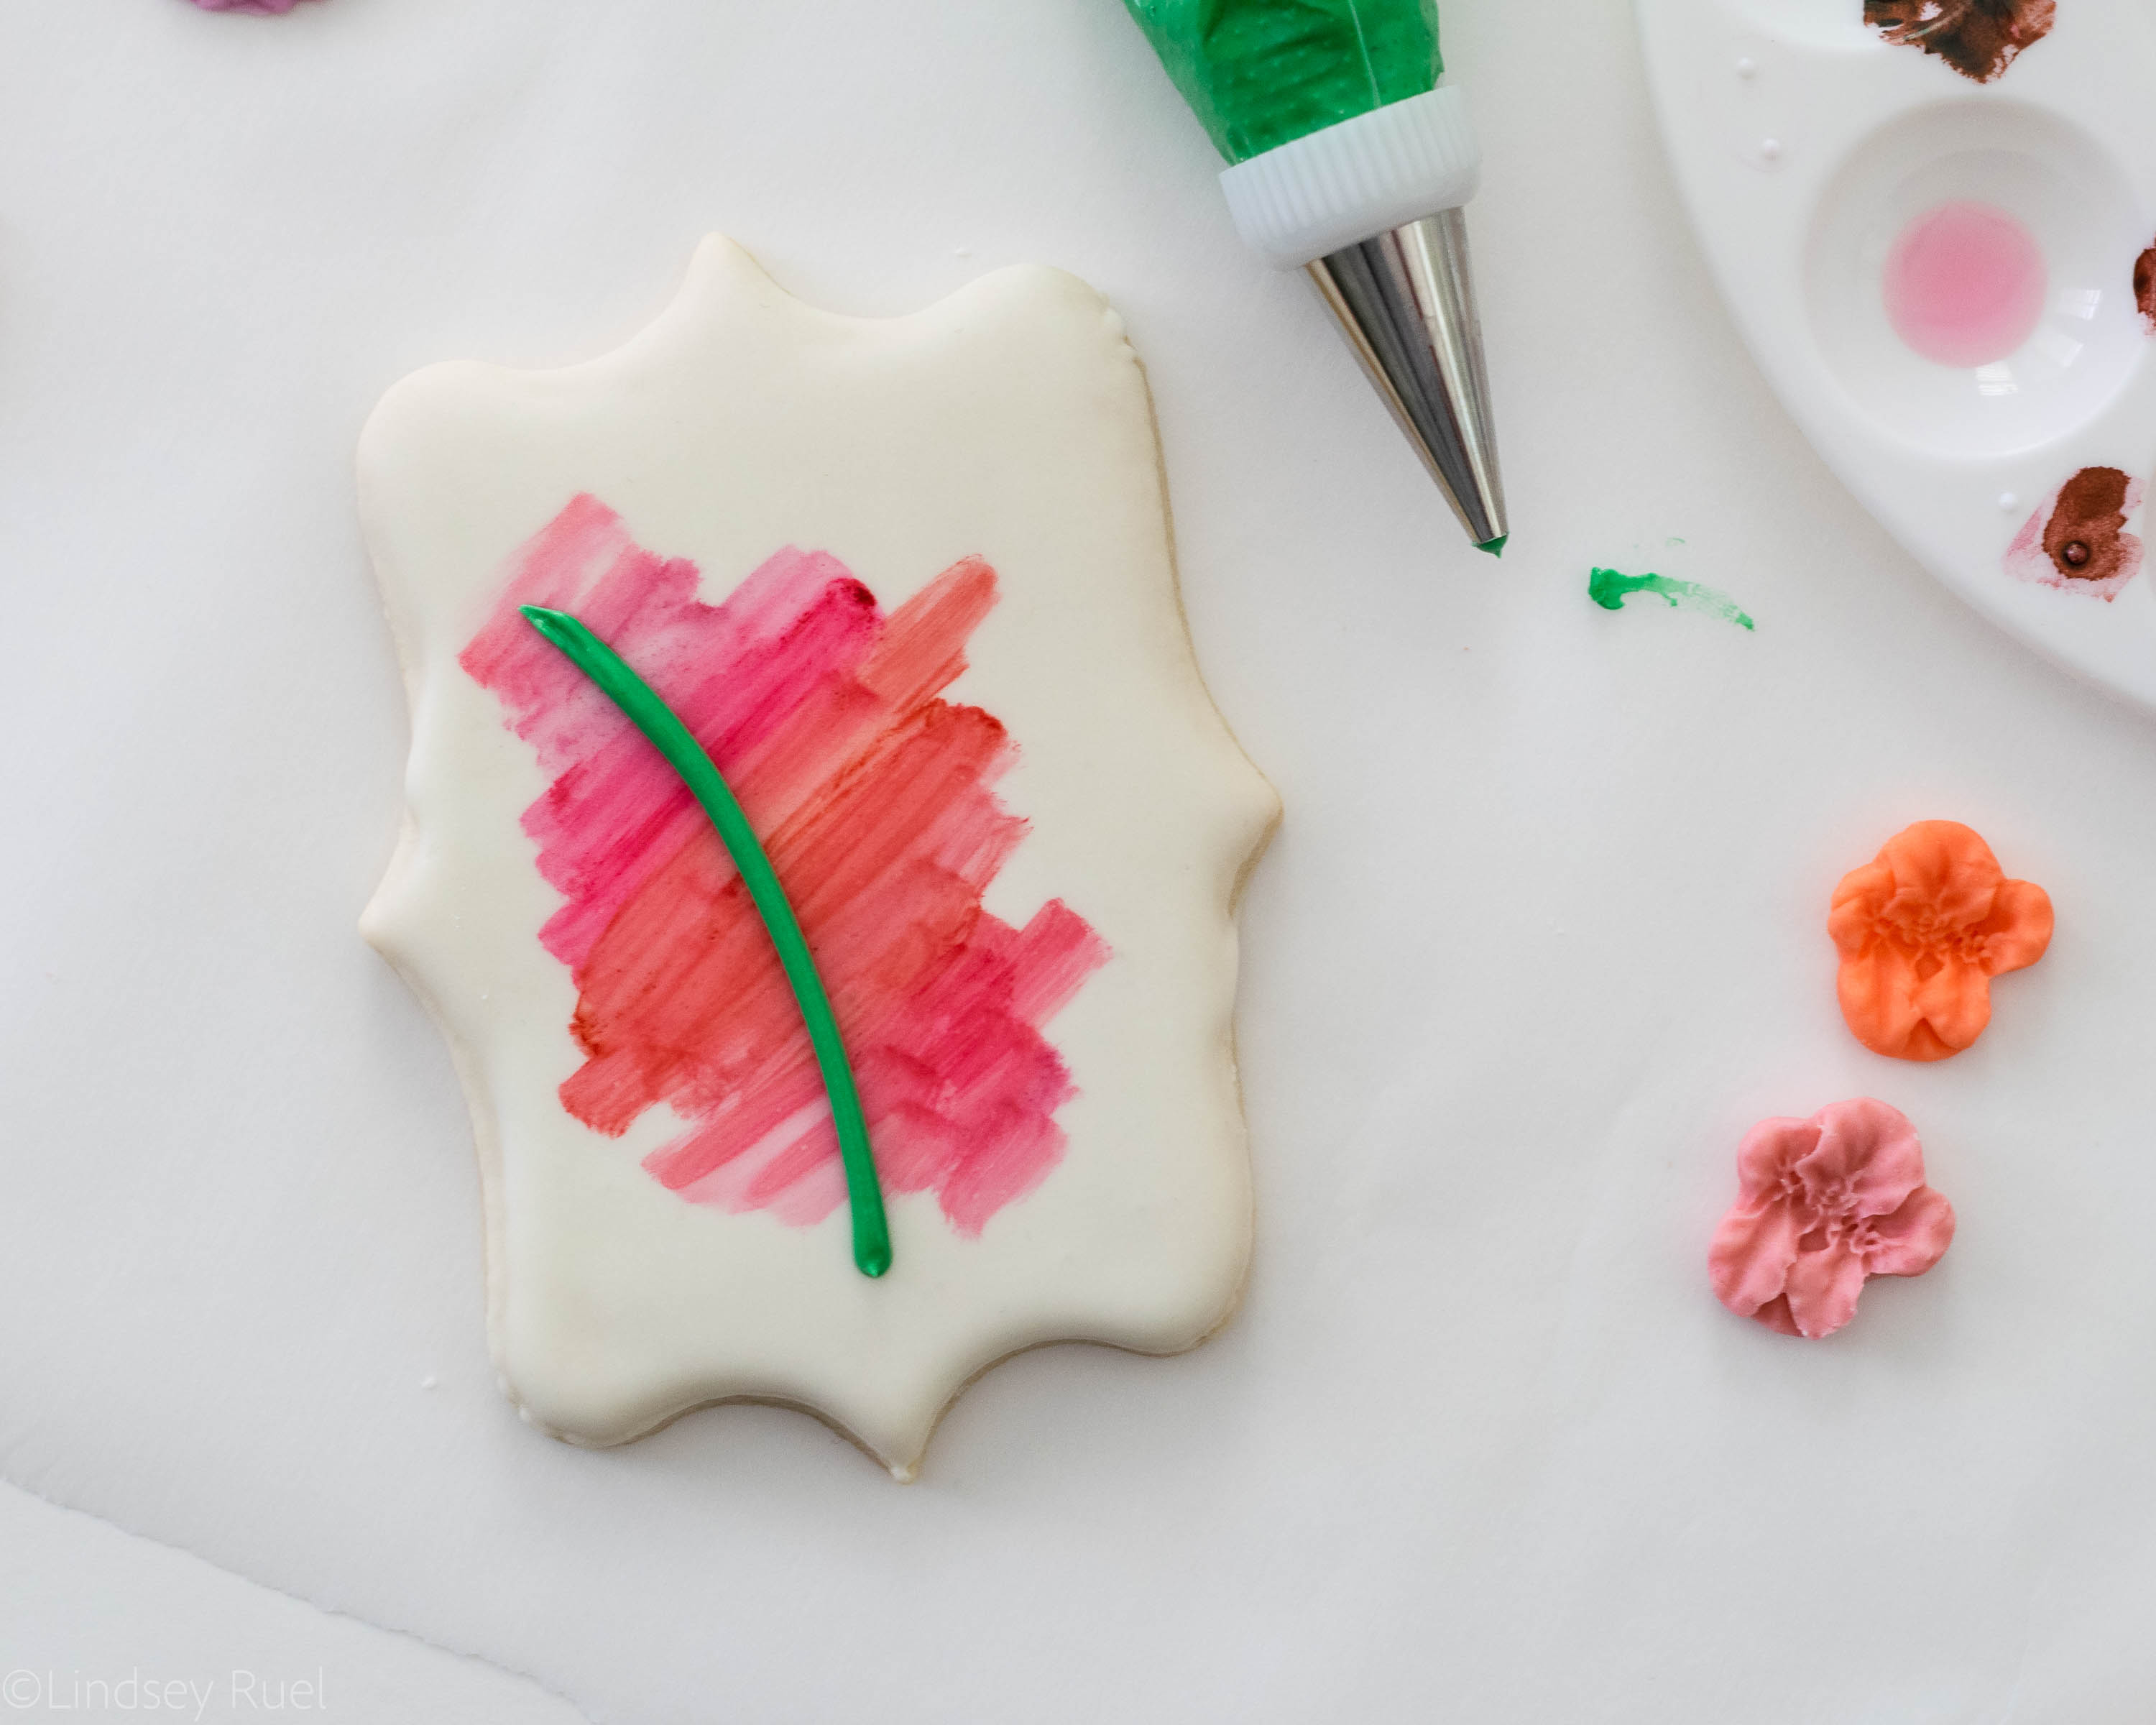
Pipe the stems of the flowers where you would like them with the green stiff consistency icing. 
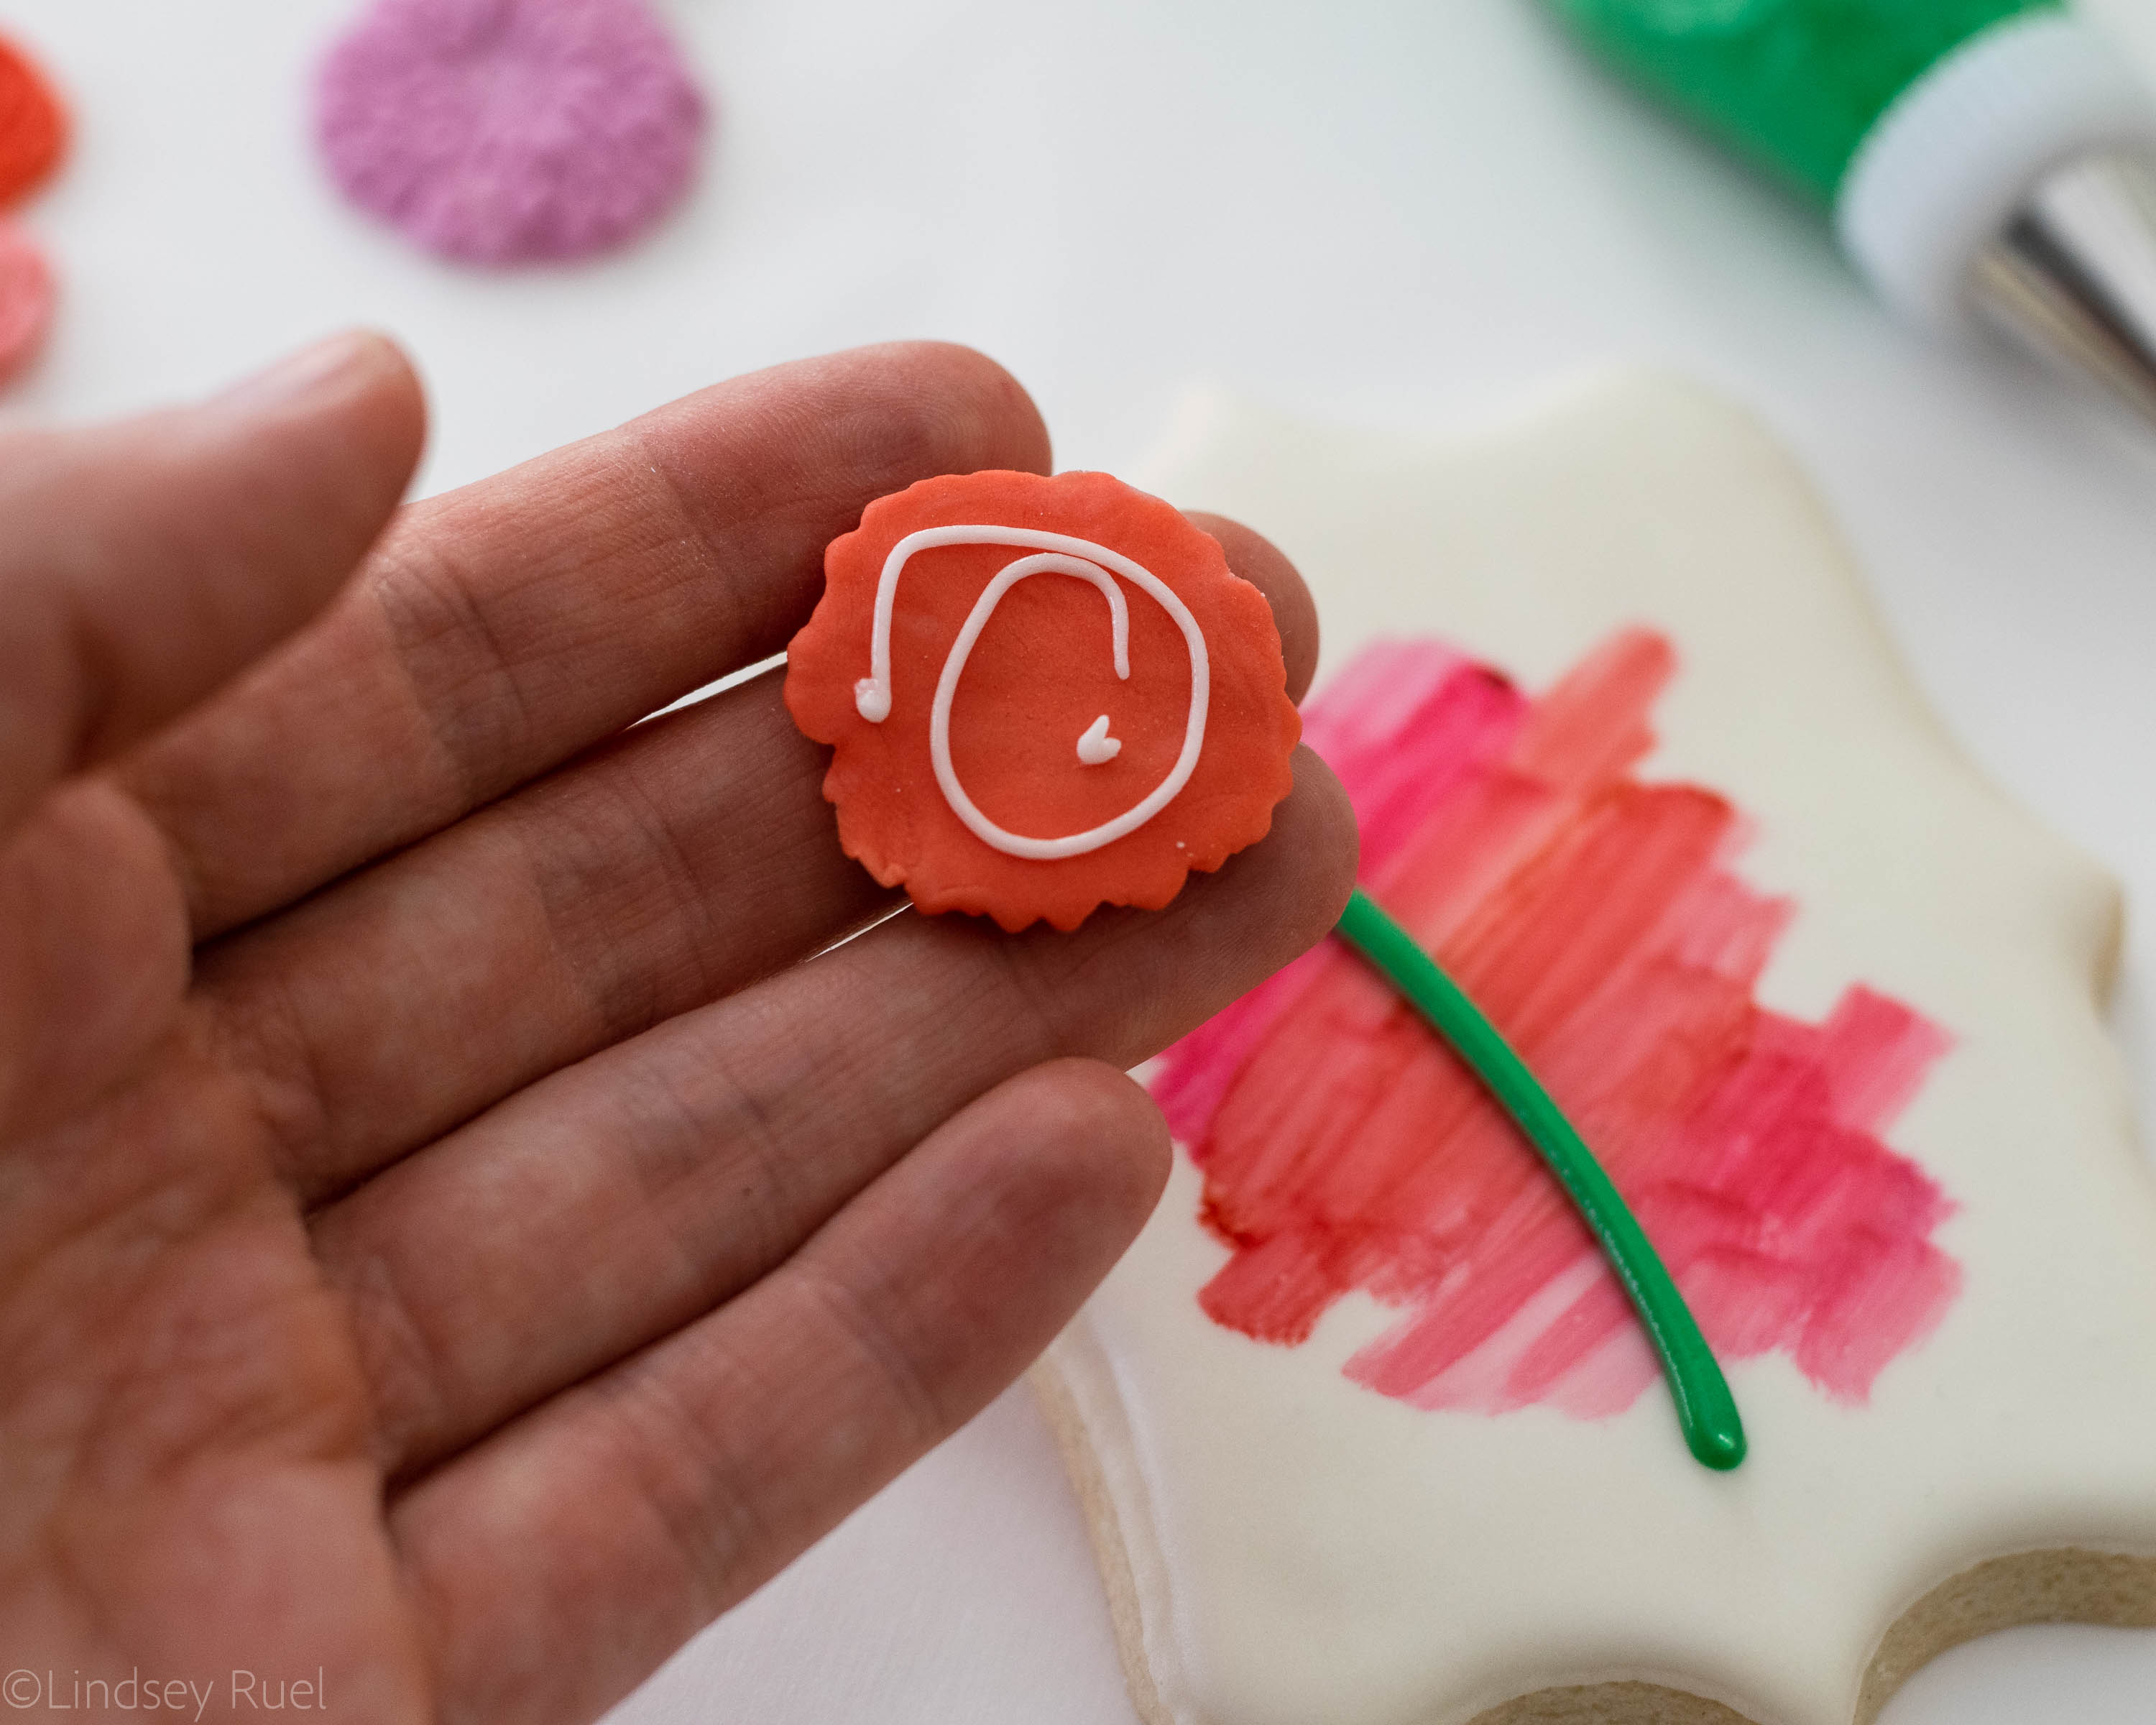
Then glue the flower onto the top of the stem with a little bit of extra icing. 


Create more dimension in the flower by painting it with gel food coloring diluted with a bit of alcohol until you have something resembling a watercolor paint. 
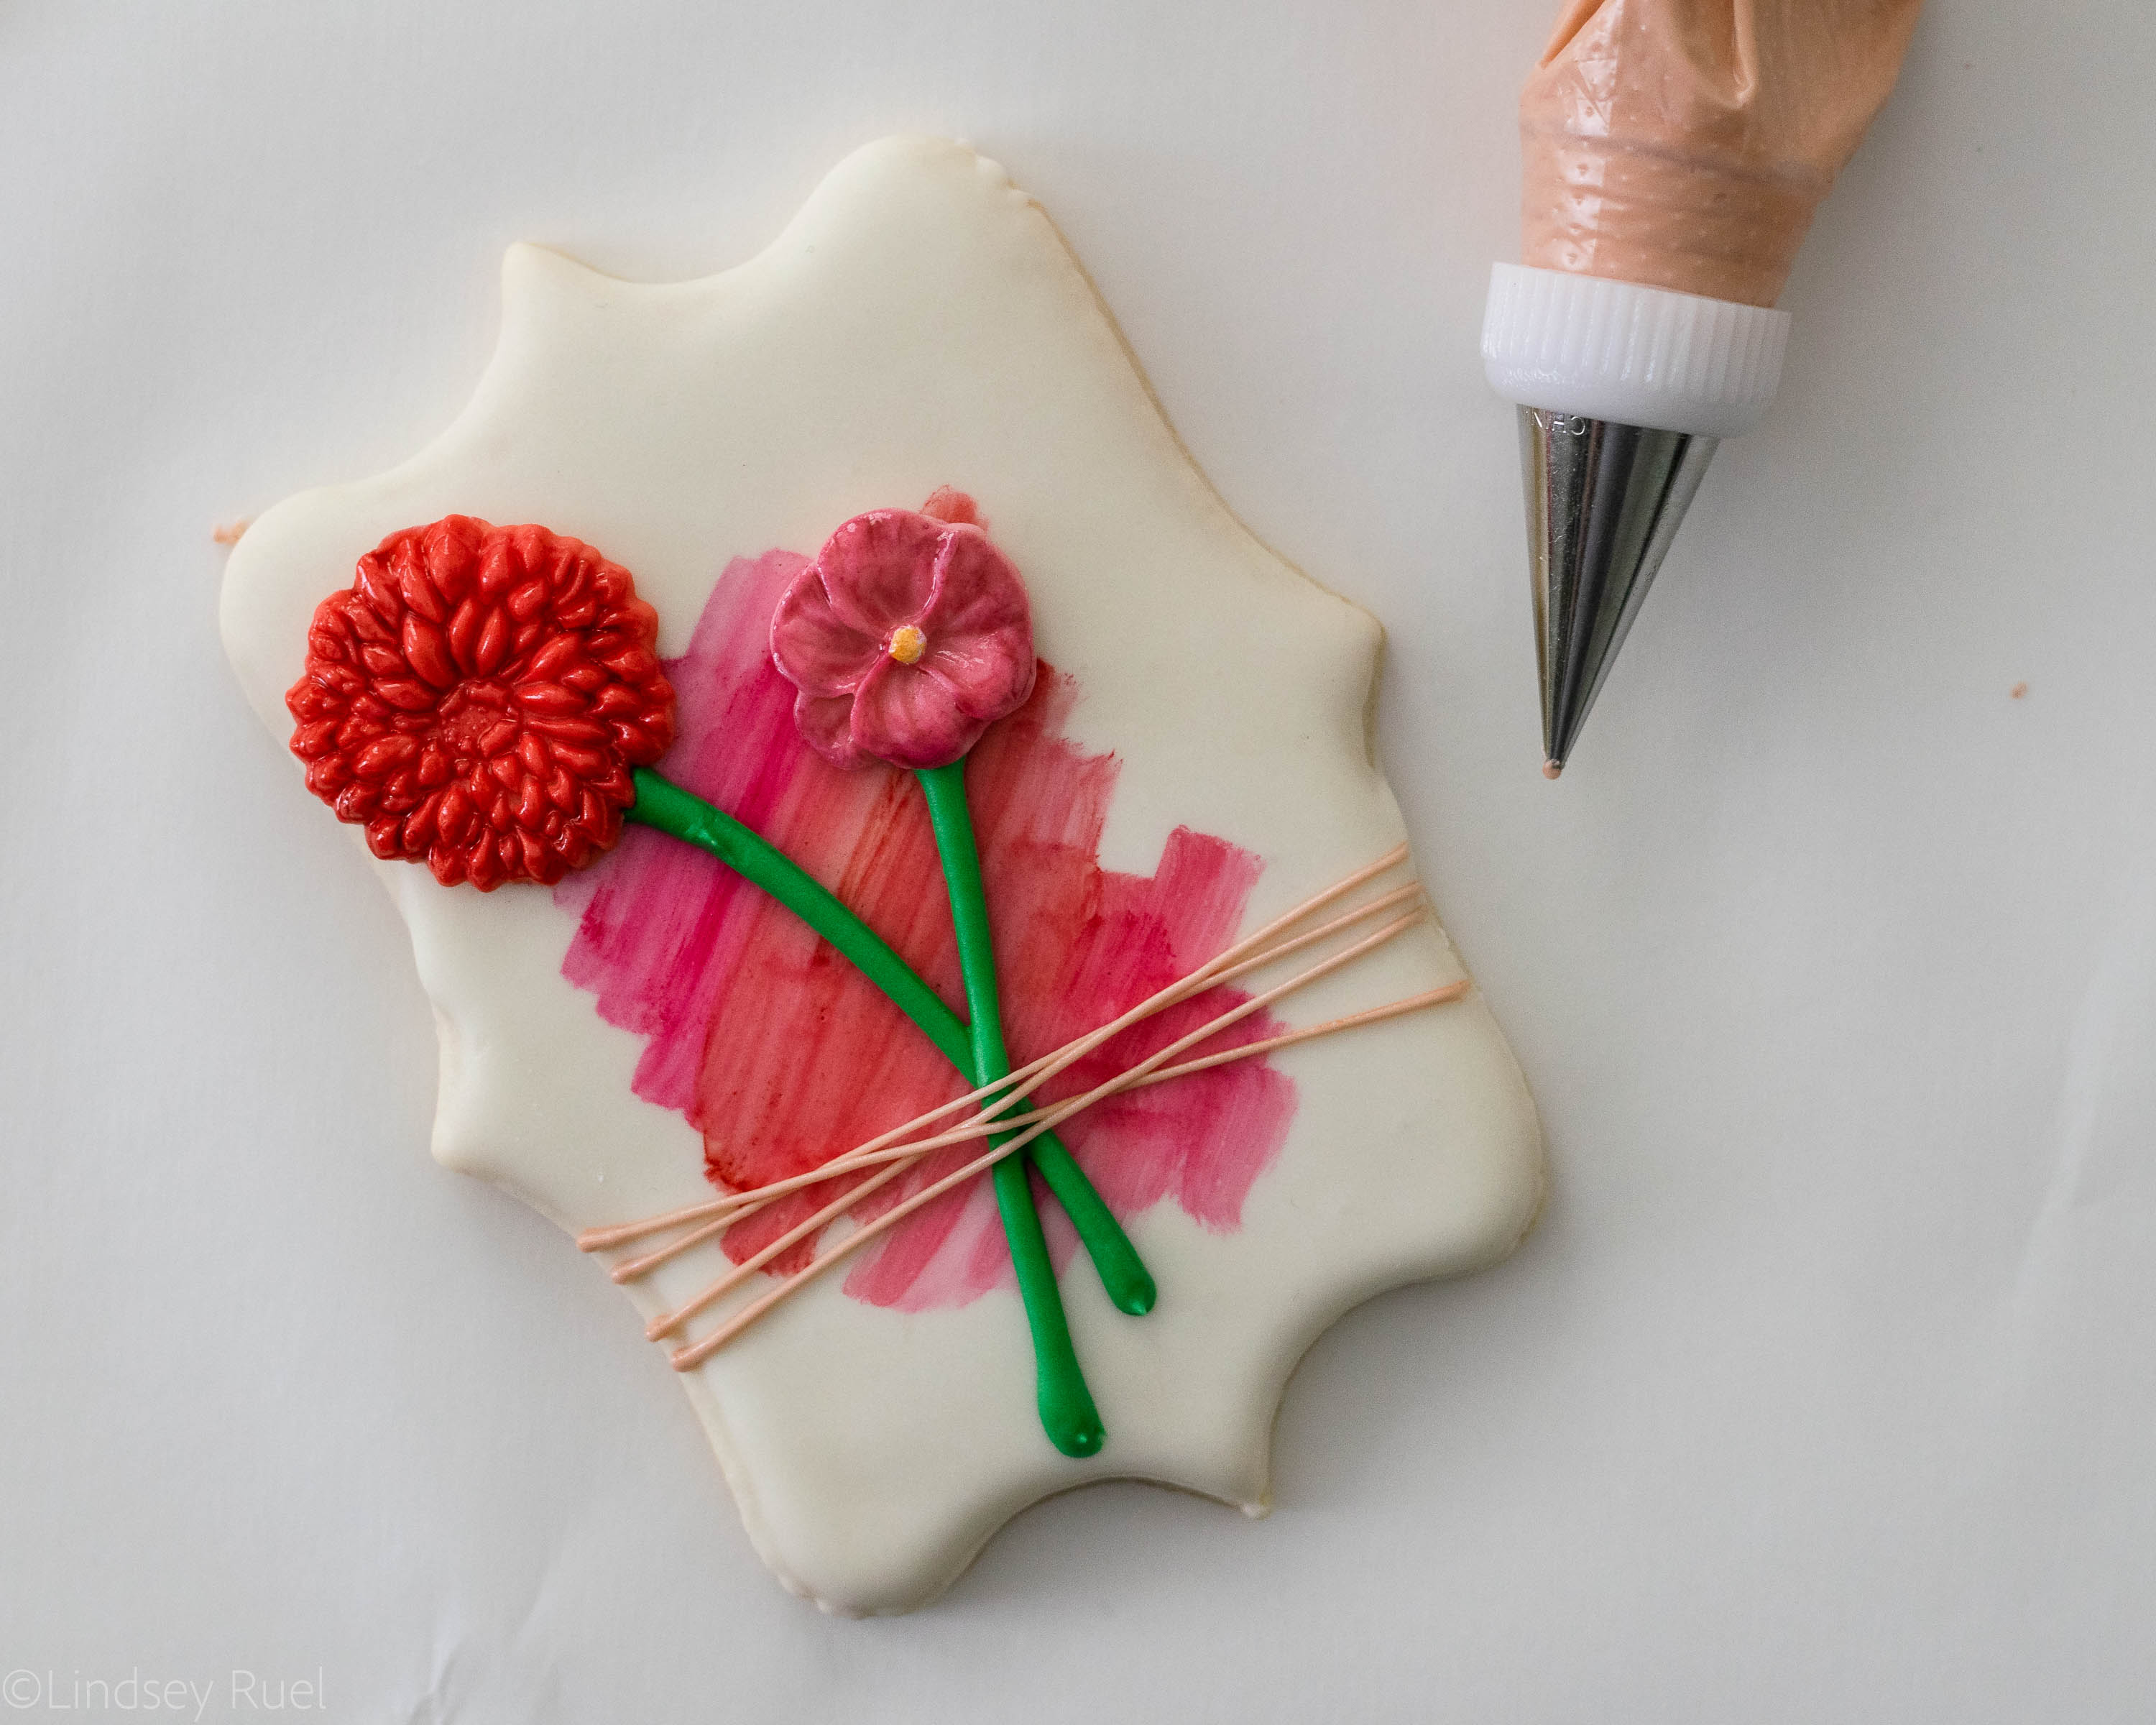
Finally, pipe the twine across the stems of the flowers. 
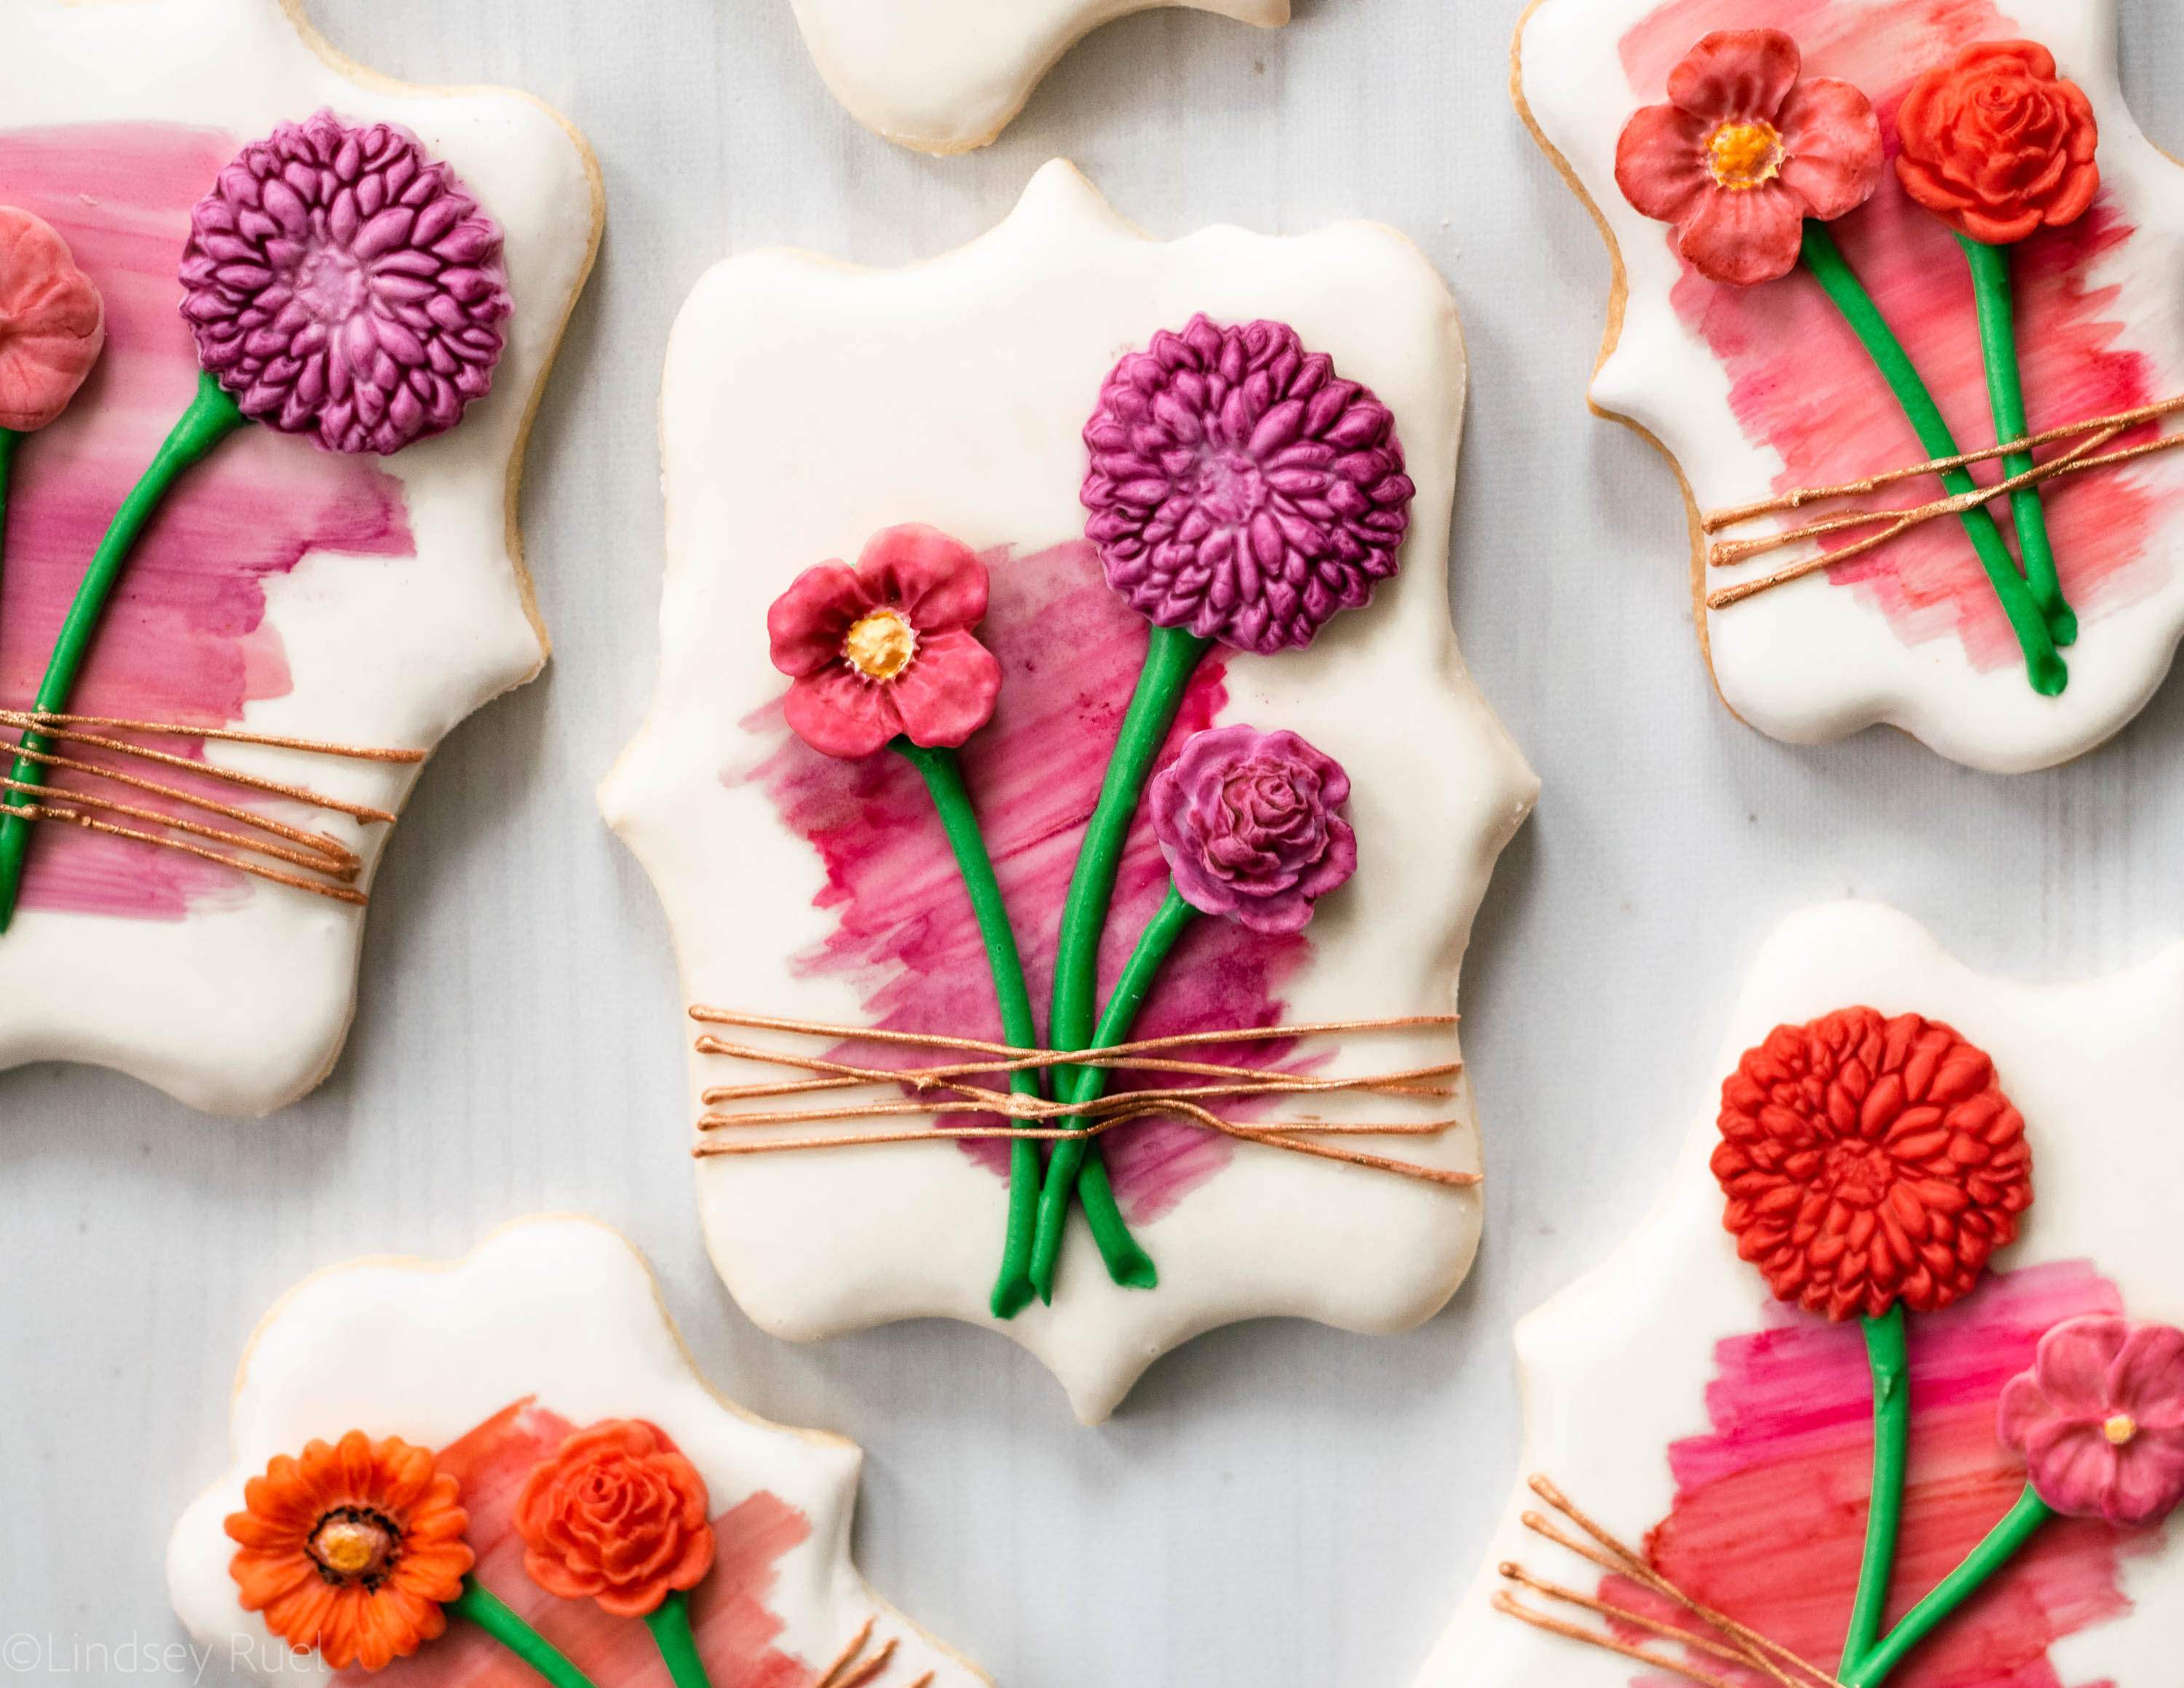
And voila! A beautiful bunch of fondant flower stems that look like that are tied to the cookie! So cute, right?
 

/ Filed In: Cookie Decorating 101, Cookies New, Decorated Cookies, Desserts, Eat
Tagged: cookie decorating, flowers, fondant, fondant flowers, fondant molds, painted cookies

Watercolor Seaside Cookies

August 10, 2018

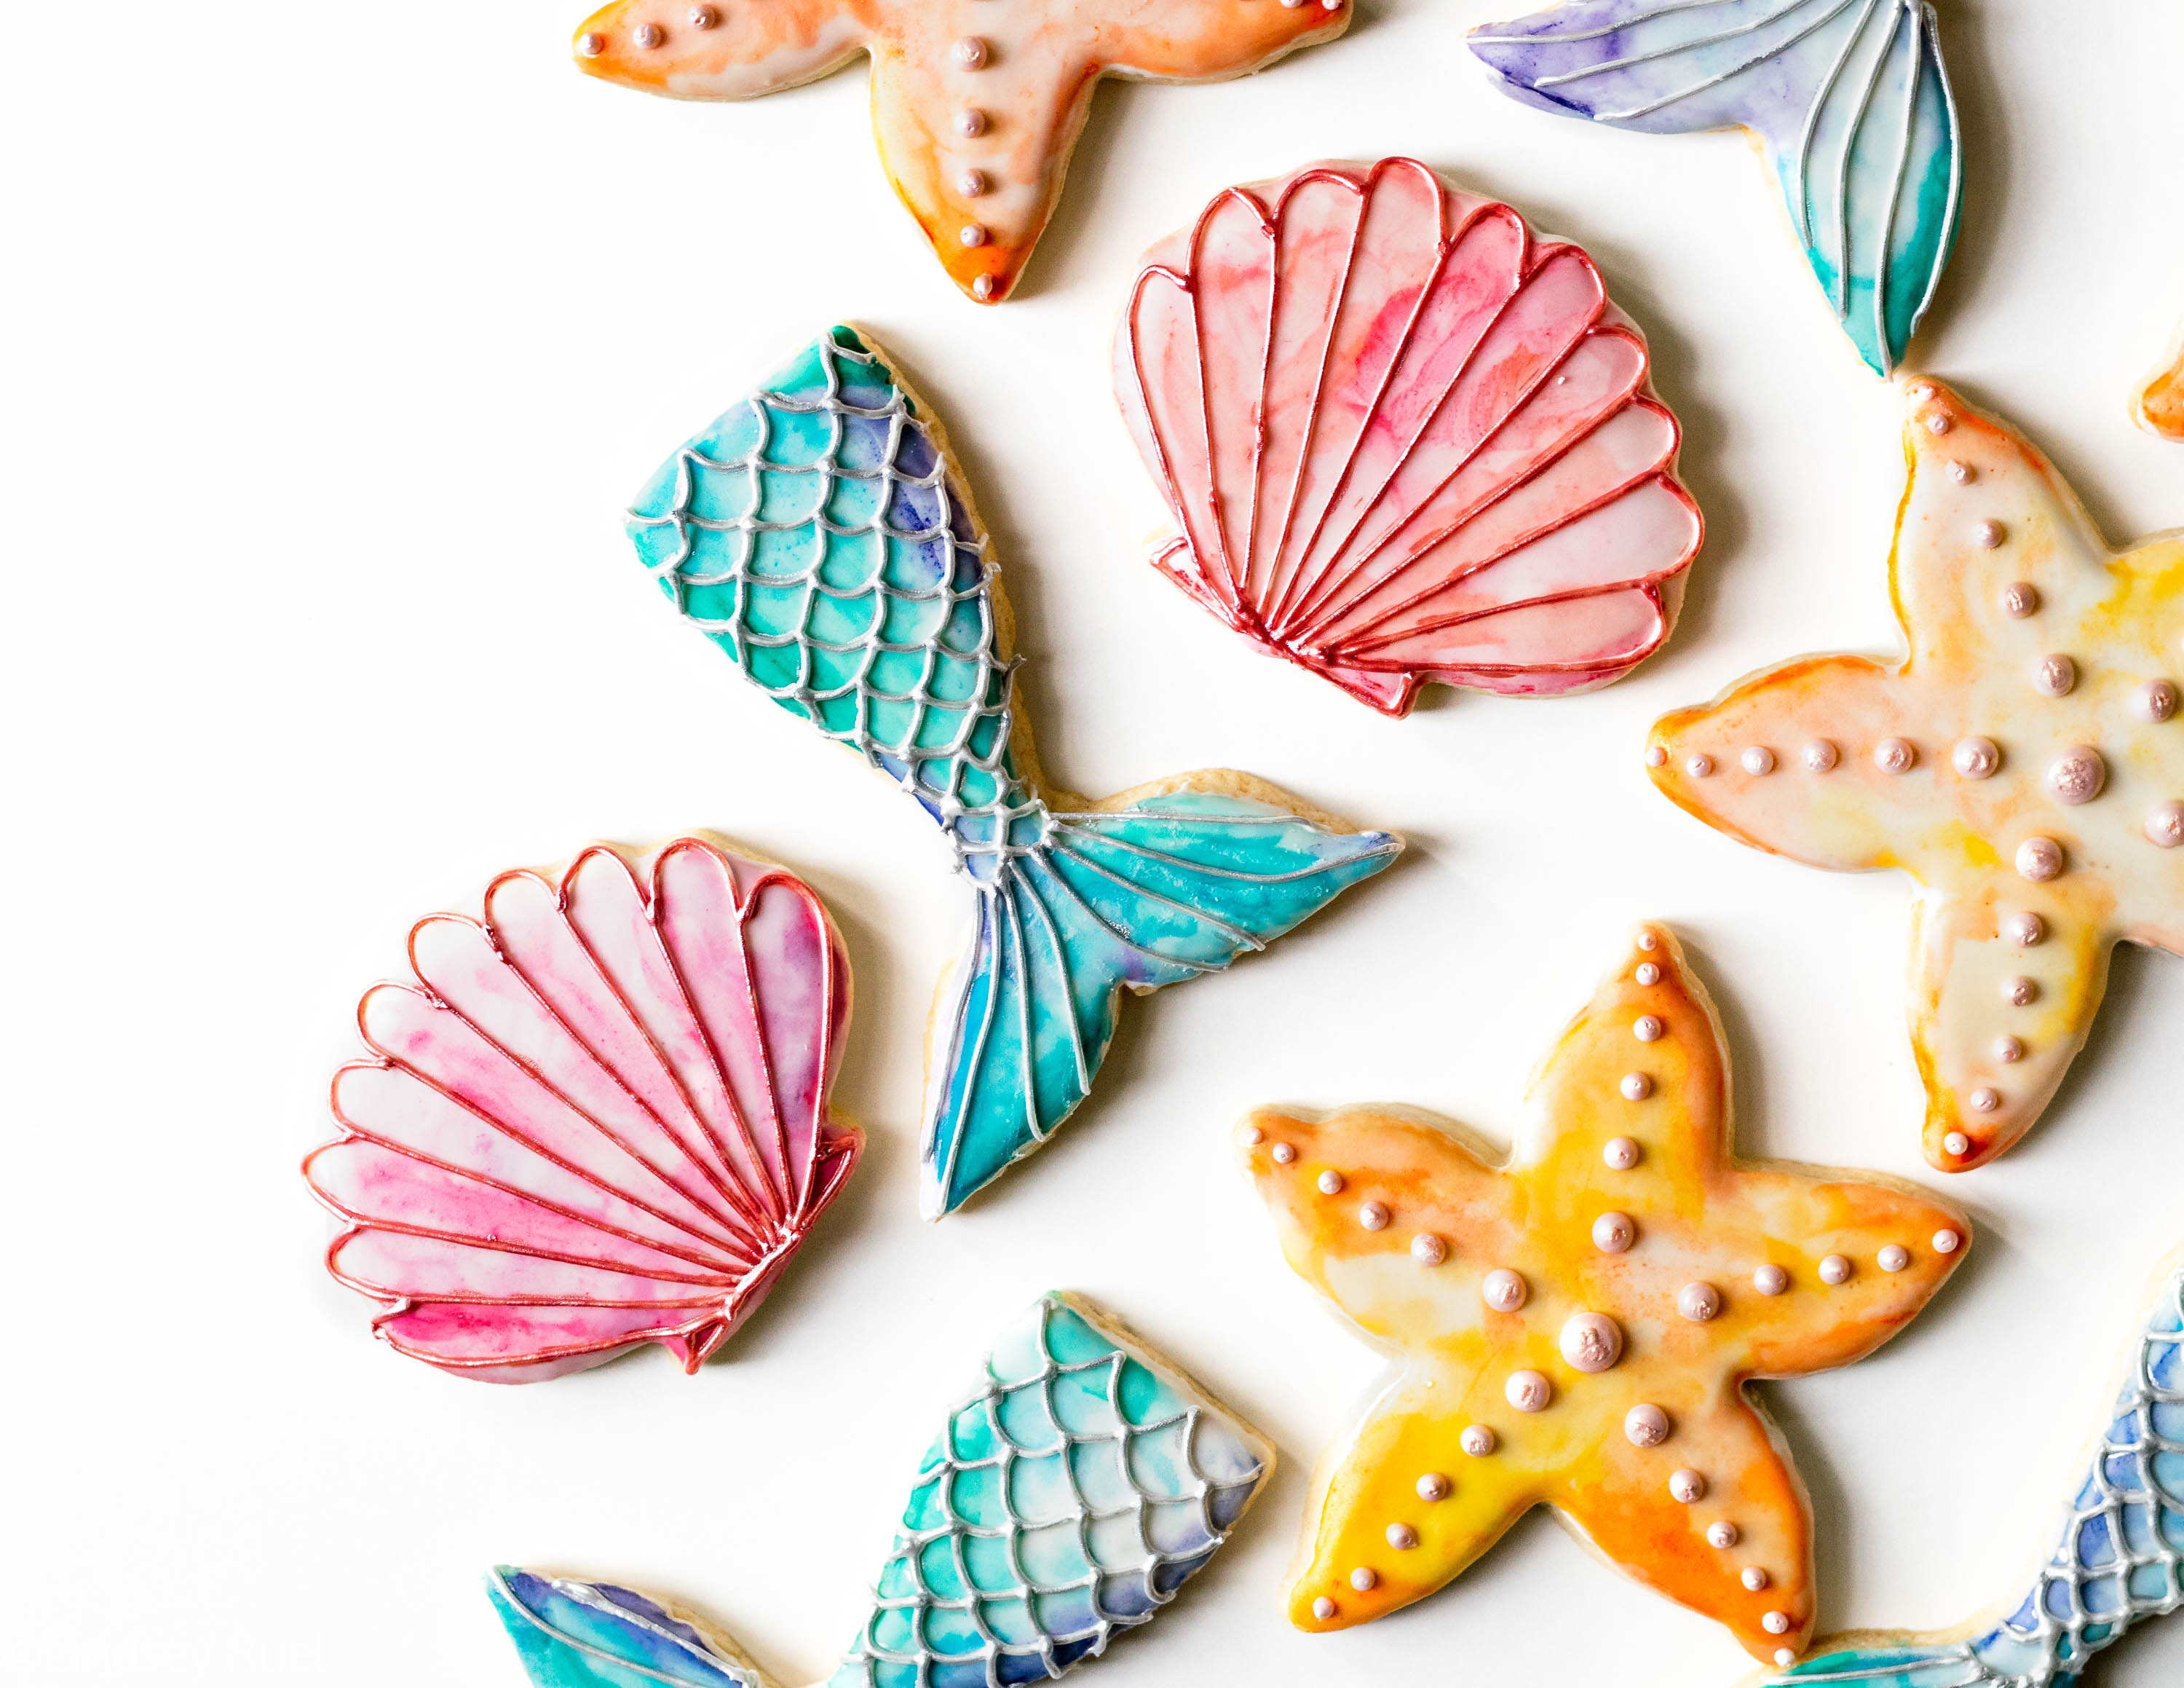
I have been dying to make some cookies that combined both watercolor and metallic details. Various ideas floated around in my head. It wasn’t until I was organizing my cookie cutters and came across these long-lost seashell and starfish cookie cutters that I had never used that it hit me! All at once I had the idea to make these beautiful watercolor seaside cookies. 

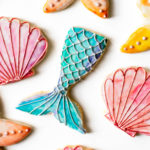
But the set didn’t seem complete without a mermaid tail. Sadly, I didn’t have my own mermaid tail cookie cutter and was too impatient to order one. So I improvised! I printed out a mermaid tail shape and cut the dough around it.

With my three seaside shapes cut and baked, I was all set to make these watercolor cookies. I couldn’t be happier with how they turned out!

While painting on metallic details is not the most efficient process, the combination of the watercolor and metallic may be my new favorite cookie decoration. What do you think?

Tool and Recipes

Recipes:

  • Sugar Cookie Recipe
  • Royal Icing Recipe

Tools: 

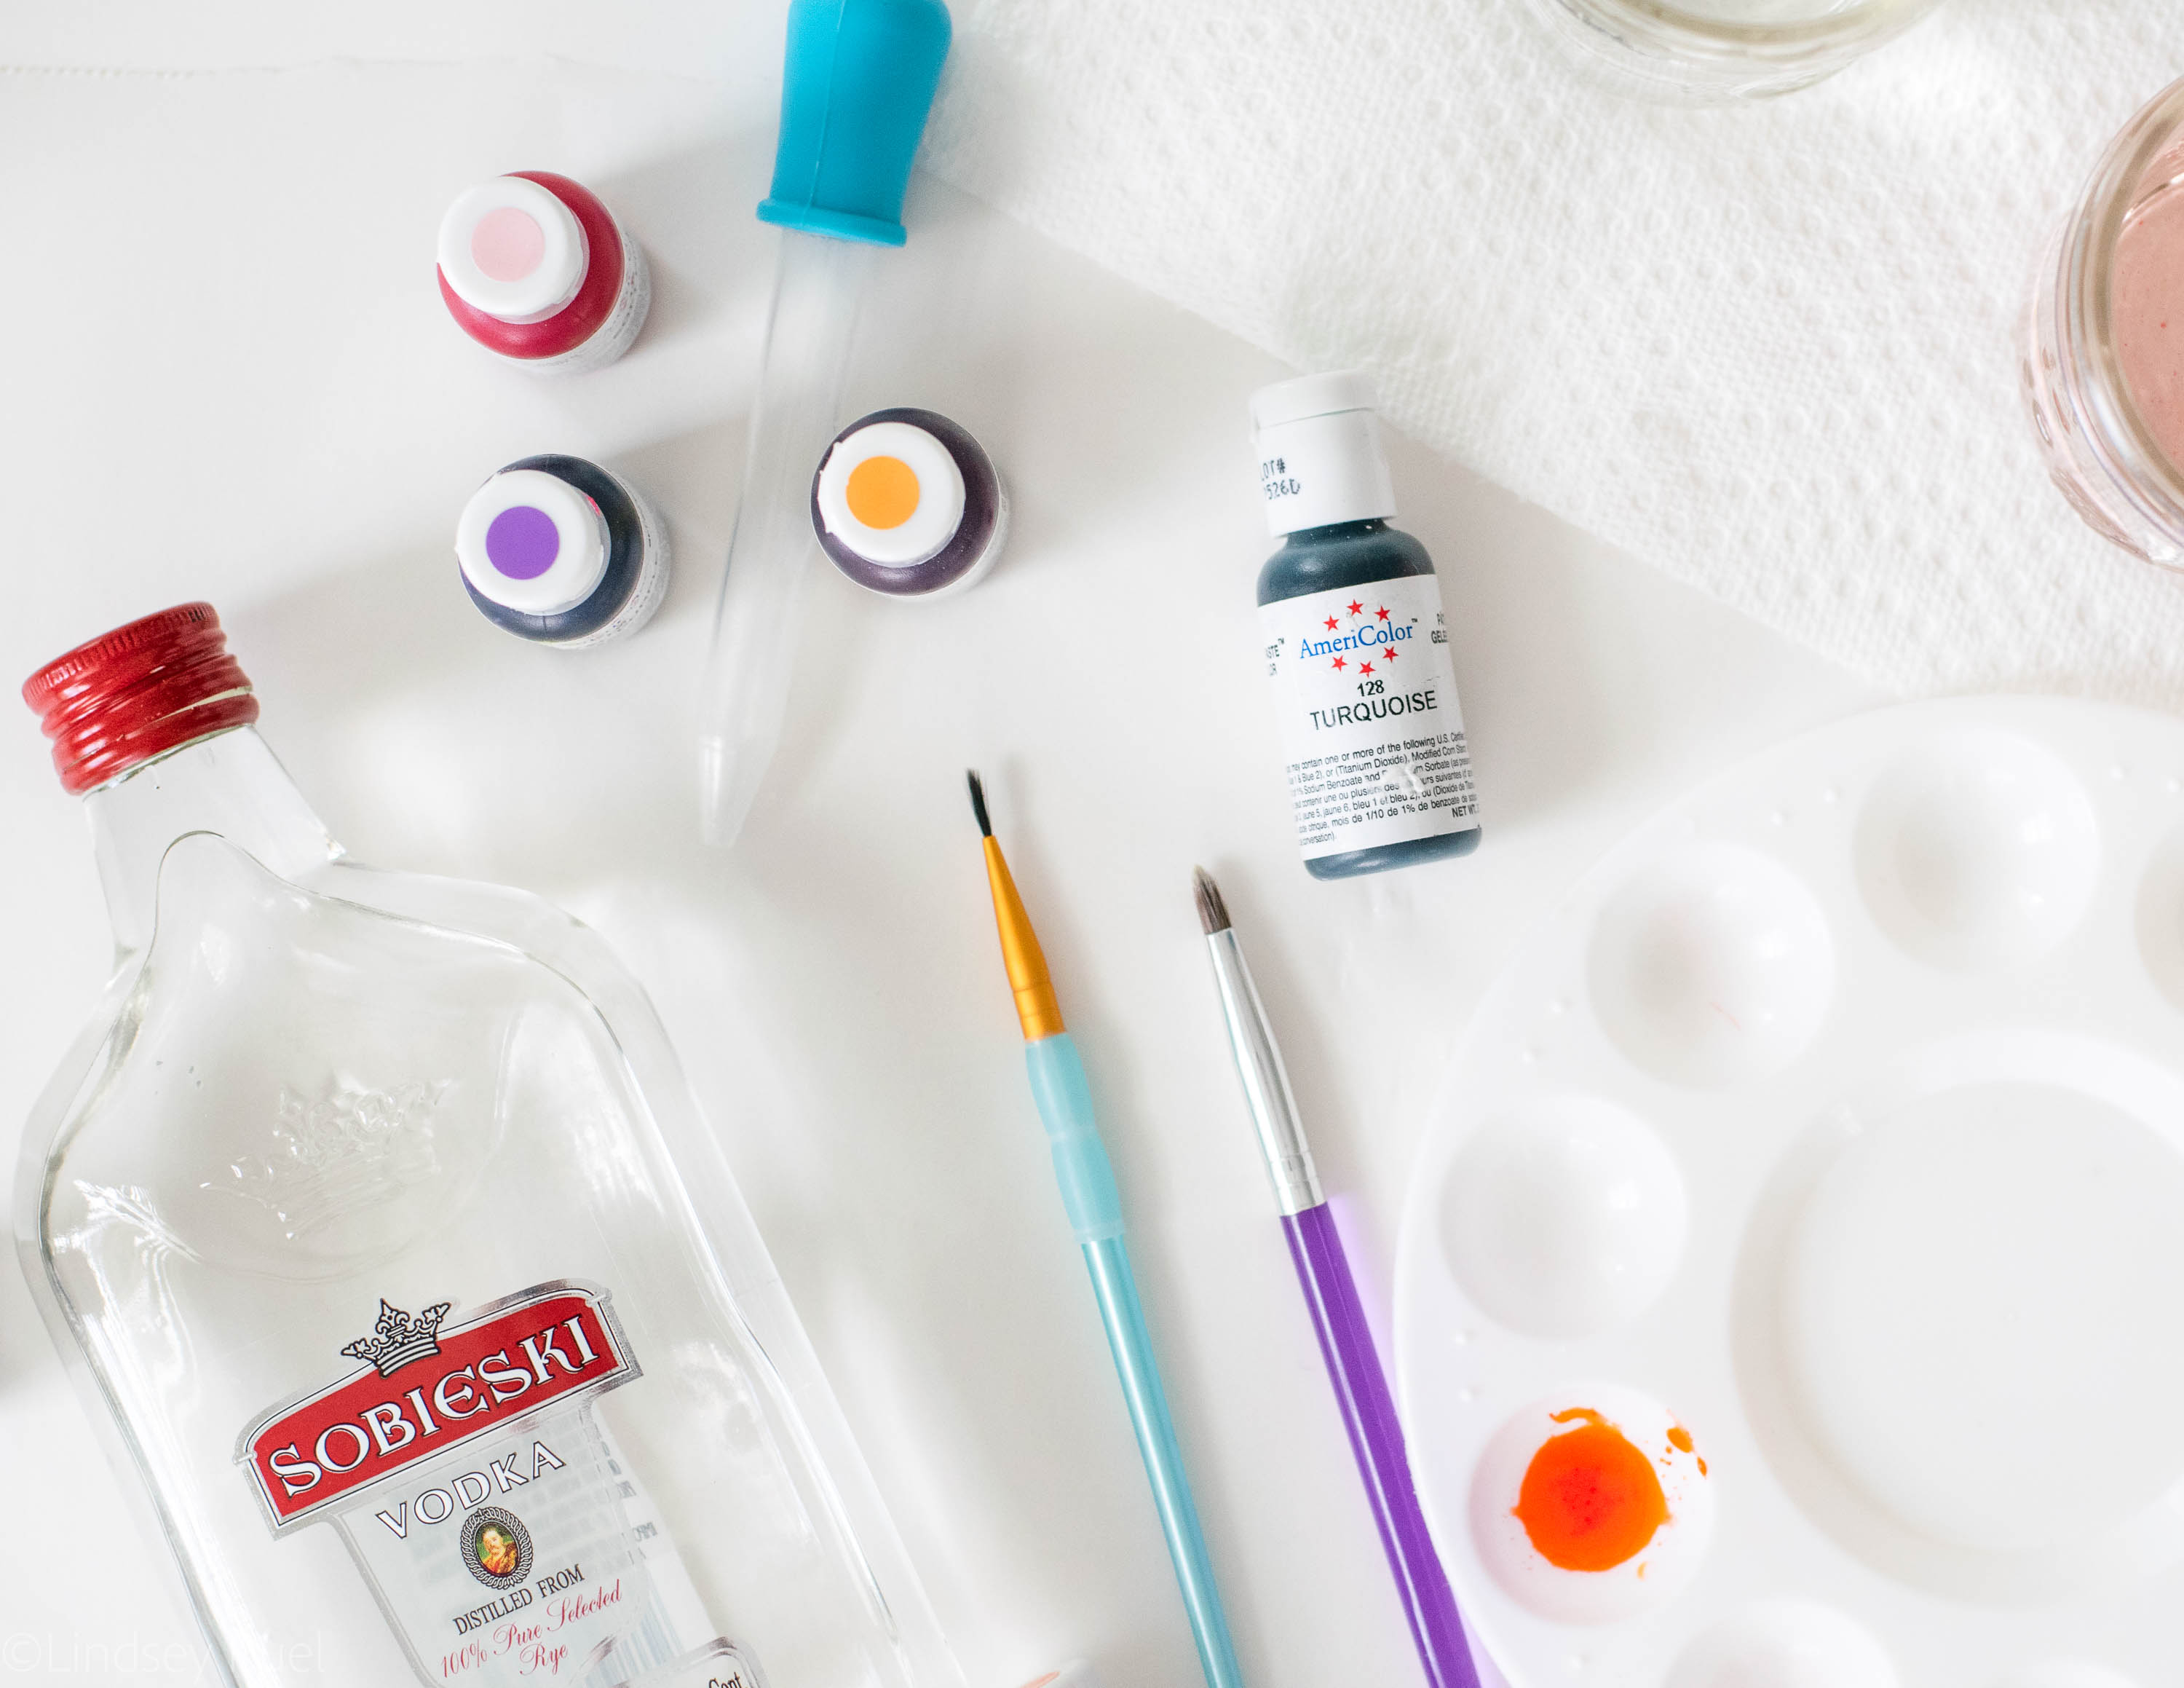
  • Gel food coloring
  • Clear alcohol (Vodka or Everclear work great)
  • Paint brushes (for food only, please and thank you)
  • Metallic food paint
  • Scribe tool
  • Piping bags
  • Piping tips (#1 and #2)
  • Coupler
  • Cookie cutters

[show_shopthepost_widget id=”3238963″]

How to Make Them

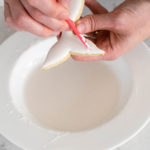
What makes these cookies a little bit different than my usual cookies is that I dip them into the icing instead of piping them. I find that it’s a little bit easier to dip the cookies. And since you just need a plain, flat surface to paint on, it doesn’t matter how the icing gets there!


Use thin down icing until its slightly thinner than flood consistency. It should return to a flat surface within 10 seconds after “scraping” the surface. I find that this consistency of icing creates a nice even surface that covers the entire cookie. 

Let the icing dry completely (about 4 hours) before beginning to paint. 

Painting these cookies is the most fun and relaxing part. I could just do that for hours!

I can’t say the same for the piping. While I love the metallic accents, painting on the metallic paint can be a bit tiresome after a while. So maybe enlist a friend or break it up into batches if you are making lots of cookies!


All in all, I am totally enamored with these cookies. I can’t wait to put the watercolor-metallic combination to work again in another fun cookie set!


/ Filed In: Cookies New, Decorated Cookies, Desserts, Eat
Tagged: beach, cookie decorating, cookies, mermaid, metallic, painted cookies, seashell, seaside, starfish, watercolor

Watercolor Ice Cream Cookies

July 30, 2018

Even though it seems like Summer is winding down, it is certainly heating up around these parts (literally). We are pushing triple digits here in Georgia, which I know most of the rest of the country is all too familiar with. 

I’m looking at you, Texas. 

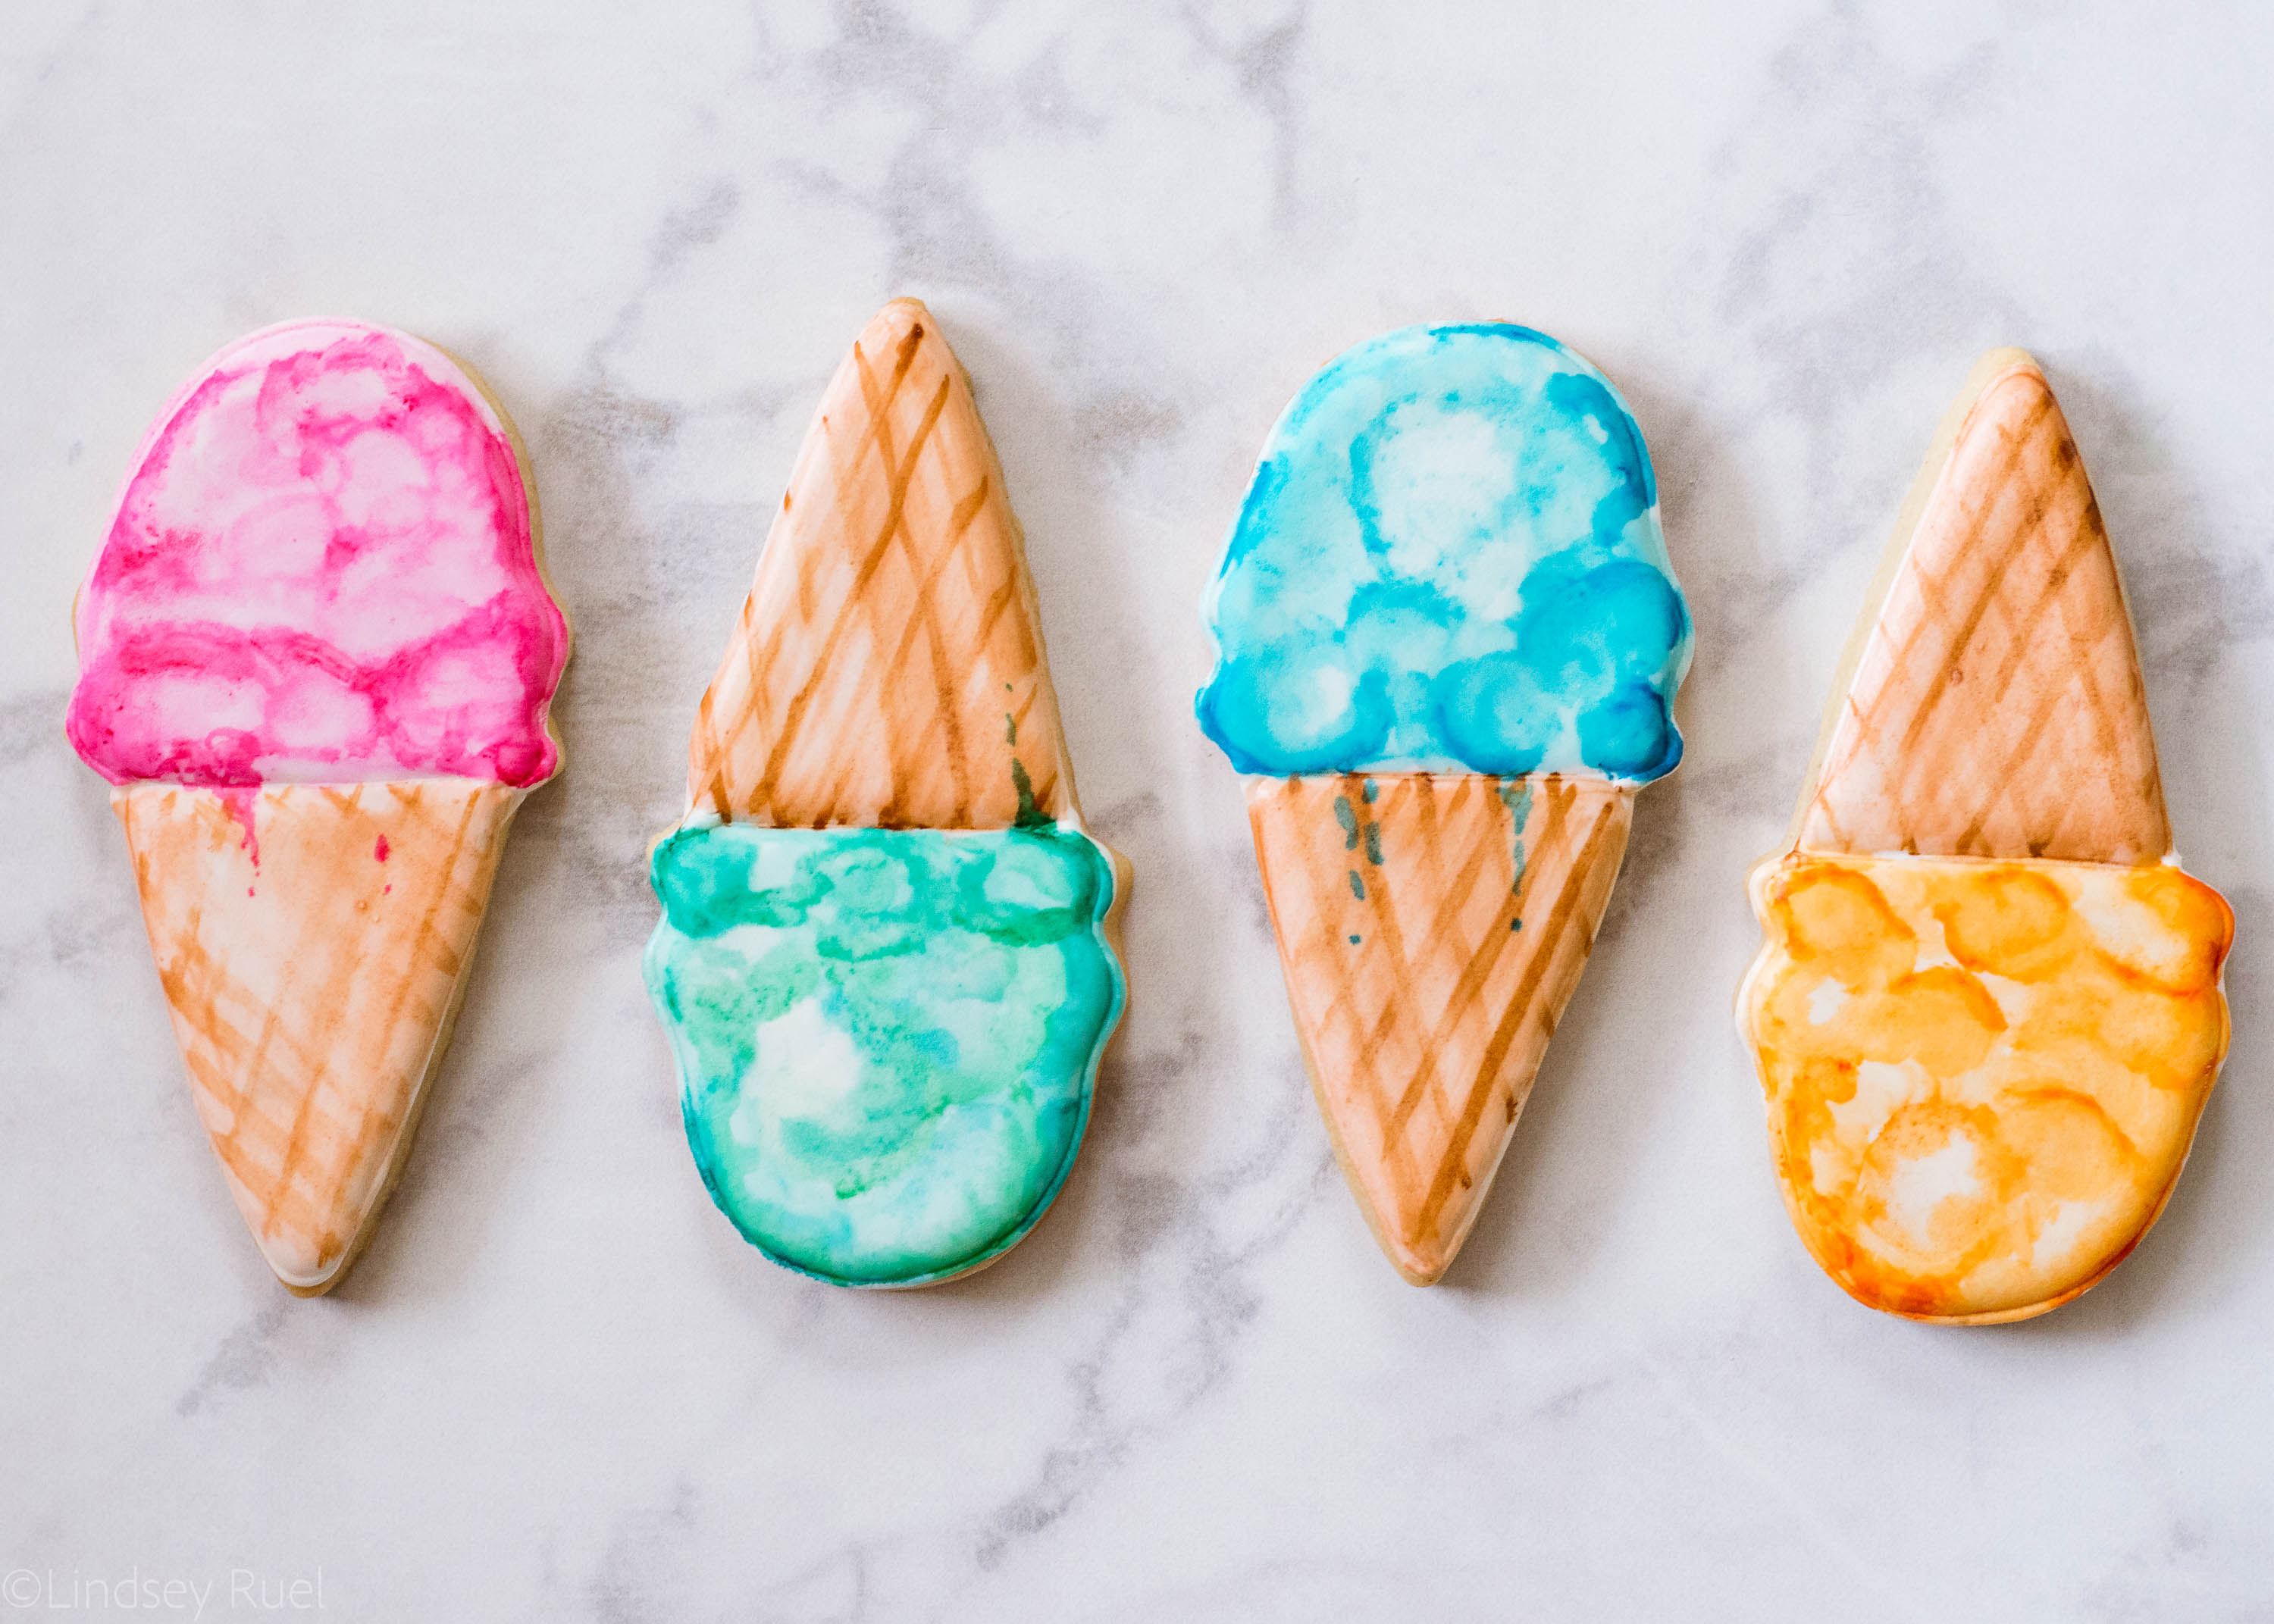
While actual ice cream would be just as good (if not better for these scorching Summer temps), I thought it would be fun to make some ice cream inspired cookies to get us through these dog-days of Summer. 

Recipes and Supplies

Of course, you will need some sugar cookies cut out into your favorite ice cream shapes. You could use my basic sugar cookie recipe, but I think one of my Summer sugar cookie recipes would be even better (shameless plug). 

You will also want to make a batch of royal icing thinned down to flood consistency icing. 

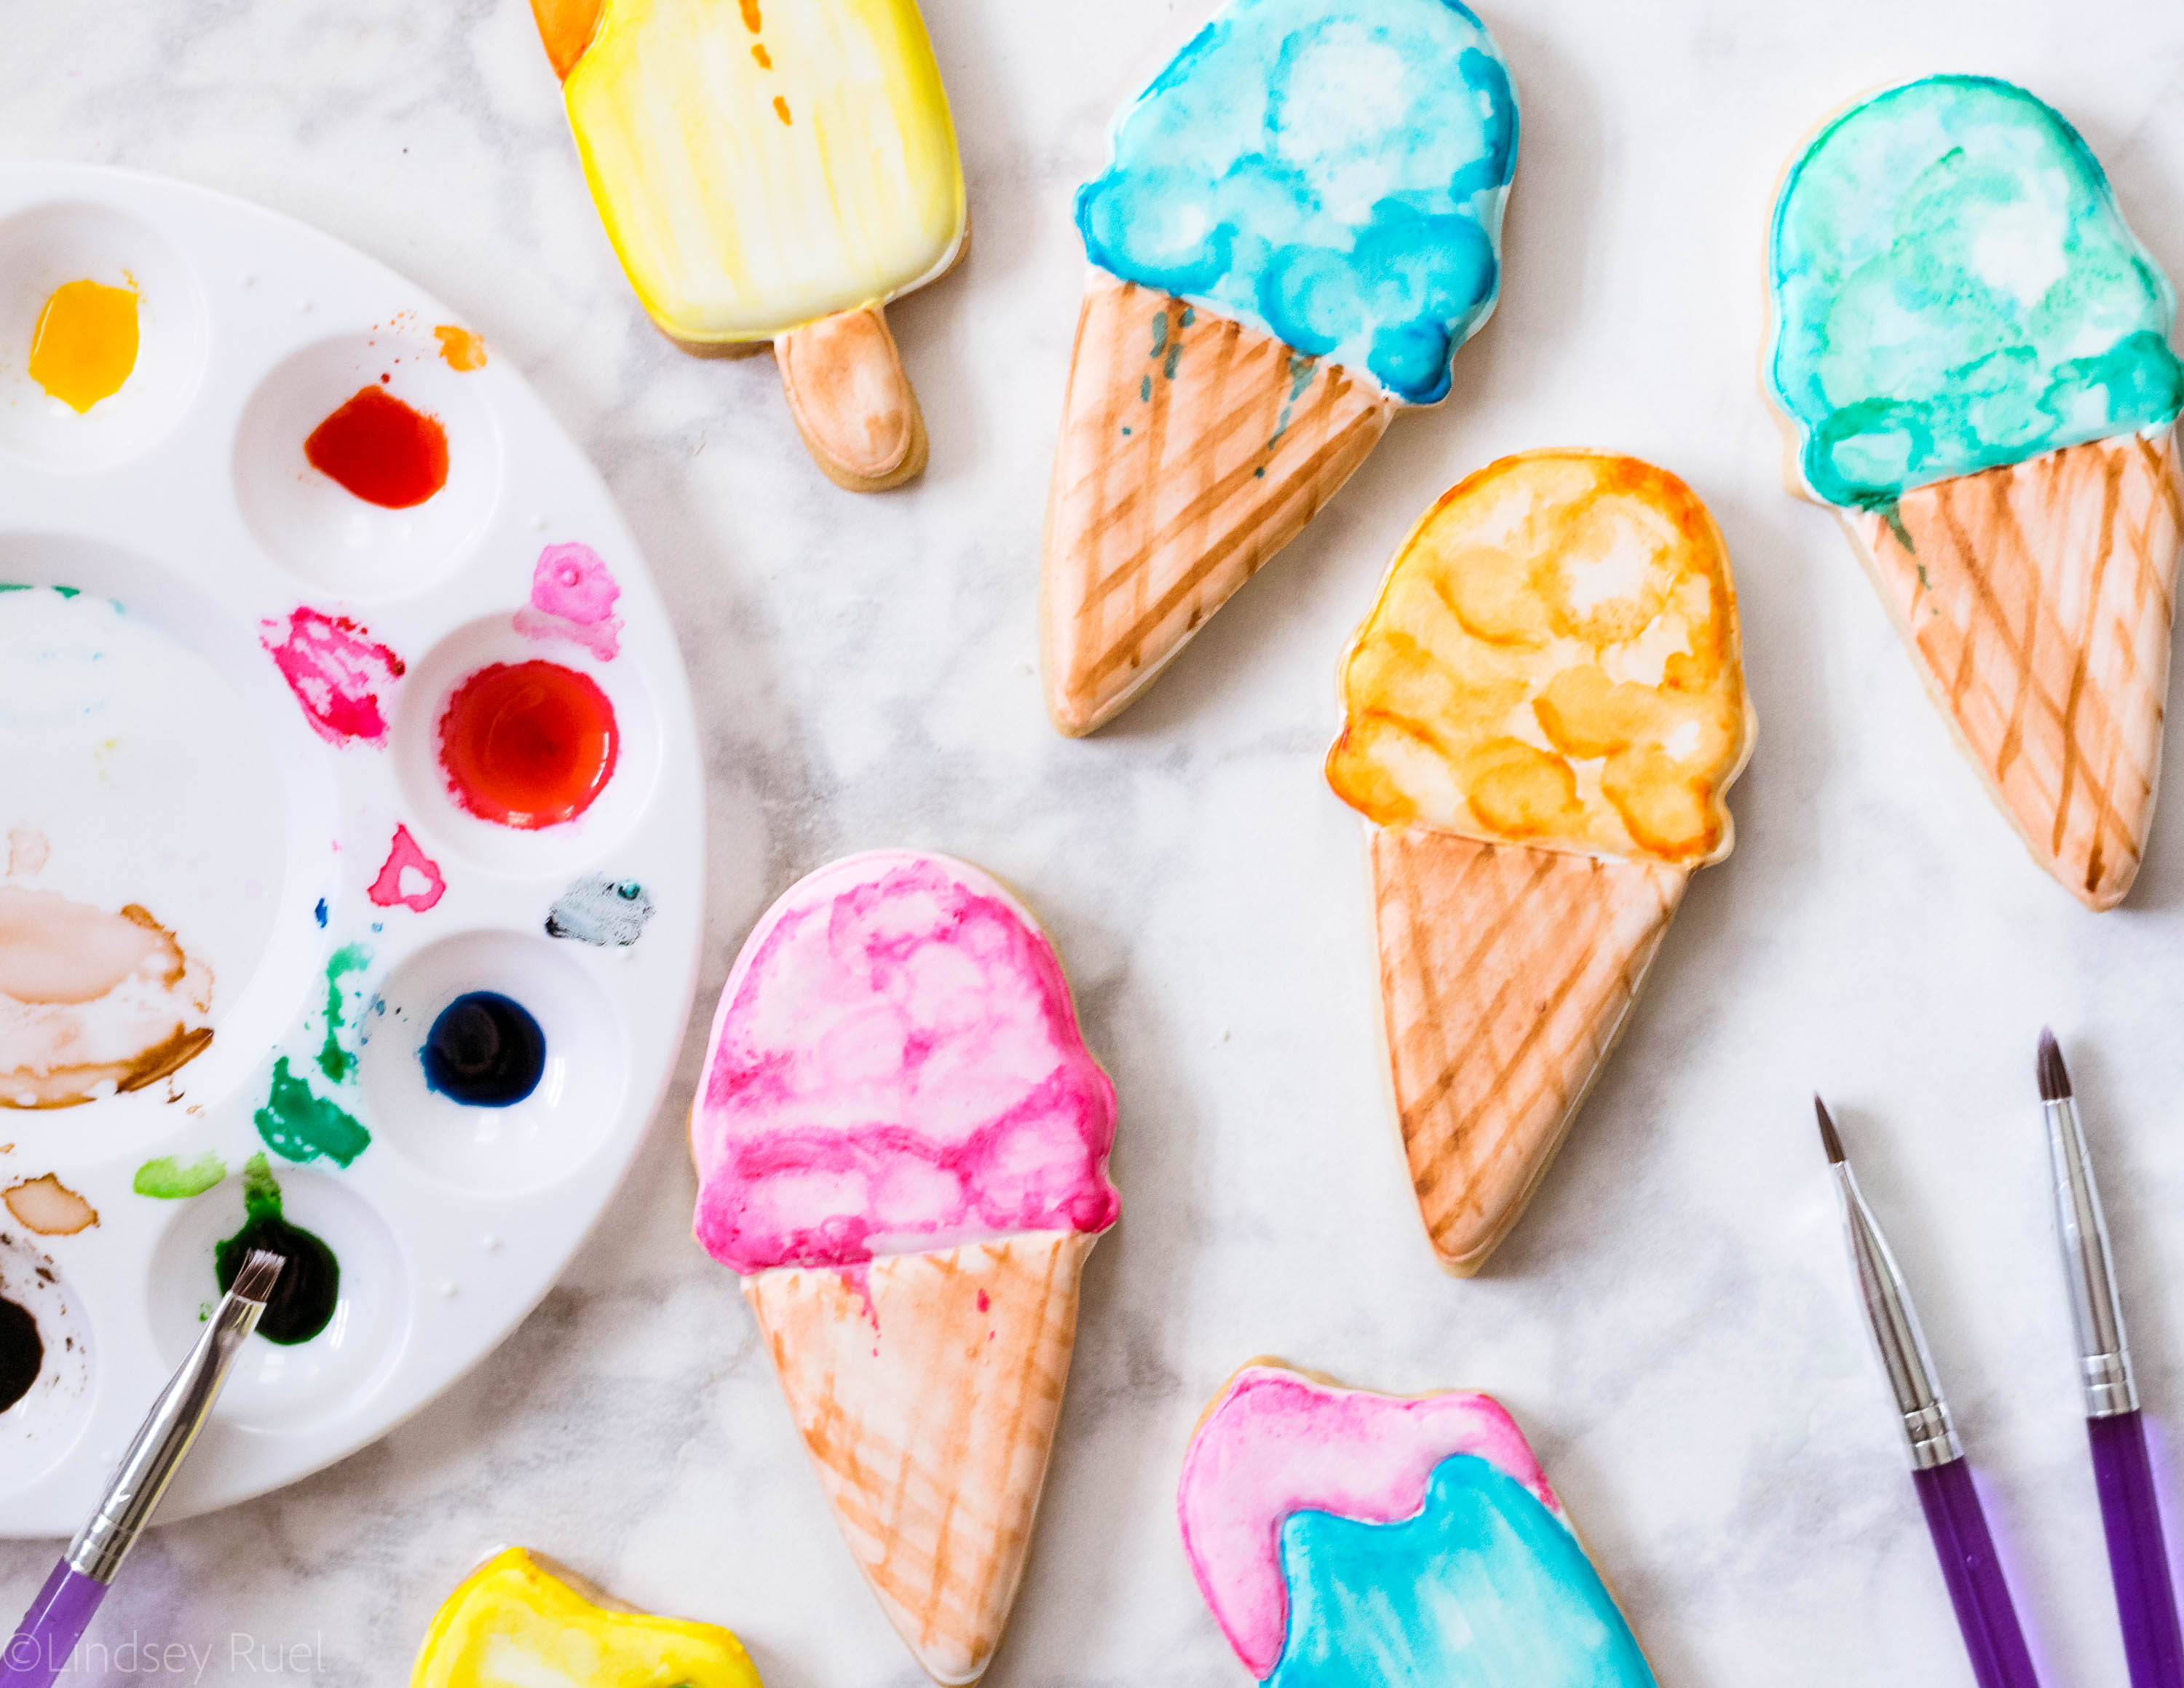
Since these are painted cookies, you will also need some gel food coloring in your favorite ice cream colors, paint brushes, and a little clear alcohol.

To make the edible watercolors, add one or two drops of food coloring to a plate or paint pallet, then add in a couple drops of alcohol. Stir the two together with your paintbrush until you have a nice watercolor paint. 

[show_shopthepost_widget id=”3224606″]

How to Make Them

Start by outlining and filling each cookie with white icing, letting the icing dry completely before painting. 

Then start painting!

These turned out so much cuter than I could have hoped! I think I found a new favorite cookie to paint!

What do you think?

/ Filed In: Cookies New, Decorated Cookies, Desserts, Eat
Tagged: cookies, ice cream, painted cookies, sugar cookies, Summer, watercolor

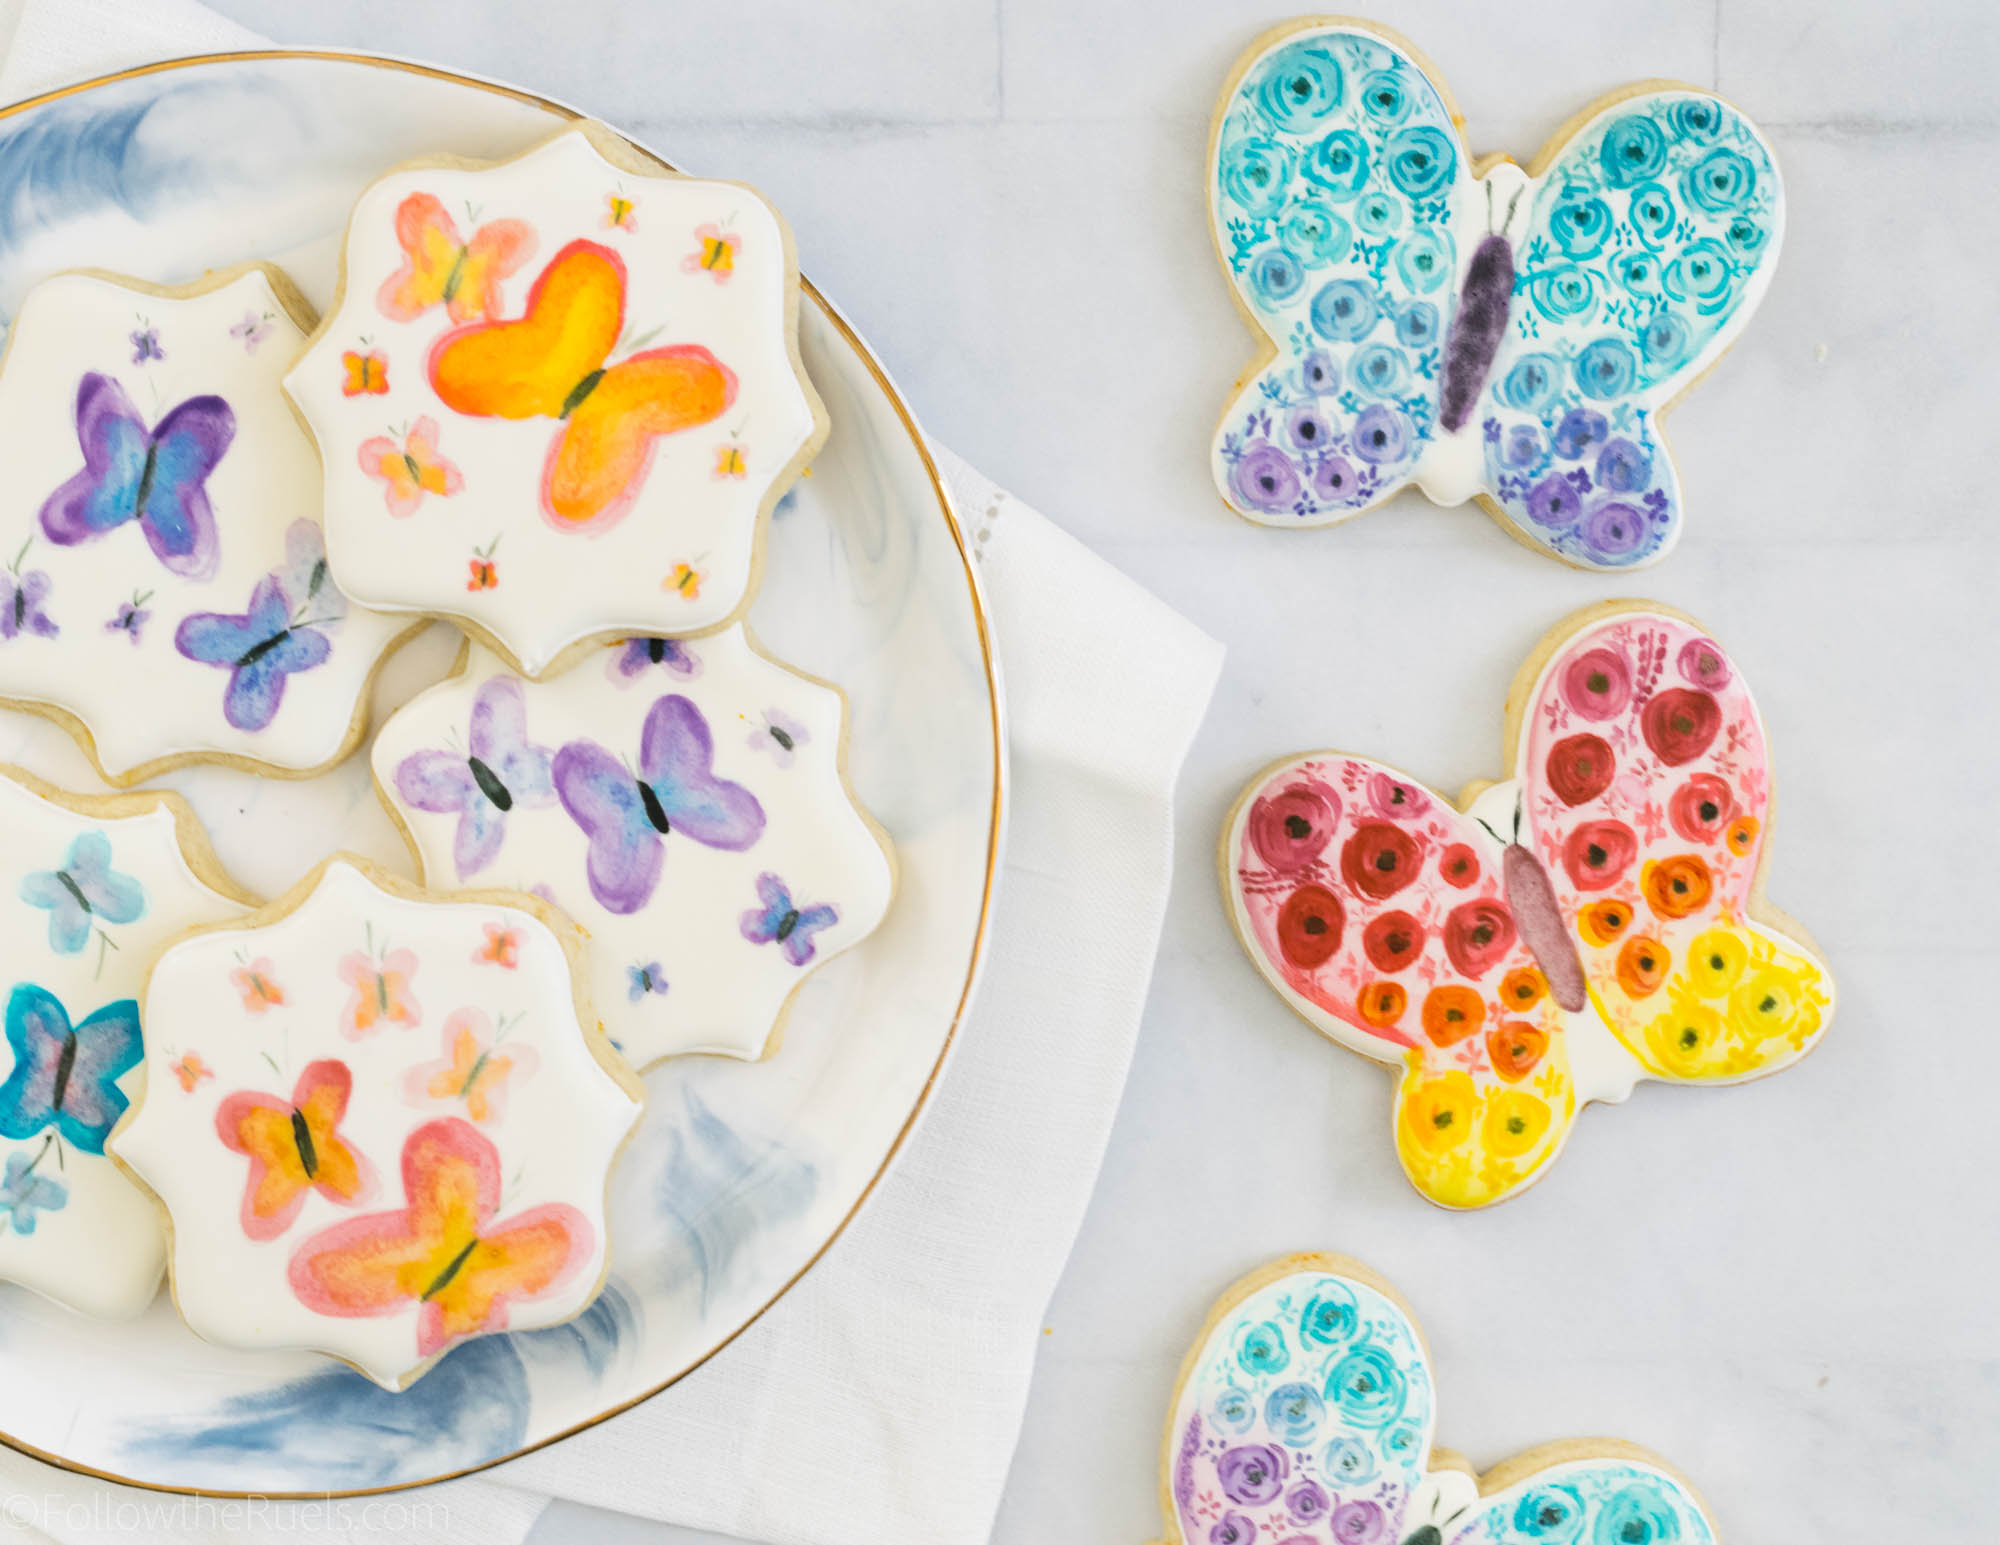
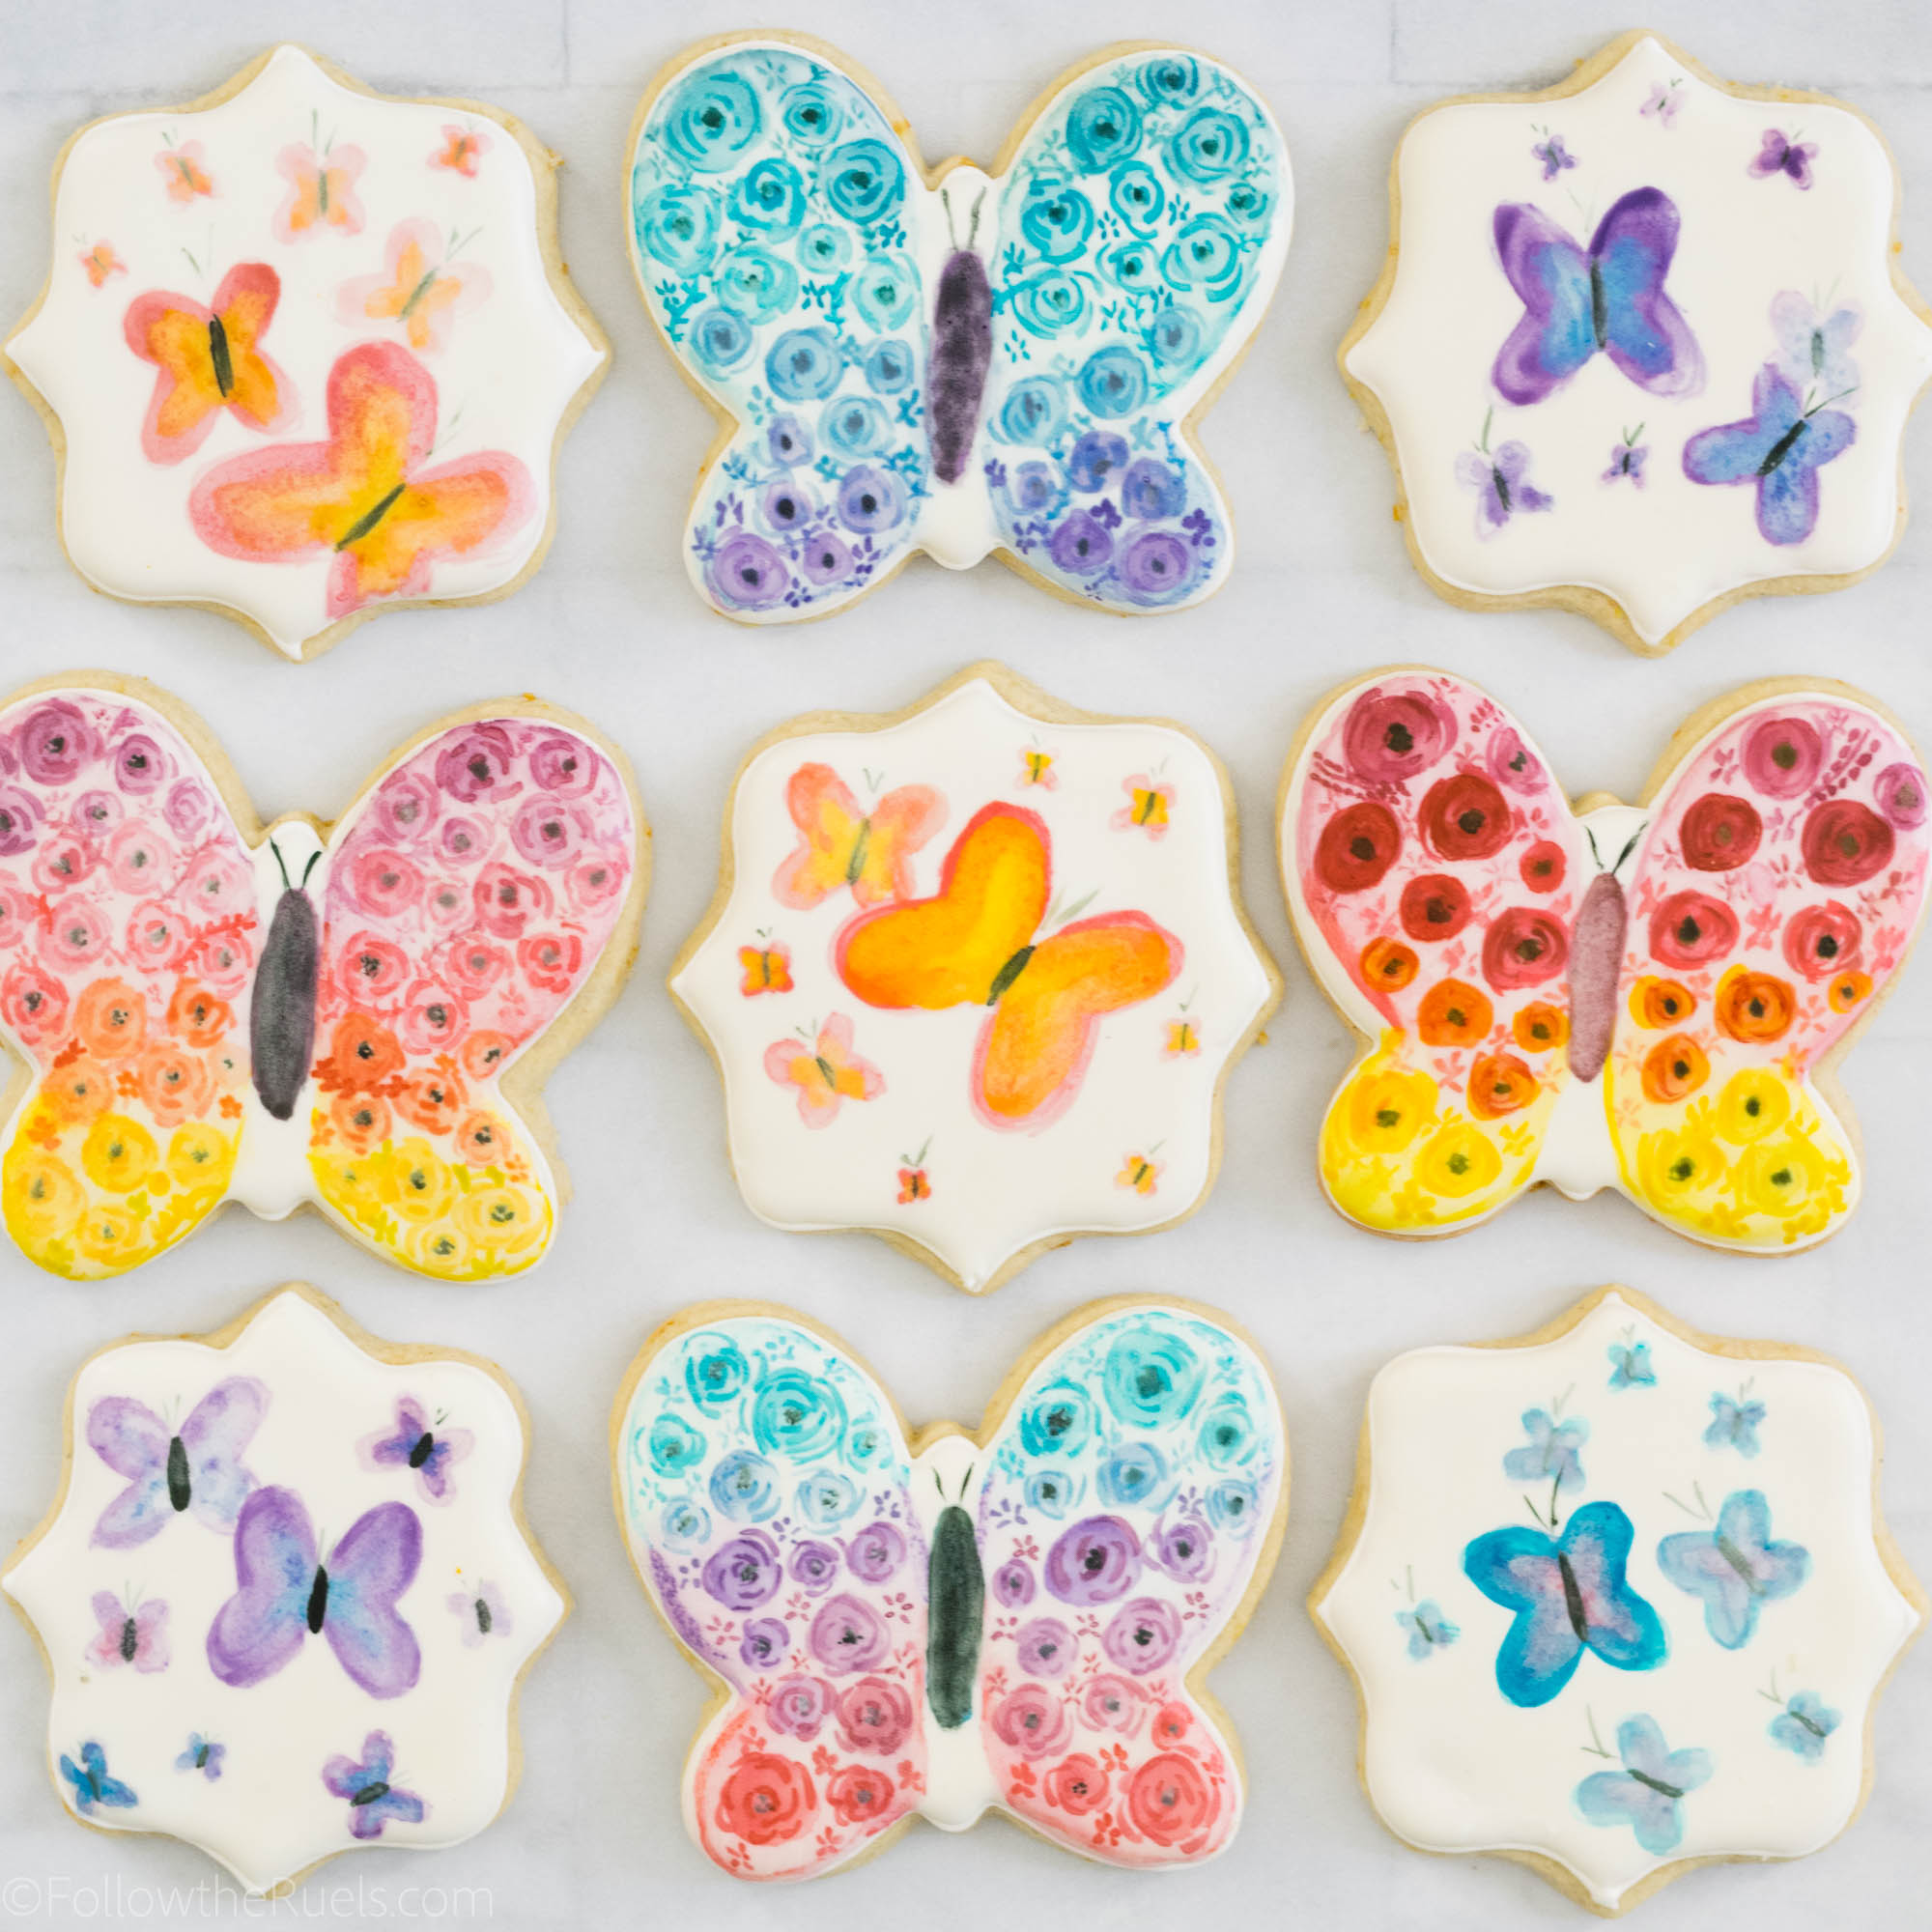
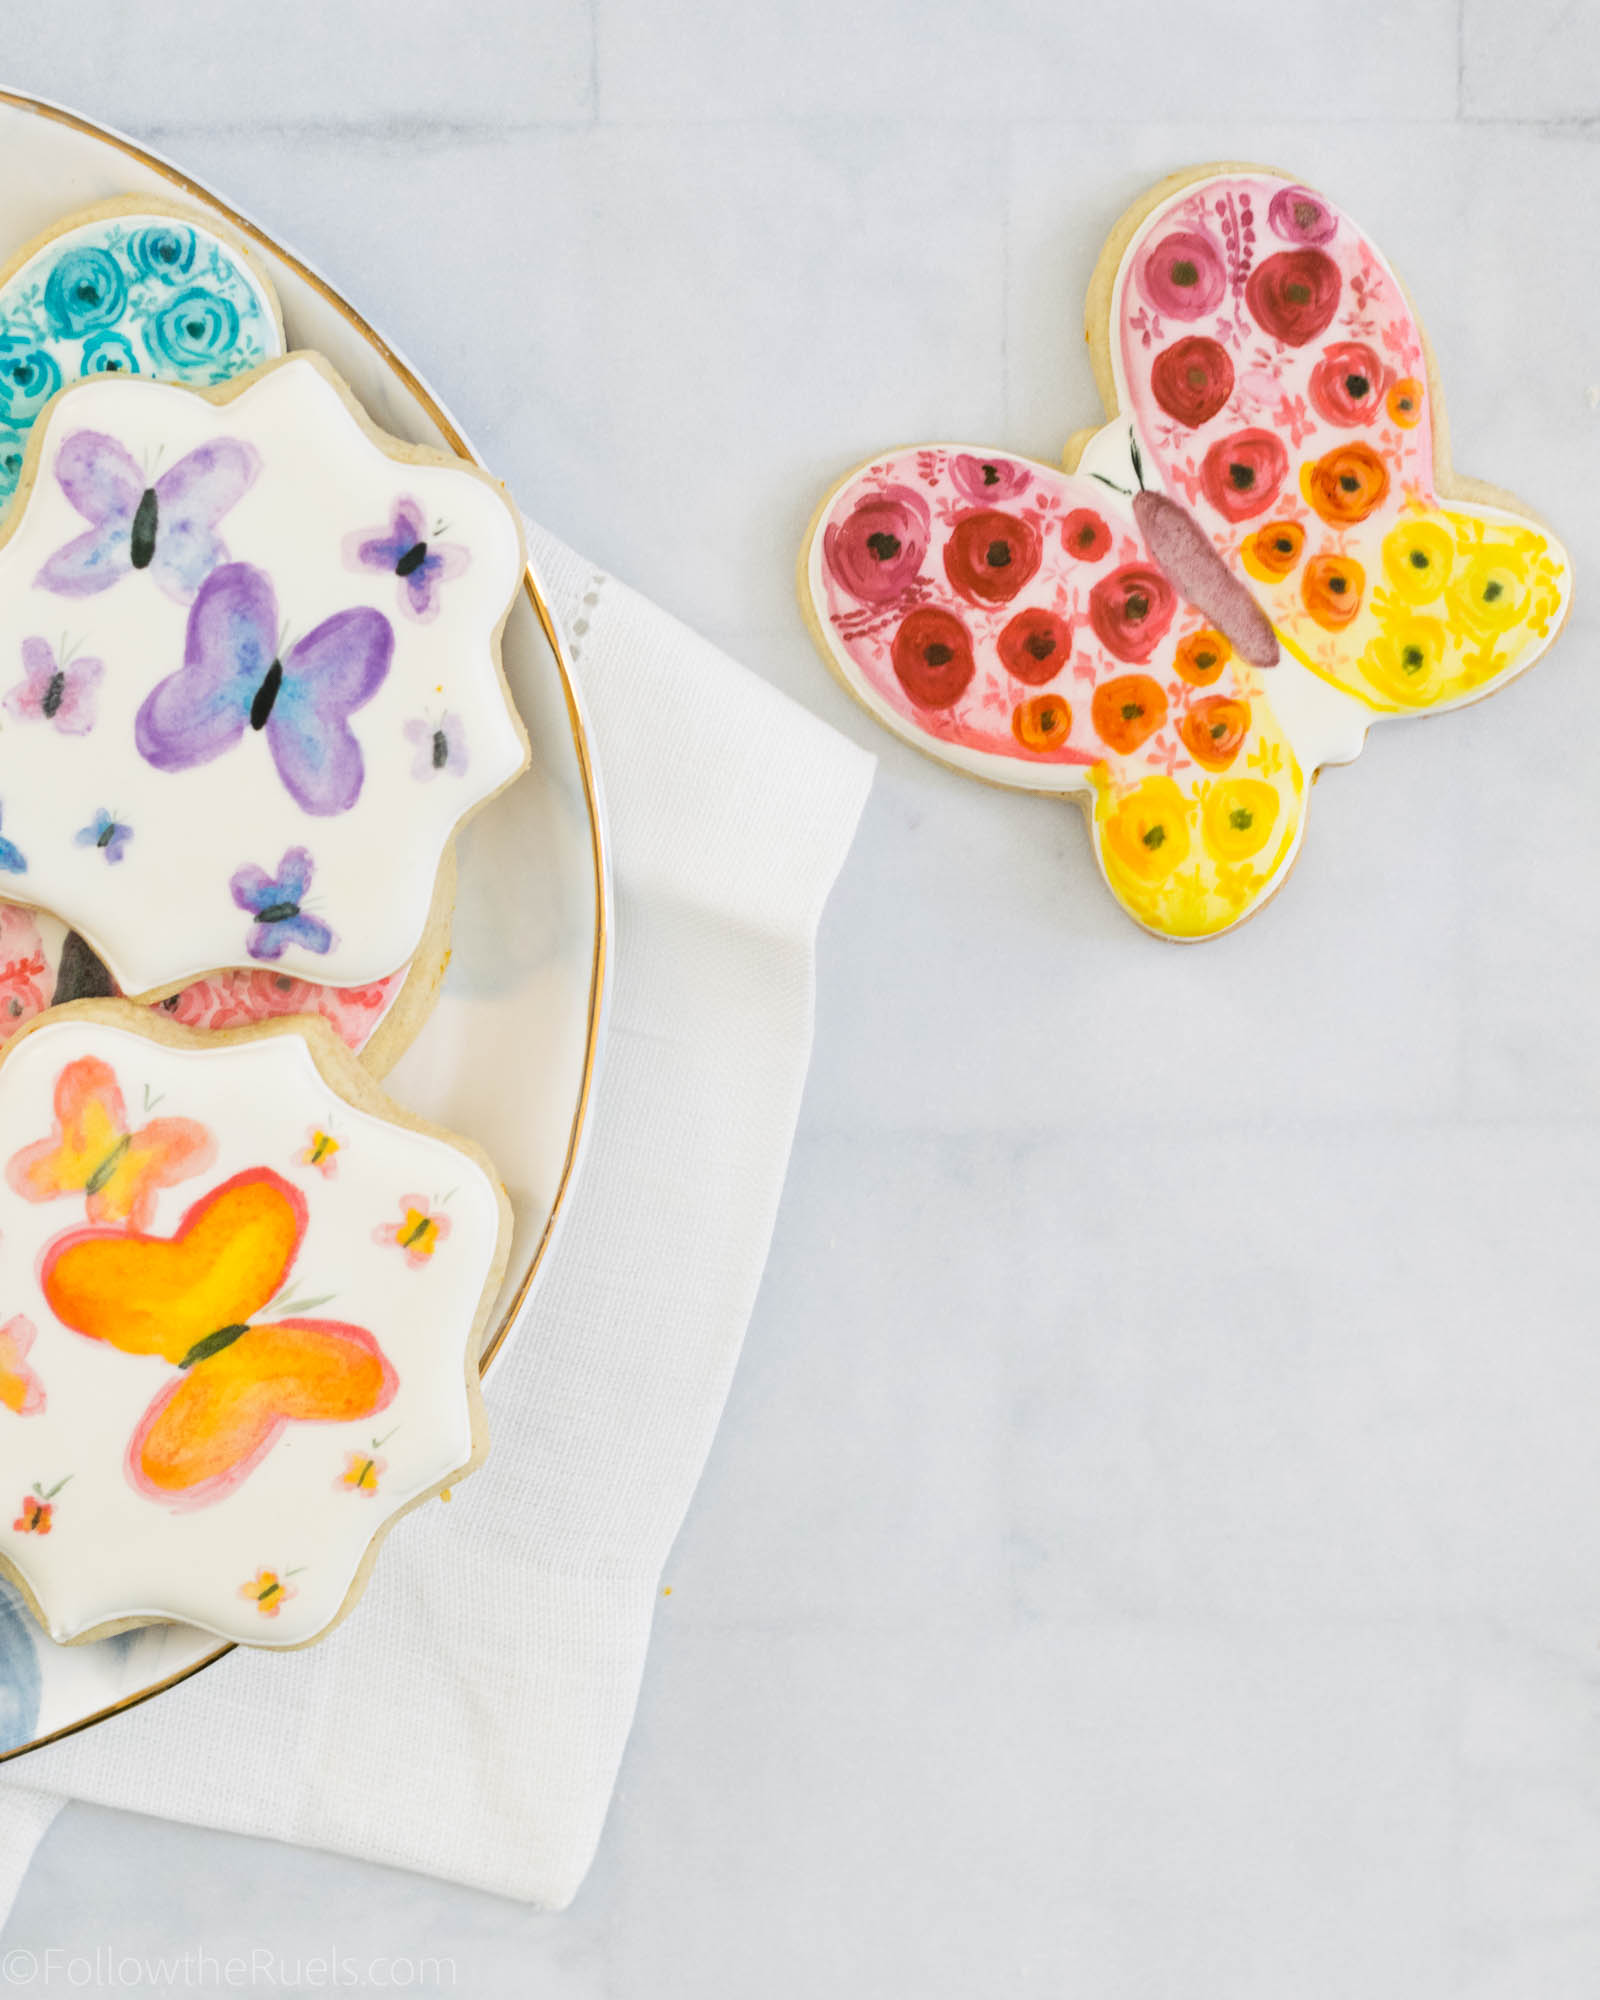
Watercolor Butterfly Cookies

May 15, 2018

Who doesn’t love a pretty little butterfly? Or better yet, butterfly cookie! 

I made these watercolor butterfly cookies for a couple of my best friends for Mother’s Day. I love any excuse to send them, their husbands, and their kiddos cookies. And what better way to say “you’re a totally awesome mom!” than with cookies!

Of course, I didn’t share these before Mother’s Day because I wanted my friends to see them first. But since there isn’t an overly “Mother’s Day” theme to these cookies, they would be perfect almost any time of year! Like a baby shower, bridal shower, birthday, graduation, or just to celebrate Spring!

How to Make Them

Of course, start by making your cookie dough. For these cookies, I actually flavored the dough with some orange zest and cardamom. Oh my were they heavenly. I actually share the exact recipe in my Christmas Cookie guide, even though this flavor is good year-round. 

Cut out the cookies into your desired shape, in this case a butterfly, plaque, or any other standard shape (circles always work!), then bake them until they are barely golden brown around the edges. 

Once the cookies have cooled, you can start to decorate!

First, outline and fill the entire cookie with flood consistency icing and leave it uncolored. Let the icing dry completely (overnight is preferred) so that they will be at their best for painting. 

To prepare for the painting, dilute 1-2 drops of gel food coloring with a clear alcohol, like vodka, then paint on top of the cookie. The more vodka added the more diluted the color will be. I like to leave one well very pigmented, then add another little well of plain alcohol which I can use to create a more diluted shade of the color. 

Finally, you are ready to paint away! There isn’t a lot of rhyme or reason for painting, other than make sure you aren’t painting with a water-soaked brush. Between colors, clean your brush off in a glass of water, but then brush off all excess water before dipping back into the paint. The water will degrade the icing leaving little craters all across your cookie. Not cute!

The paint only takes a few minutes to dry, so once you are done you can pack the cookies into bags or set out to eat! 

Supplies

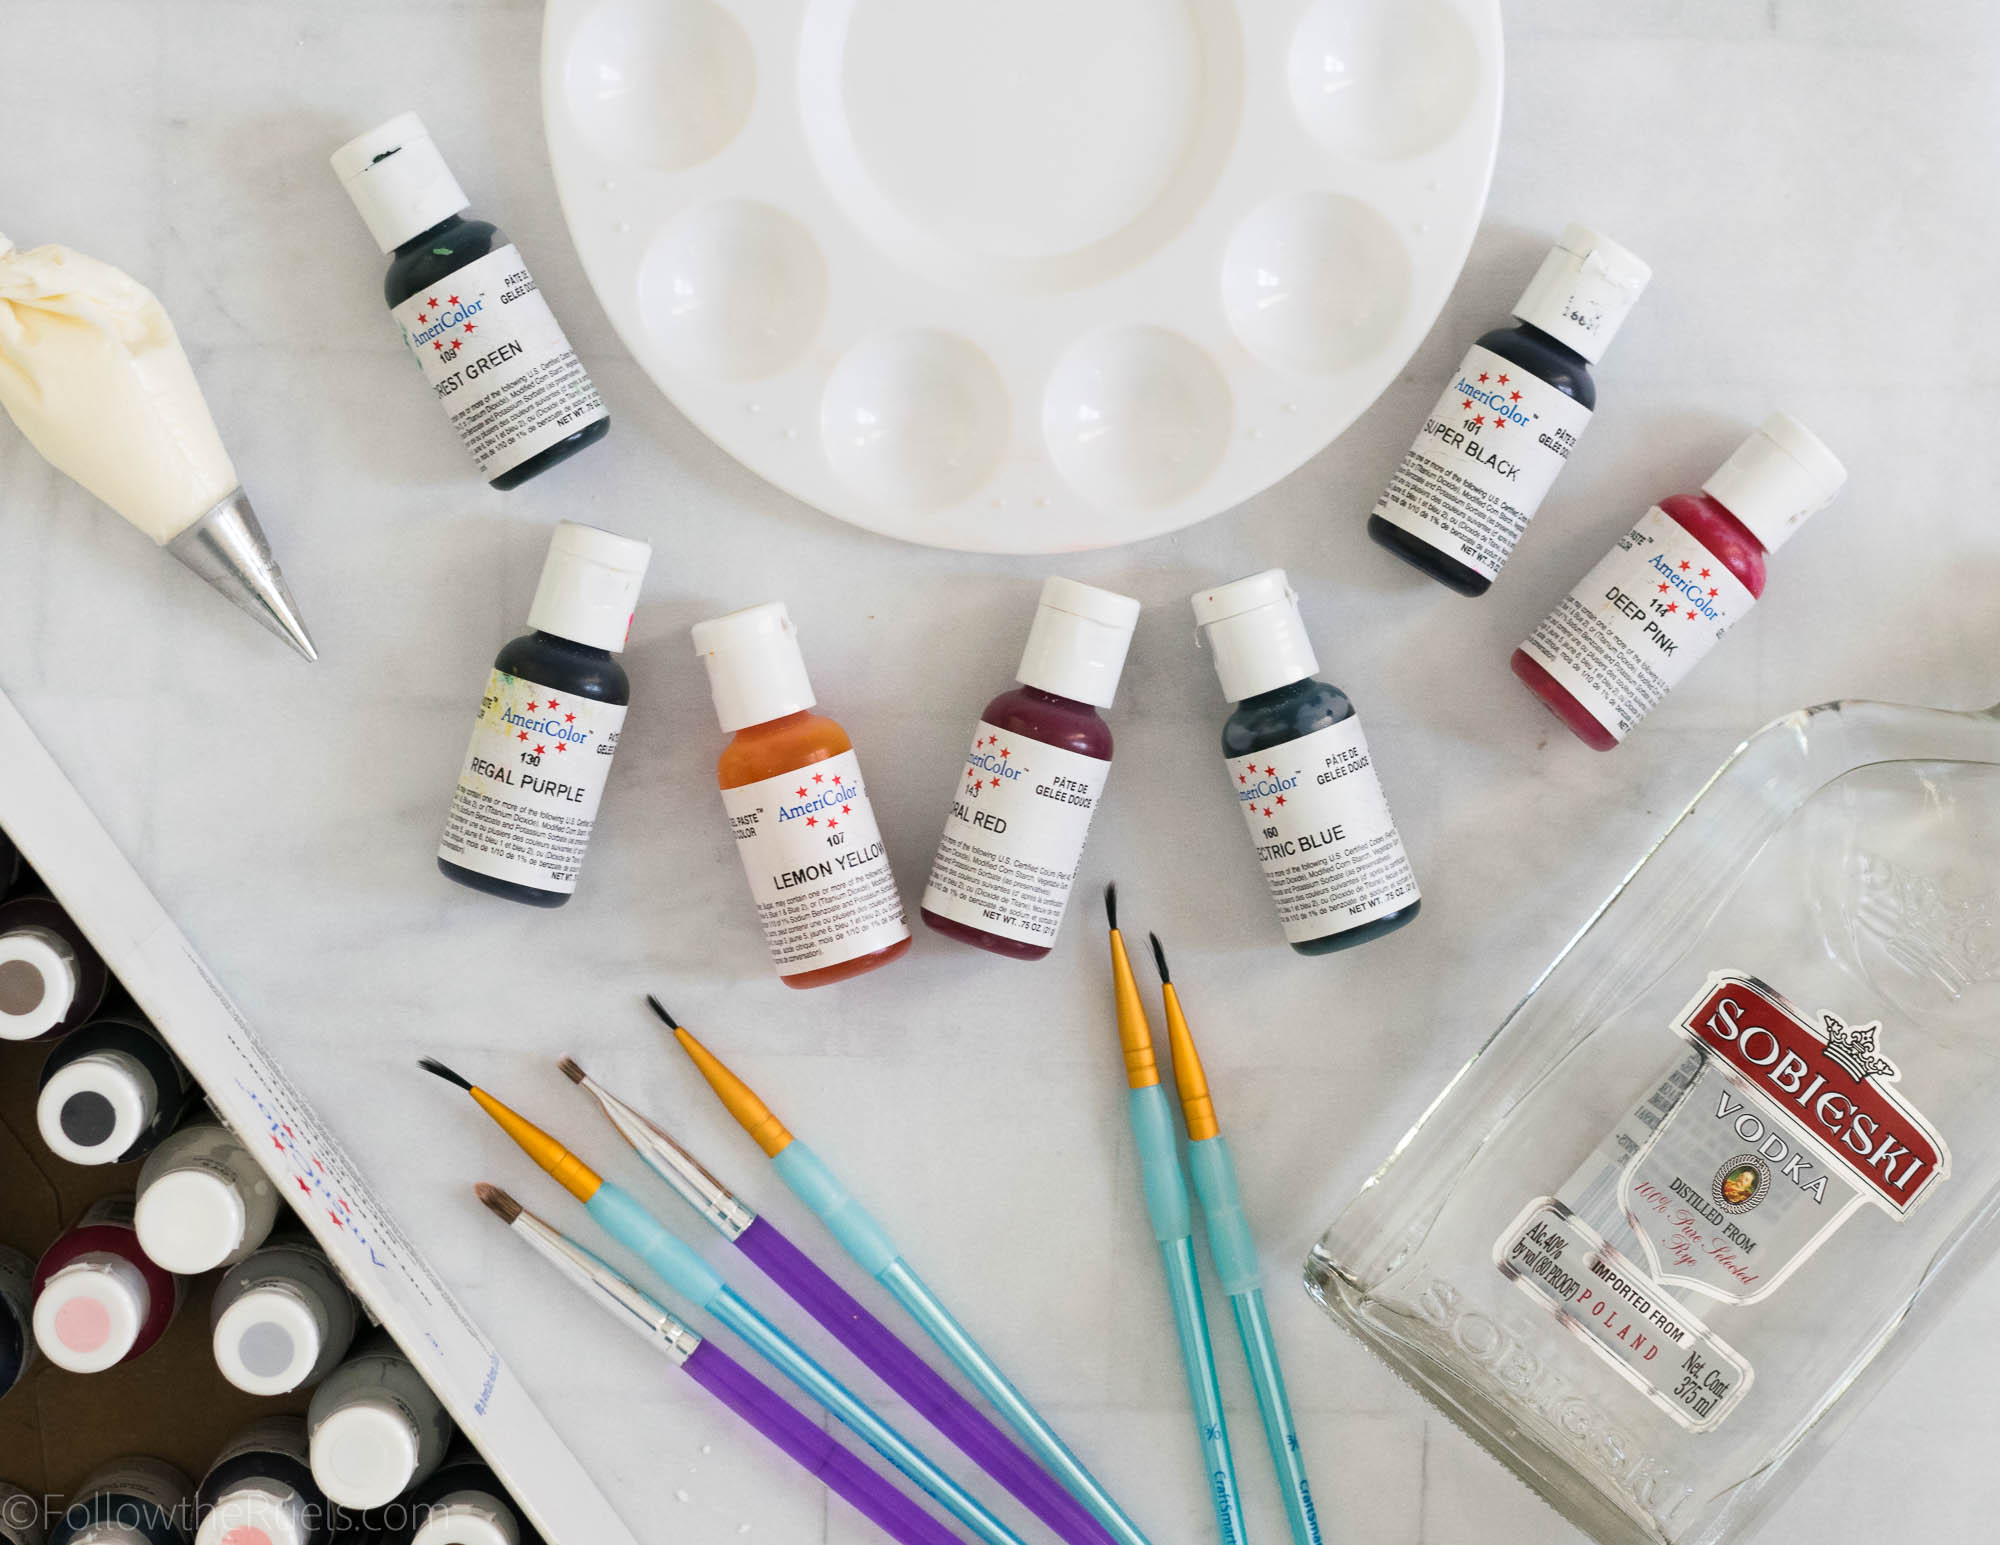
Like all my watercolor and painted cookies, the supplies for these cookies are pretty standard: food coloring, alcohol, and paint brushes. 

For the gel food coloring, I used all the bright colors in my collection: purple, pink, orange, yellow, and blue. I diluted the food coloring with some cheap vodka that I picked up at the liquor store. If you don’t keep vodka in your house or don’t have access to it, you can also use a clear extract, like almond extract.

Now for the paint brushes. I stress this in every post, but it is important to use clean (i.e. never used with paint) brushes. Wilton makes paint brushes specifically for baking, but I use normal craft brushes that I clean with dish soap before using. 

[show_shopthepost_widget id=”3136059″]

/ Filed In: Cookies New, Decorated Cookies, Desserts, Eat
Tagged: butterfly, cookie decorating, cookies, Mother's Day, painted cookies, Spring, watercolor

Mom Tattoo Cookies

May 8, 2018

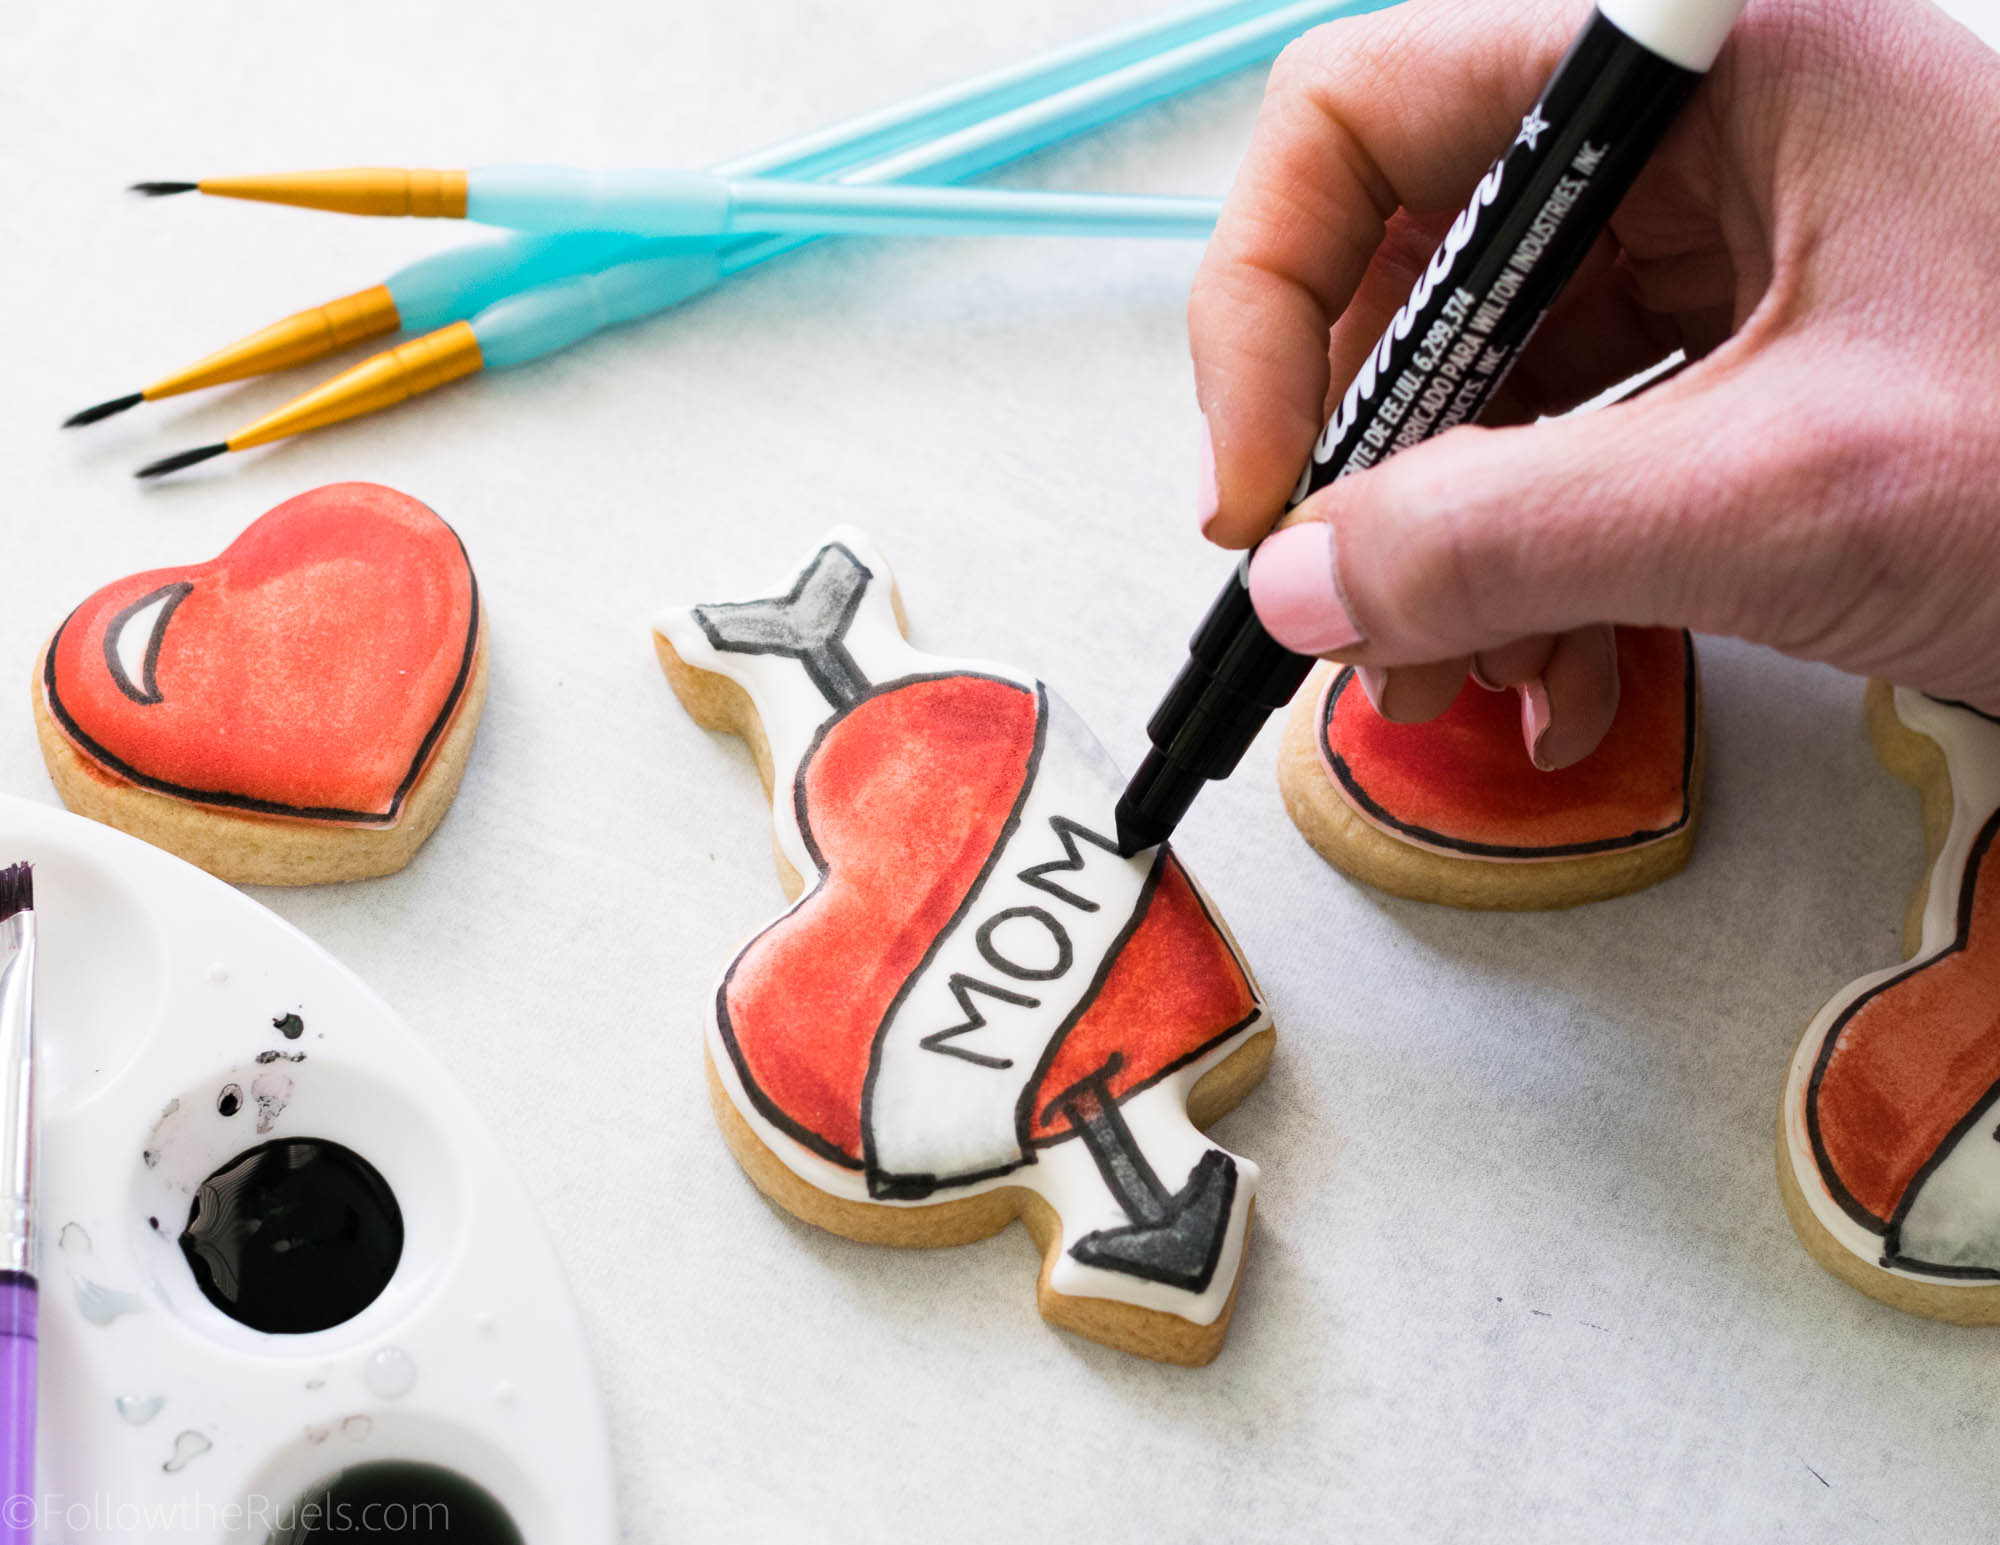
Now if there is anything I know about my mom, it’s that she hates tattoos. I am pretty sure she would disown me if I ever got one. However, I think there is something sweet about a tough guy with a mom tattoo. Everyone has a soft spot for their mom. 

Which is what inspired these Mom Tattoo Cookies. 

So while my mom may not appreciate a Mom Tattoo Cookies, maybe your mom will! Especially if she has some ink of her own! They are incredibly fun and easy to make if you need a last minute treat for Mother’s Day.

How to Make Them

Start by making your sugar cookie dough and cutting it out into shapes. I used old Valentine’s Day cookie cutters that were perfect for this tattoo-inspired cookie. 

Then outline and fill the entire cookie with plain flood consistency royal icing. Let the icing dry completely (overnight is preferred), then start painting!

I recommend outlining the shapes with a very faint line of paint first. You can go back and make corrections like you can see me do in the video. Then, when you are happy with your design, fill it in. 

Supplies

There are only a few supplies you will need for these cookies, and you may already have most of these on hand. 

You only need two colors of food coloring: red and black. For both colors, I diluted them with a bit of clear alcohol (vodka) to get different shades, like a light red and dark red, and a black and a light grey. 

If you have painted on cookies before, then you probably already have some paint brushes laying around. If not, please only use brand new brushes that have never been used with paint. Just head out to your local craft store and pick up some cheap brushes. Or, if they have a baking section, then you can use brushes specifically for food, like these. 

Lastly, you will need an edible ink marker. I think it’s what makes these cookies really stand out and look like an actual tattoo. 

[show_shopthepost_widget id=”3128296″]

/ Filed In: Cookies New, Decorated Cookies, Desserts, Eat
Tagged: cookies, food marker, mom, Mother's Day, painted cookies, tattoo

Halloween Silhouette Cookies

October 31, 2017

Happy Halloween everyone! As an adult, I don’t get to really enjoy Halloween as much. There is really no dressing up (for me anyway). Eating lots of Halloween candy also comes with lots of Halloween guilt. And for us, we live in an area that doesn’t get any trick-or-treaters, so I can’t even live vicariously through the kids. 

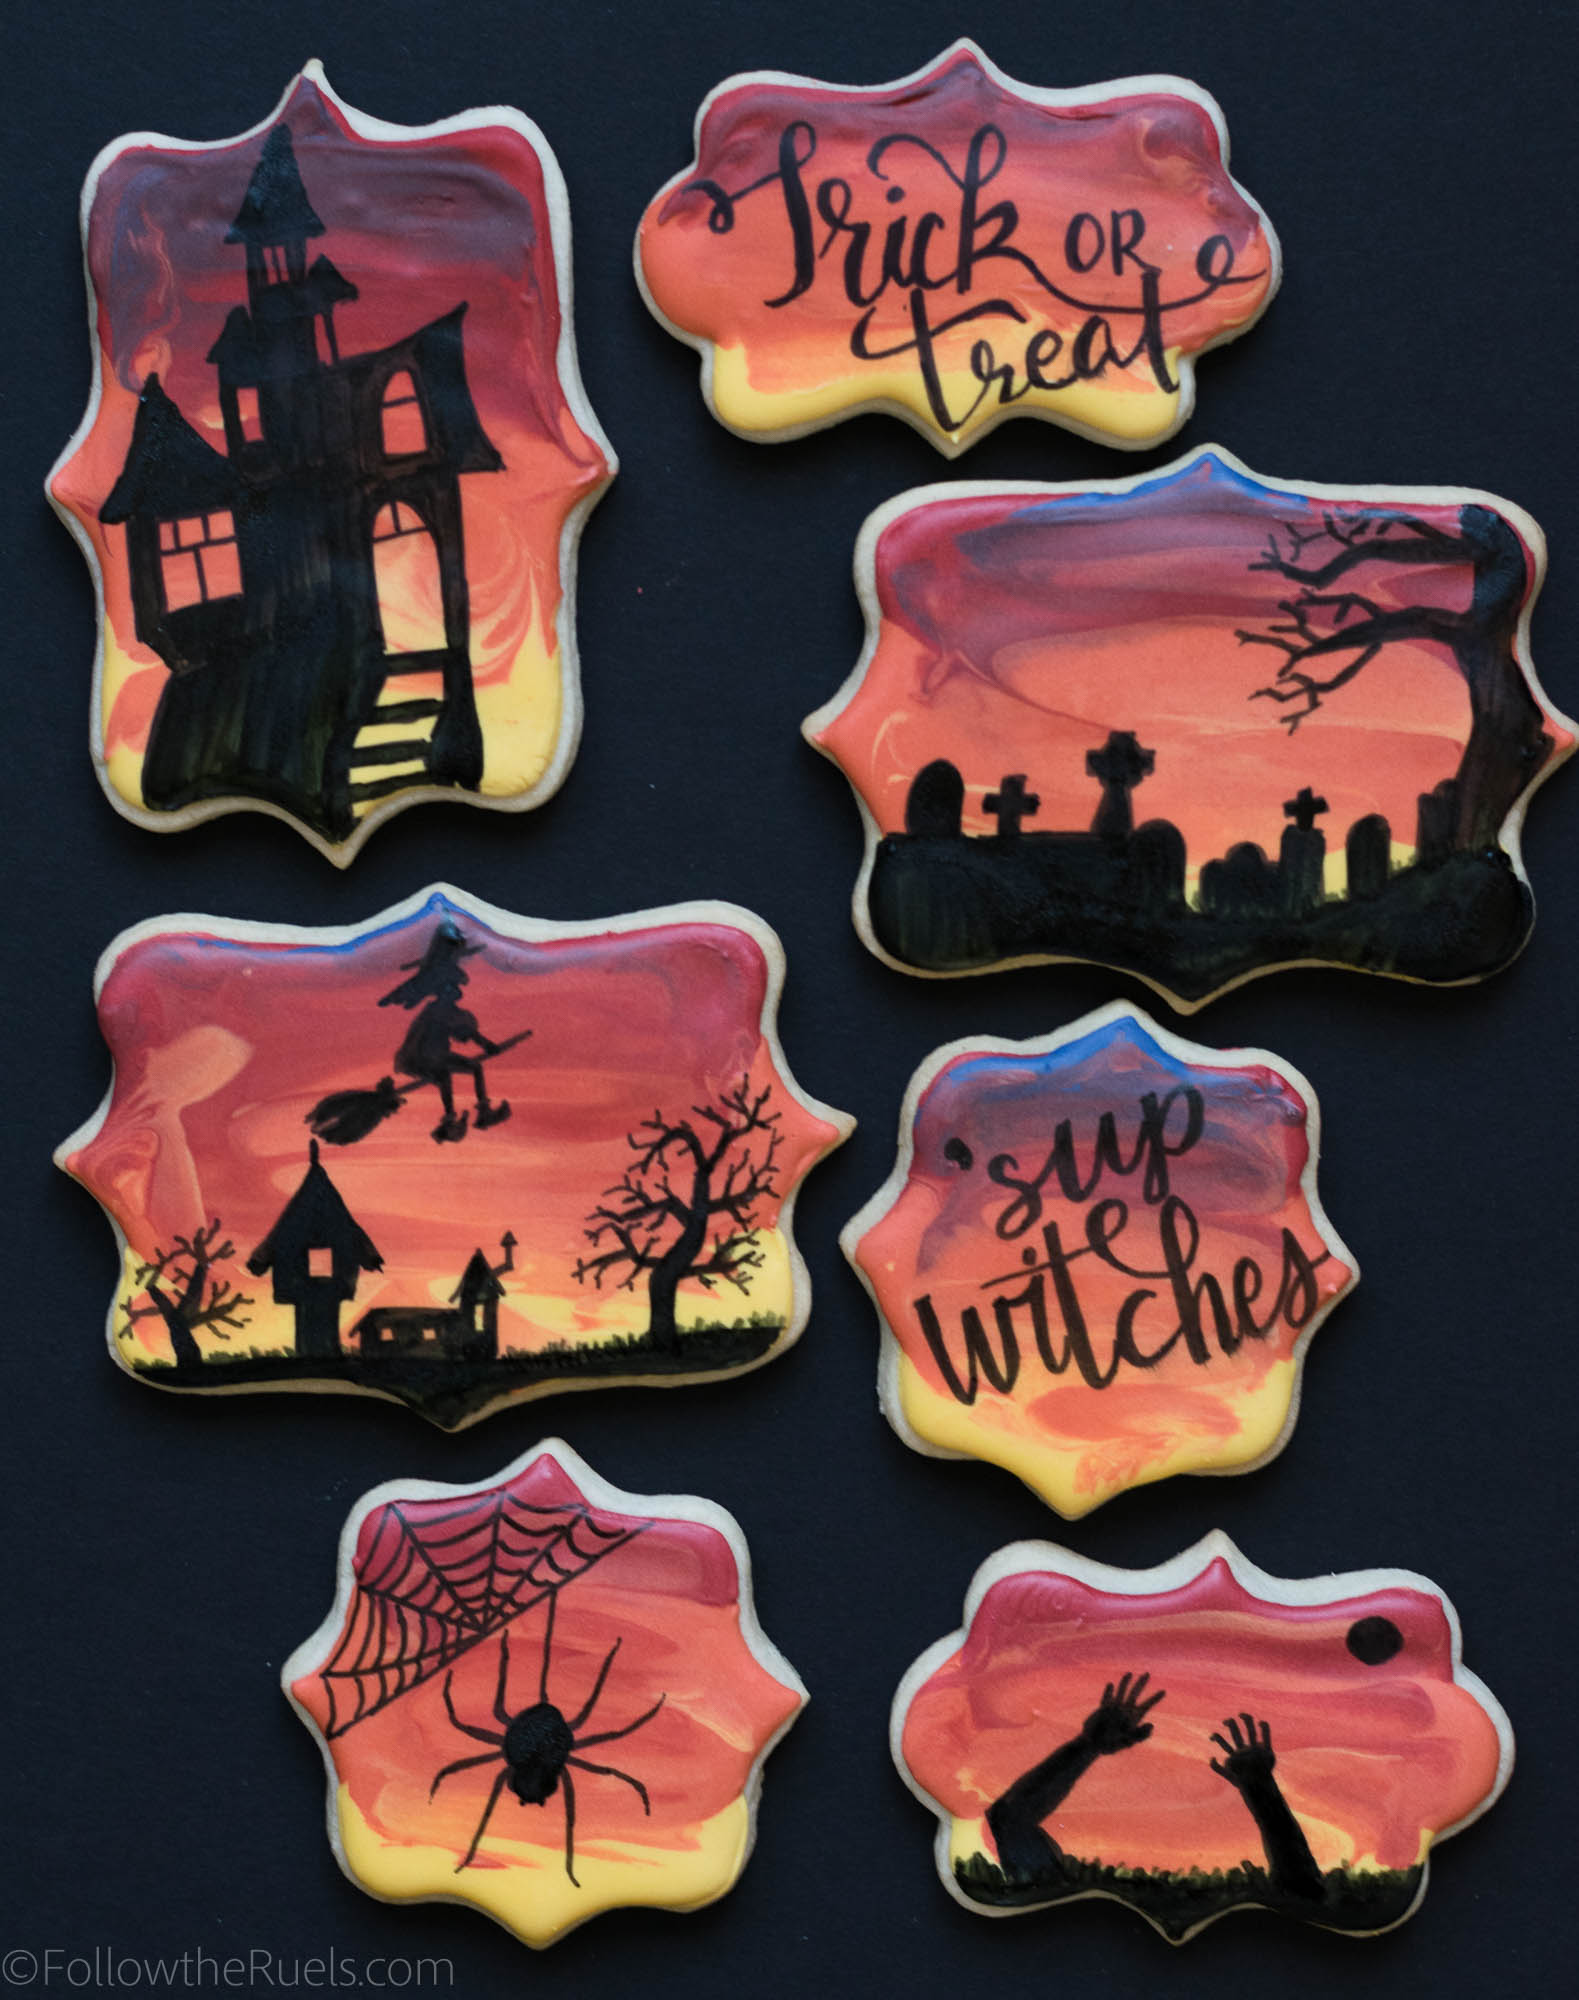
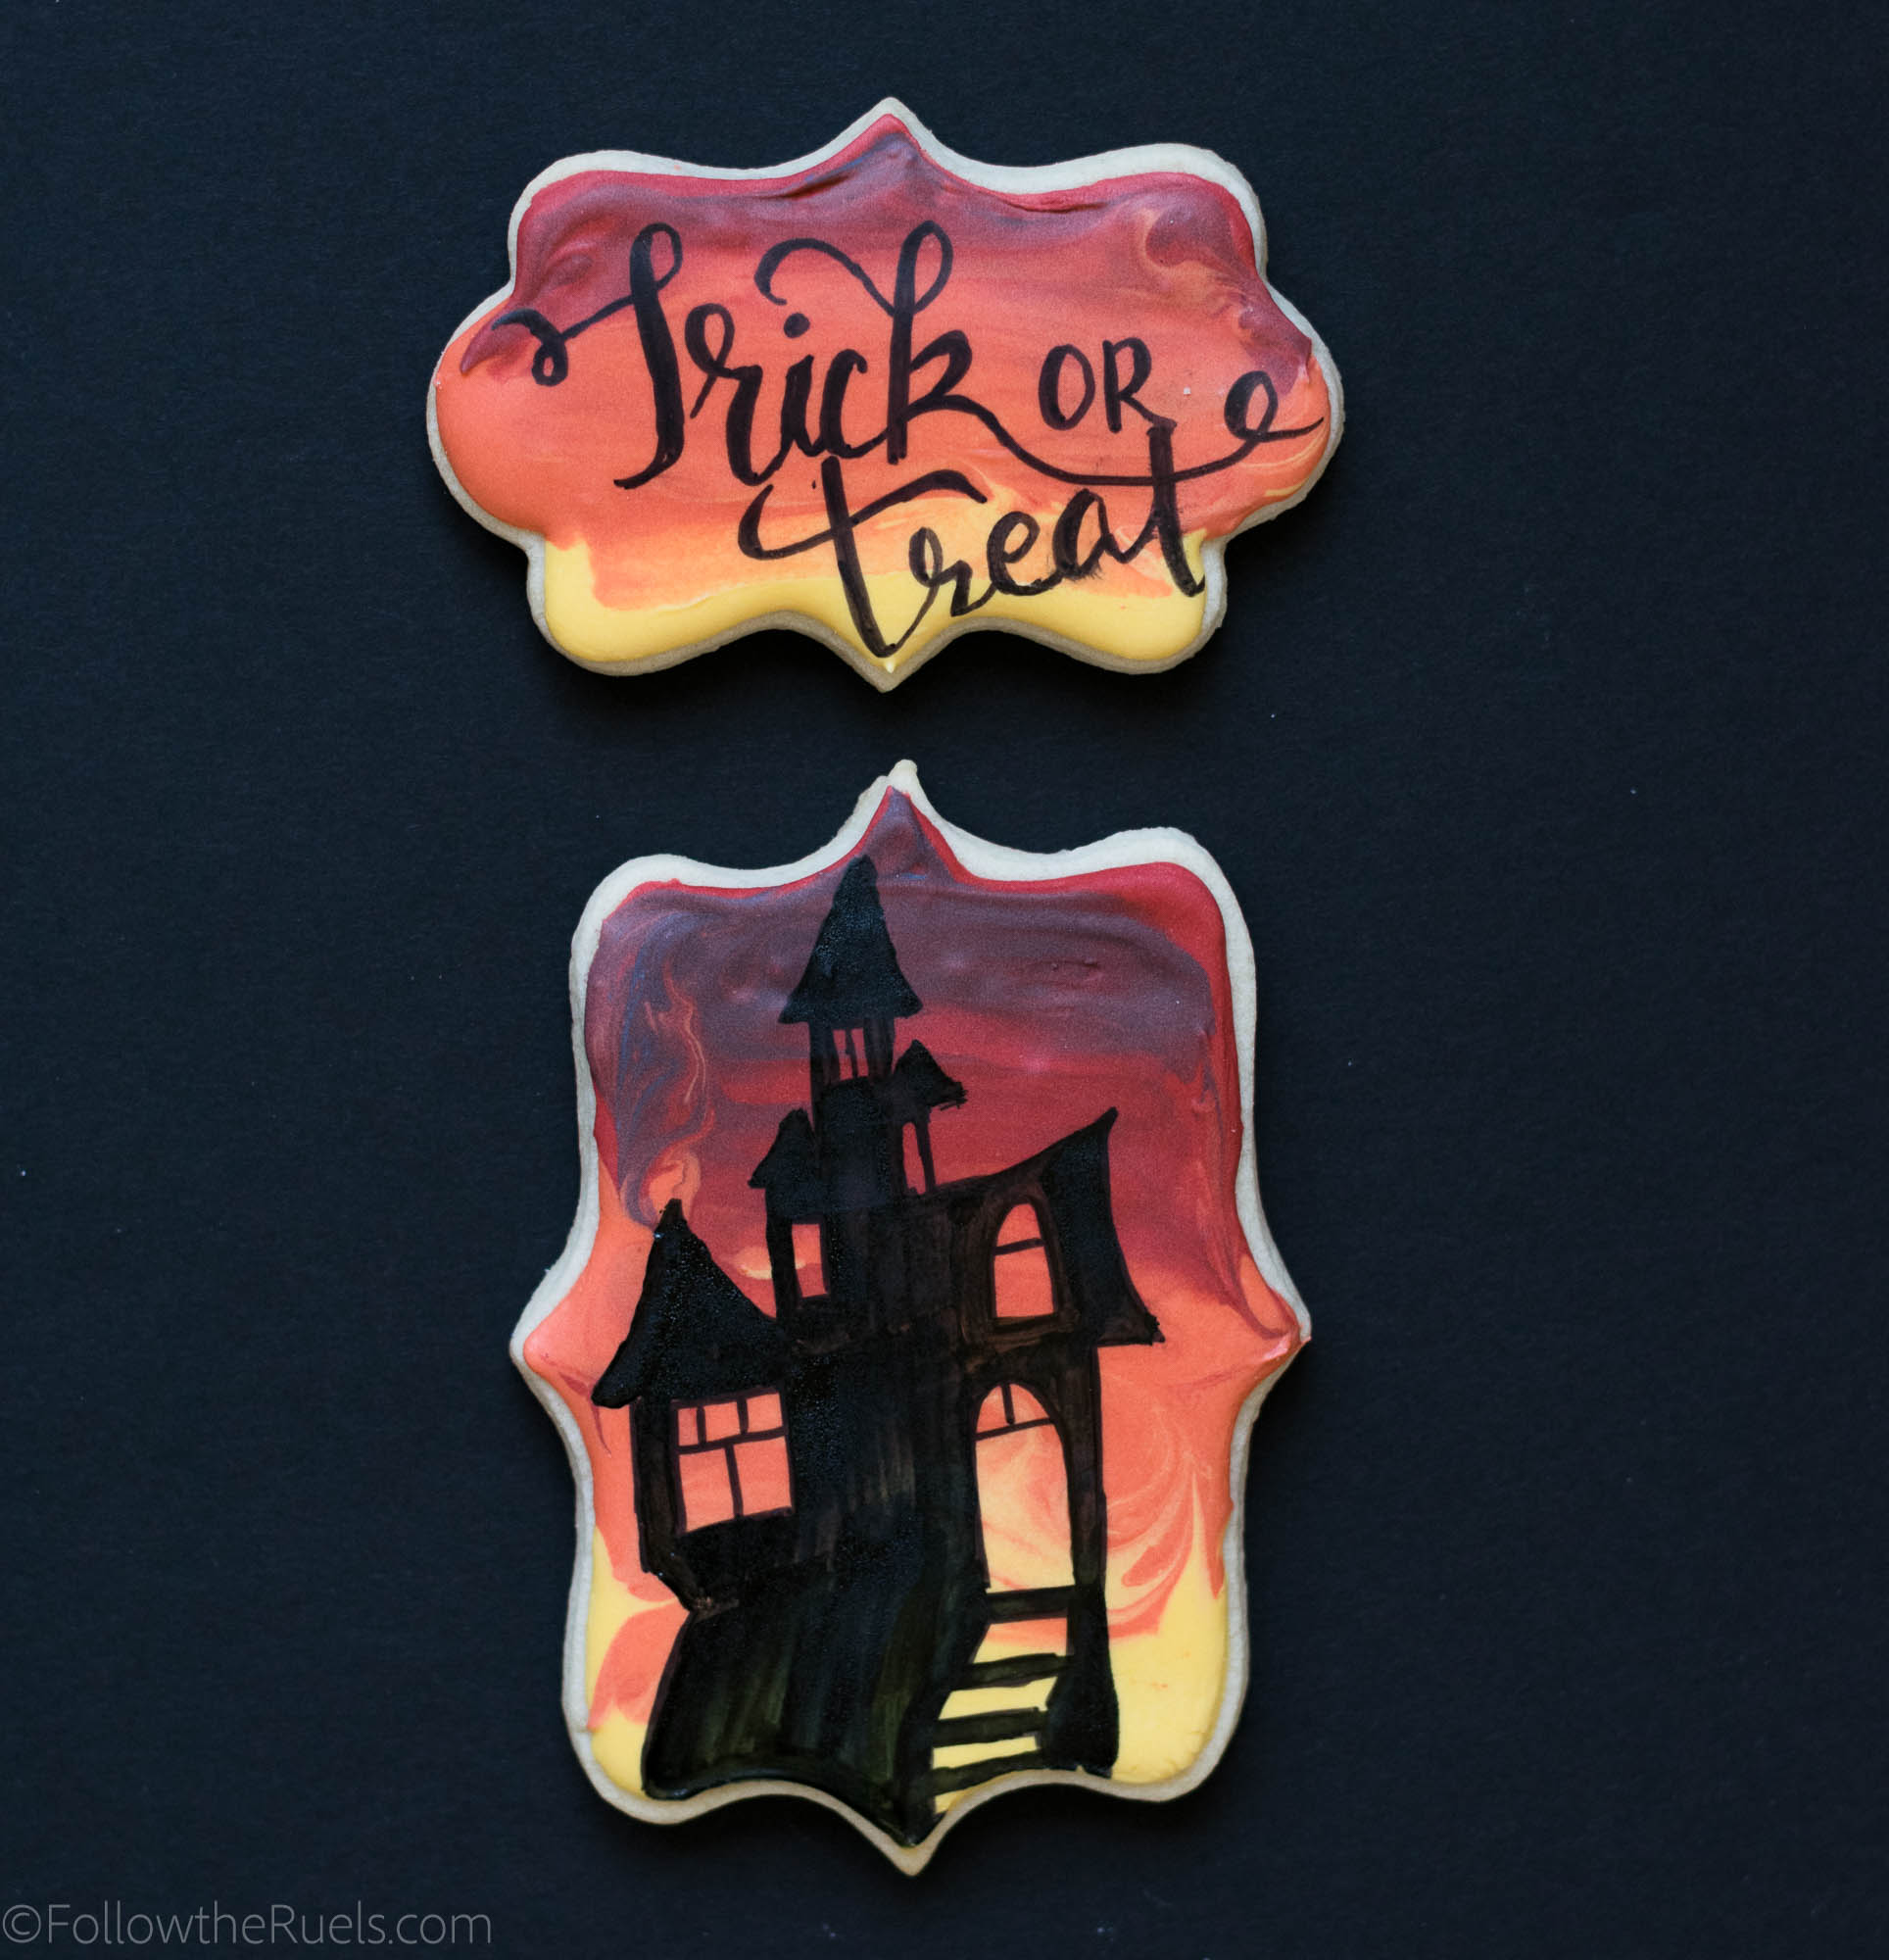
But that doesn’t stop me from making lots of Halloween treats! In the past, I have made these Halloween macarons. This year I made these Halloween skulls and now these Halloween Silhouette cookies which were actually inspired by painted rocks. 

I really loved making these cookies because they were surprisingly easy! It also helped that I was already making red, orange, and yellow icing for my Houston Astros cookies. But if you have kids, these would be a great baking project to do with them. Once the icing is dry, you can give them a black edible food marker and let them draw whatever they want on top. 

Here’s what I did:


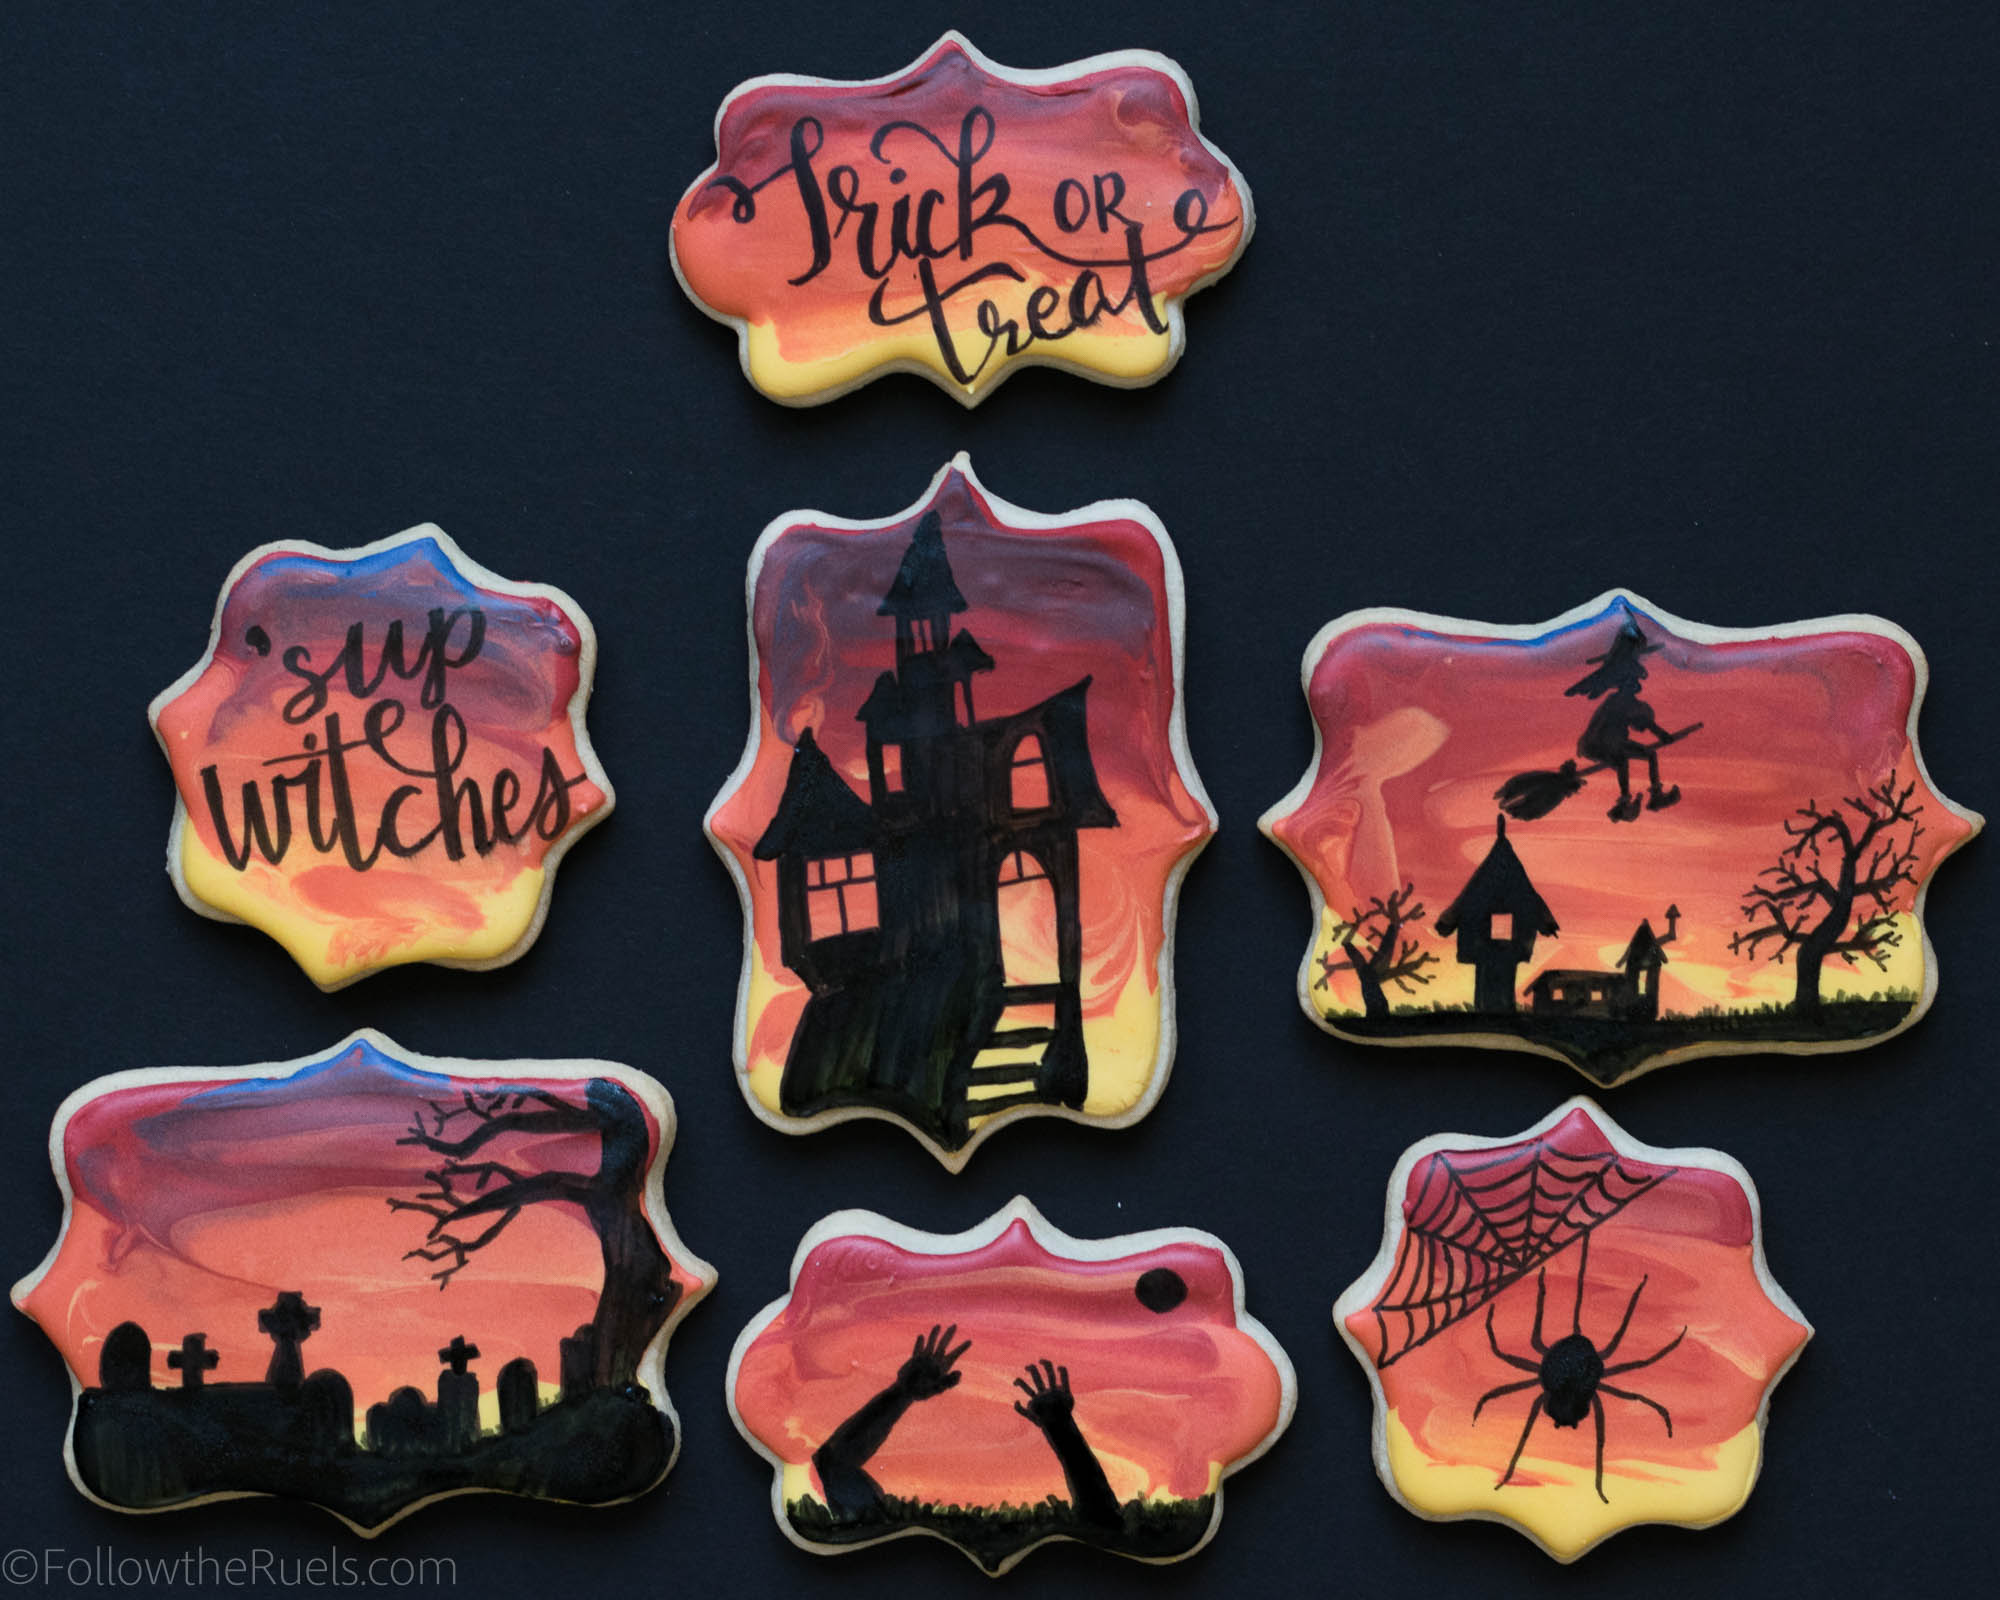
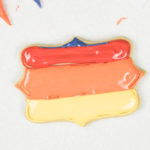
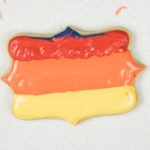
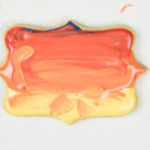
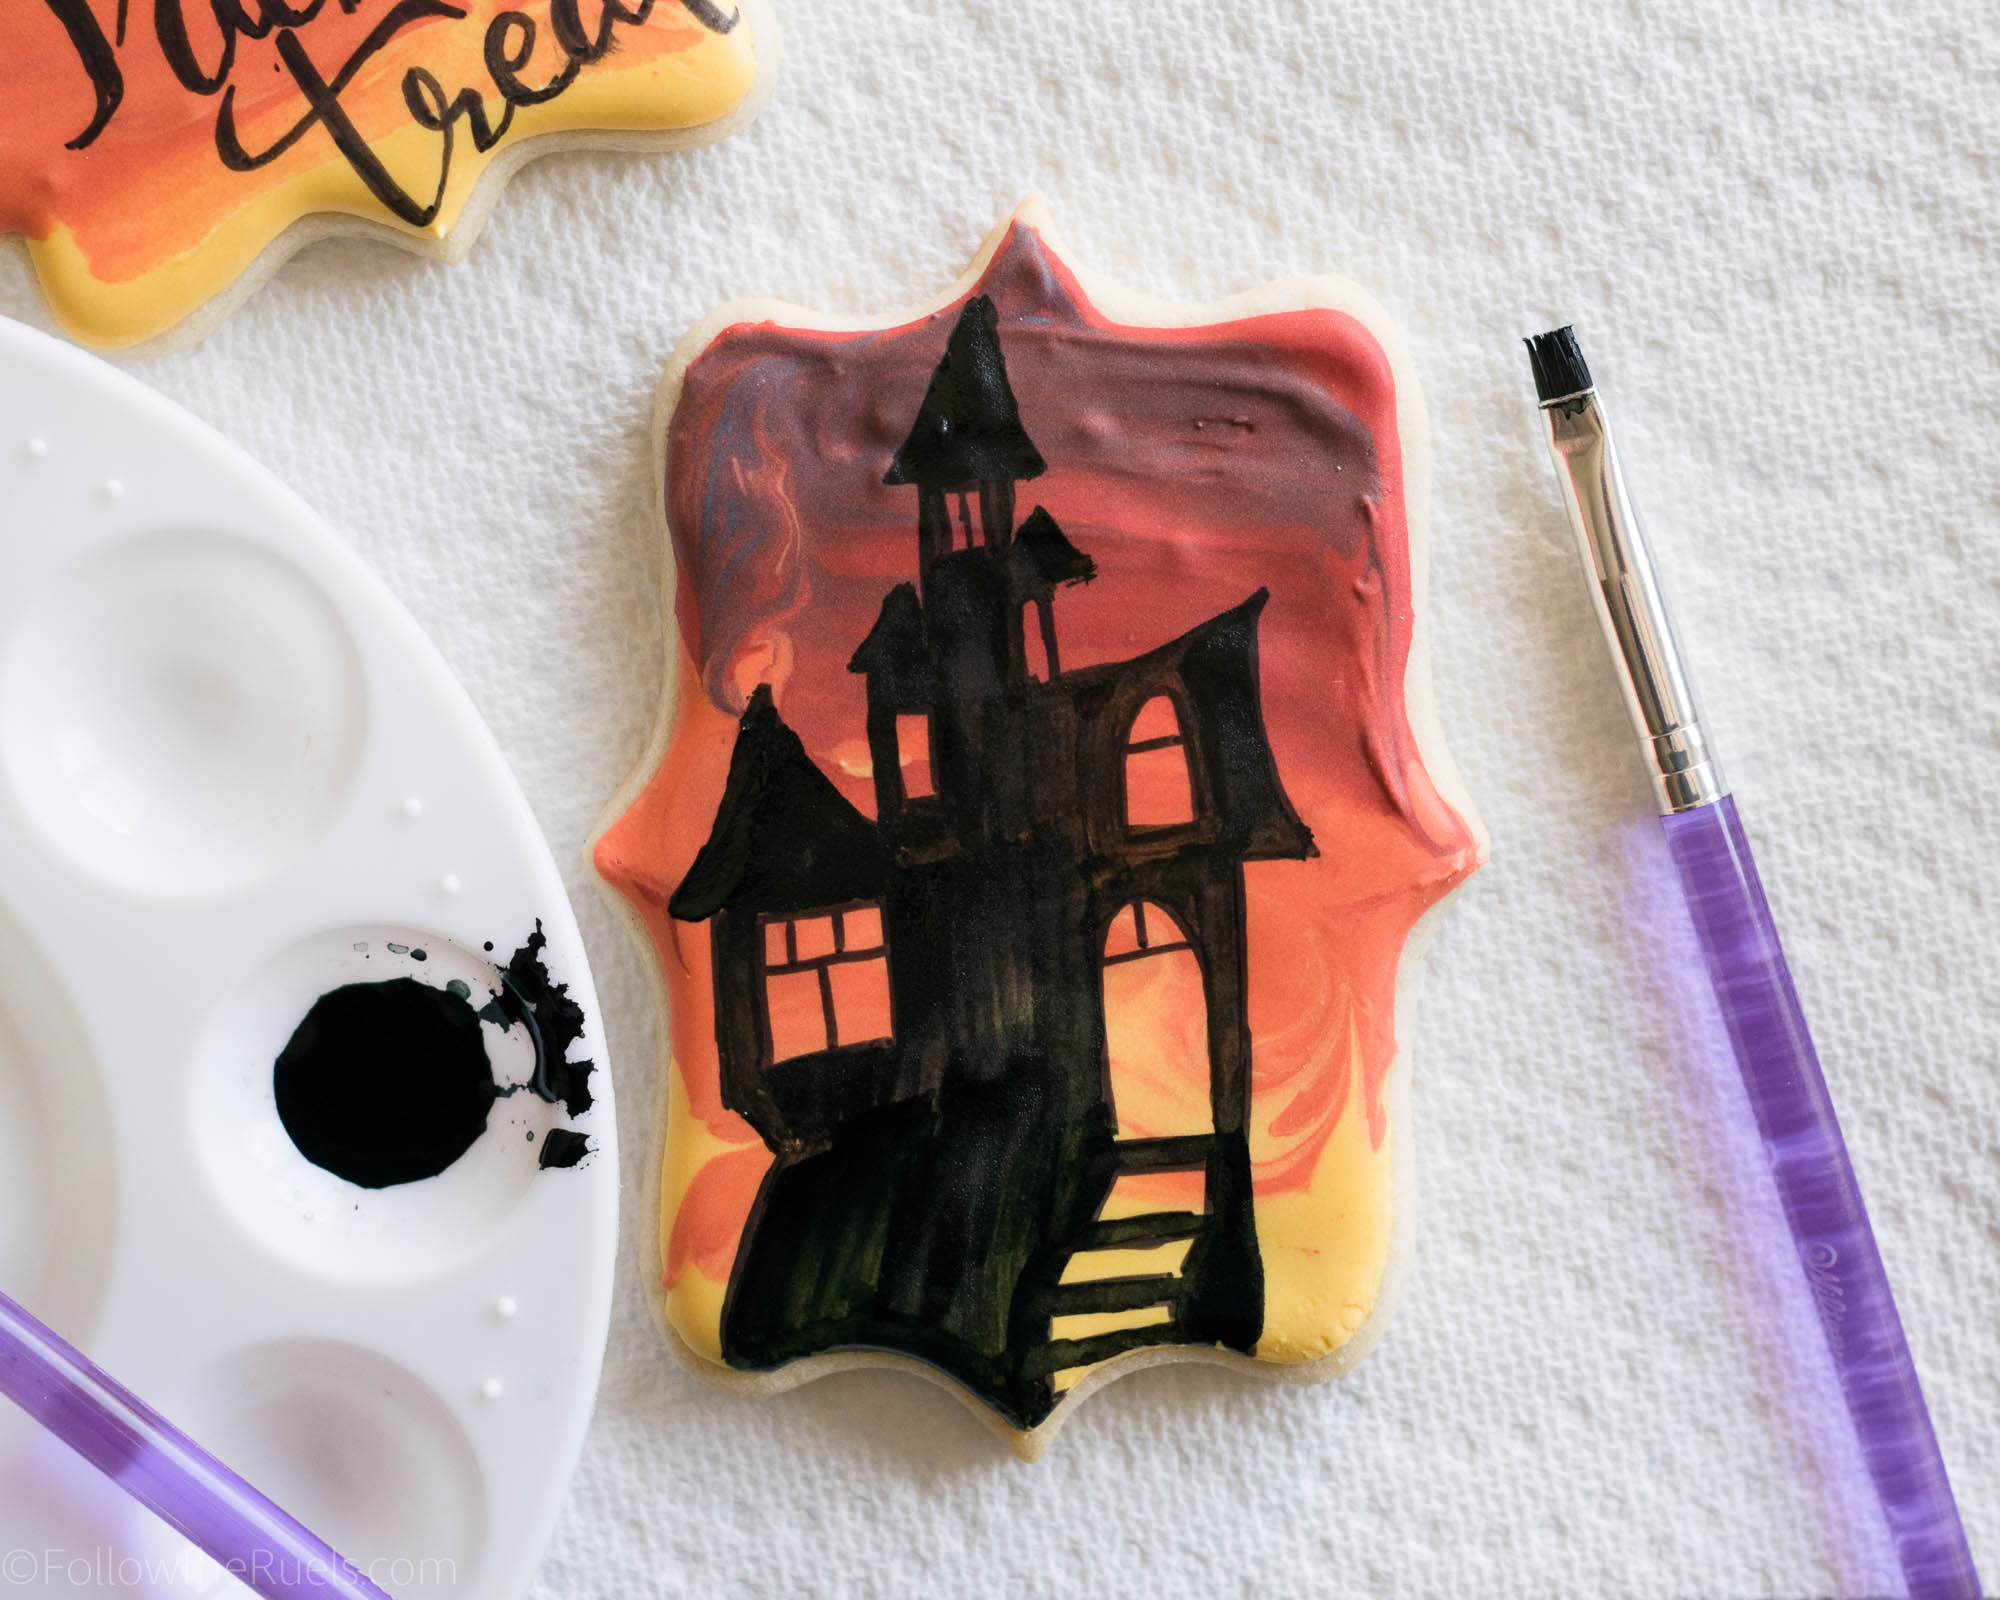
First I piped three sections of red, orange, and yellow icing from top to bottom. Then I used my scribe tool (or toothpick) to just fill in some of the empty space. After that, I took a pallet knife (a butter knife will also work) so spread the layers of icing together. This will form a semi ombre effect and also look like a bright sky at sunset. 


For some of the other cookies, I added a little dark blue at the top to really make it look like a night sky.

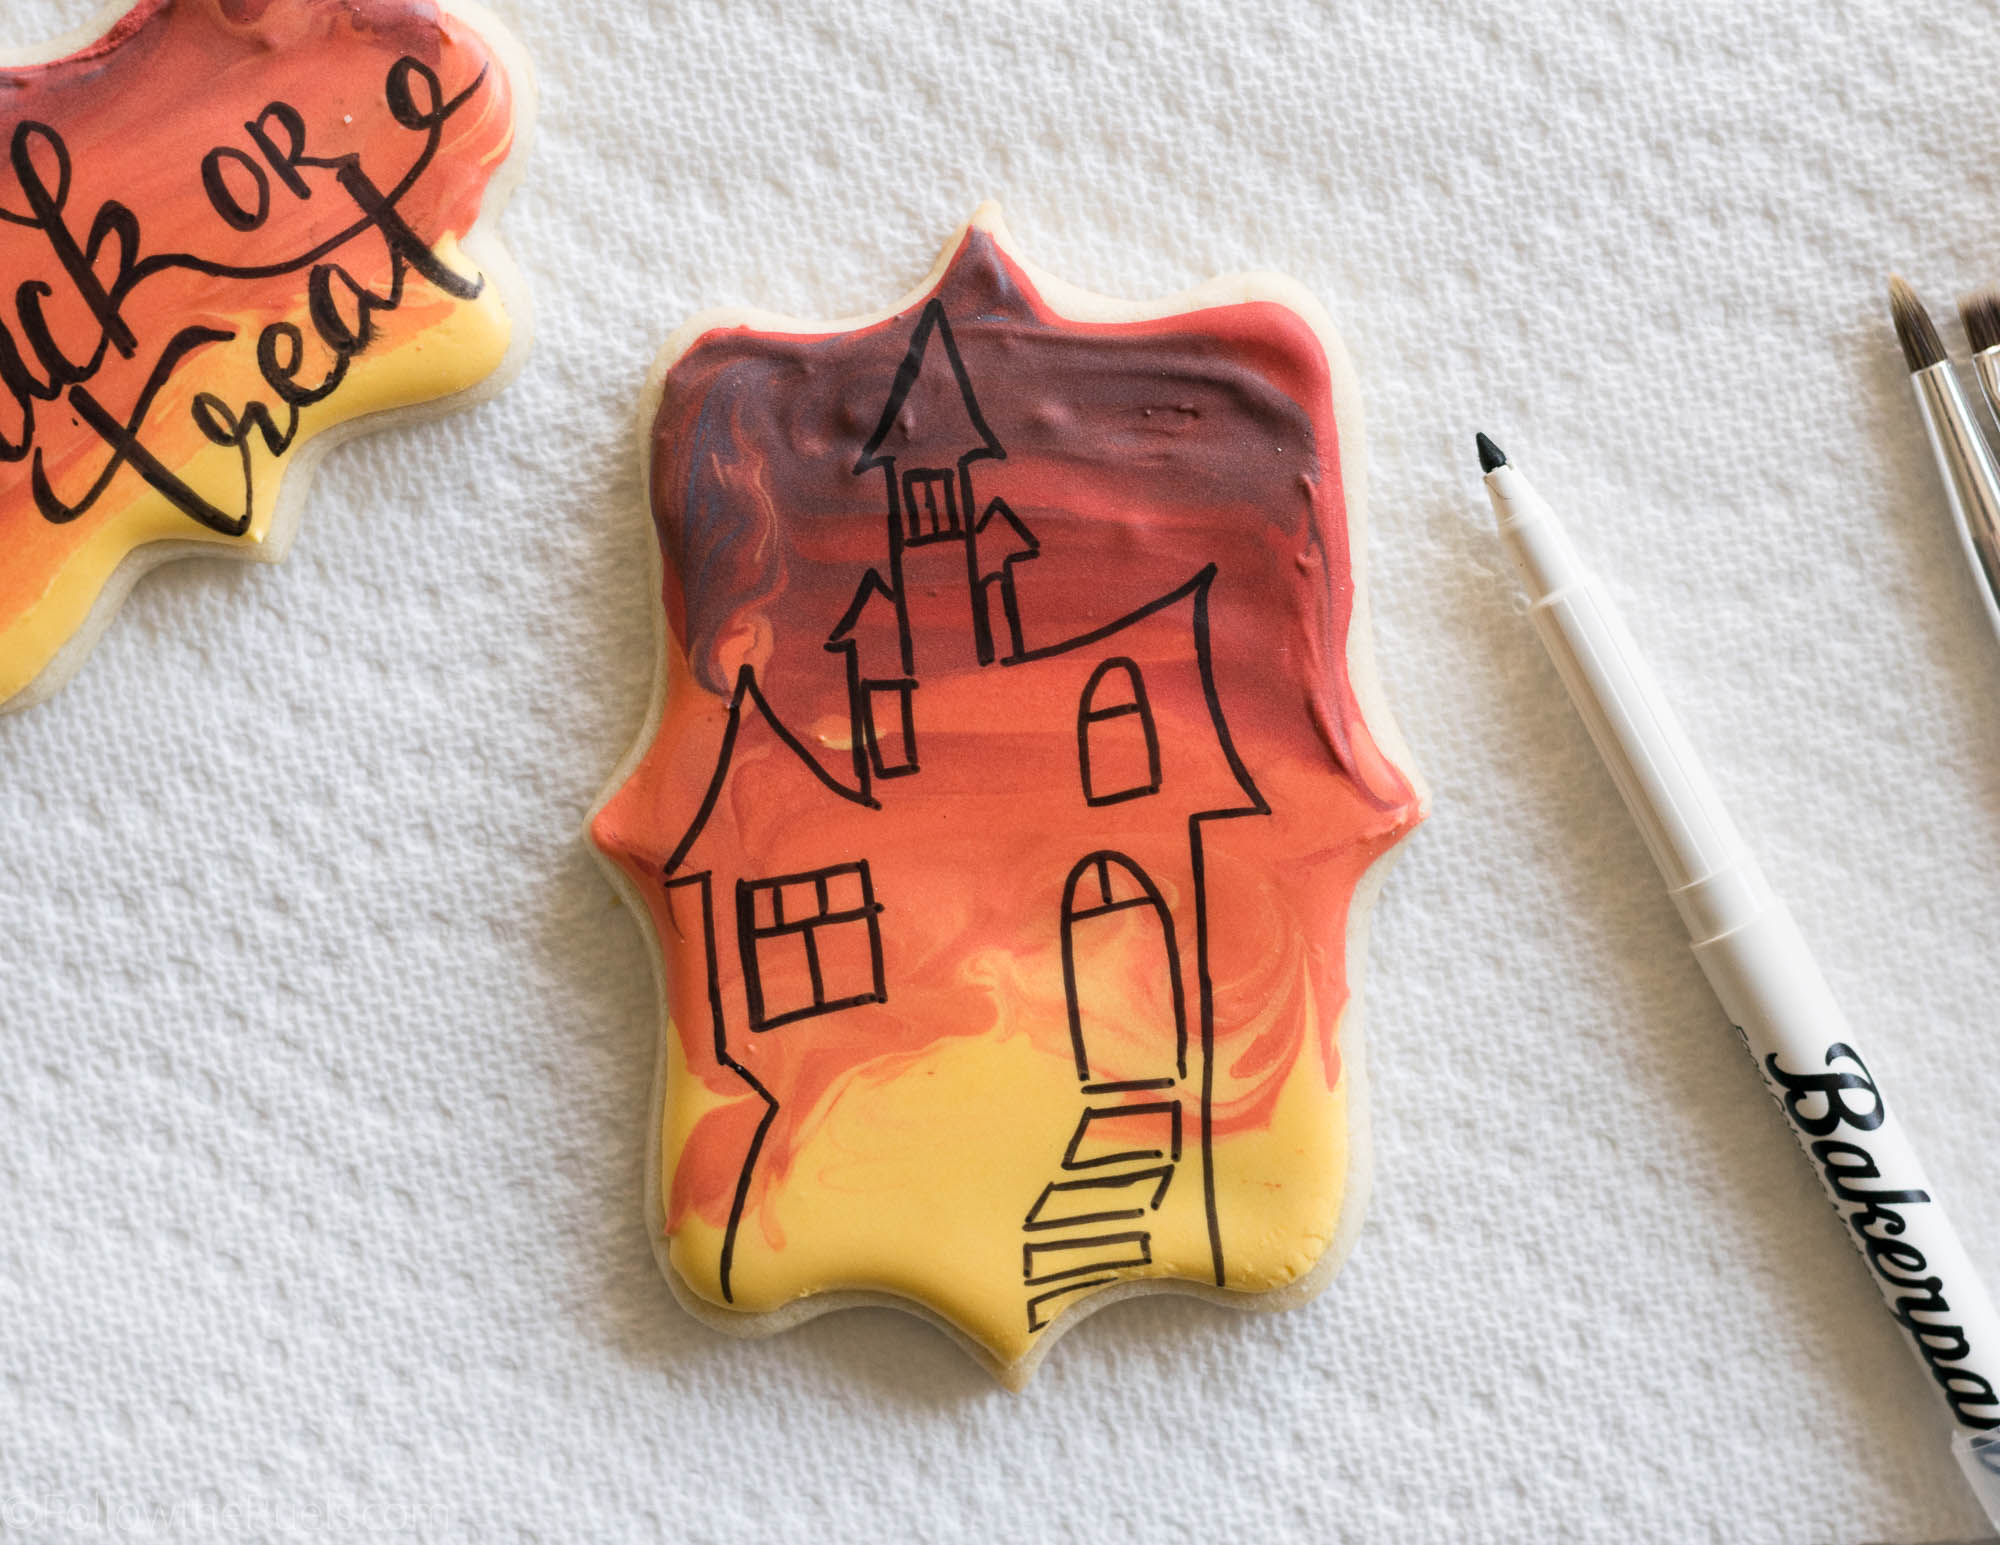
After the cookies dry for a couple hours, you can draw and paint right on top.

I took my inspiration from a quick Pinterest search of Halloween silhouettes to find this spooky house and the rest of the images that I used. 

For the larger images, like this house, I used black gel food coloring, slightly diluted with almond extract, to paint the house. For smaller images, like the spider web, I just used my marker.

I absolutely love these and will be making them again next Halloween for sure! There are so many fun images that you can draw on top, the options are endless. I found myself thinking of more ideas after I had run out of cookies. 

As usual, I used my favorite sugar cookie recipe and royal icing recipe. You could also make chocolate cookies, which would really amp up the colors of the sky. Or you could do pumpkin spice! 

Below are the tools that I used for these cookies.

 
[show_shopthepost_widget id=”2875246″]
 

/ Filed In: Decorated Cookies, Eat
Tagged: Halloween, October, orange, painted cookies, Red, sugar cookies, Yellow

Agate Slice Cookies

September 14, 2017

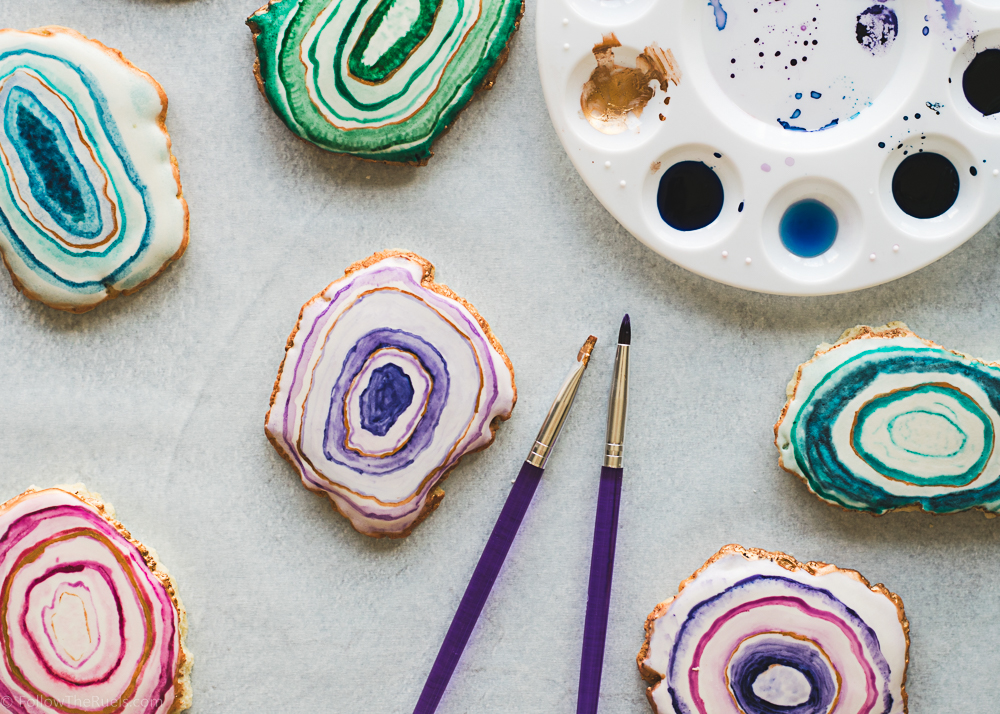
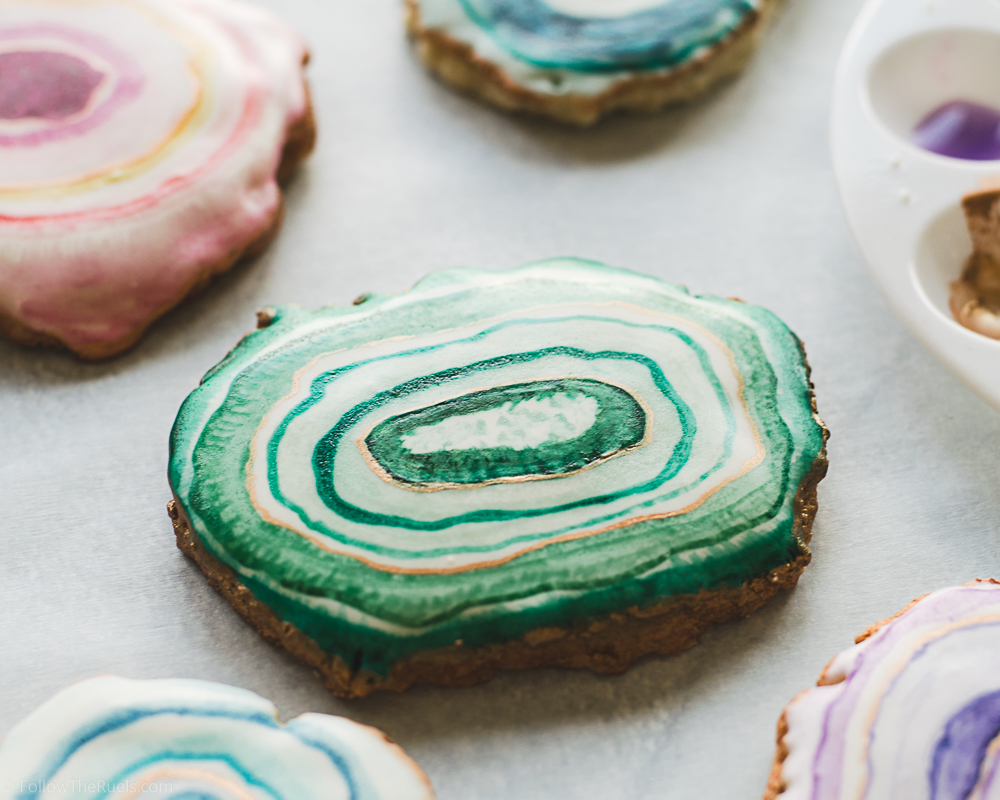
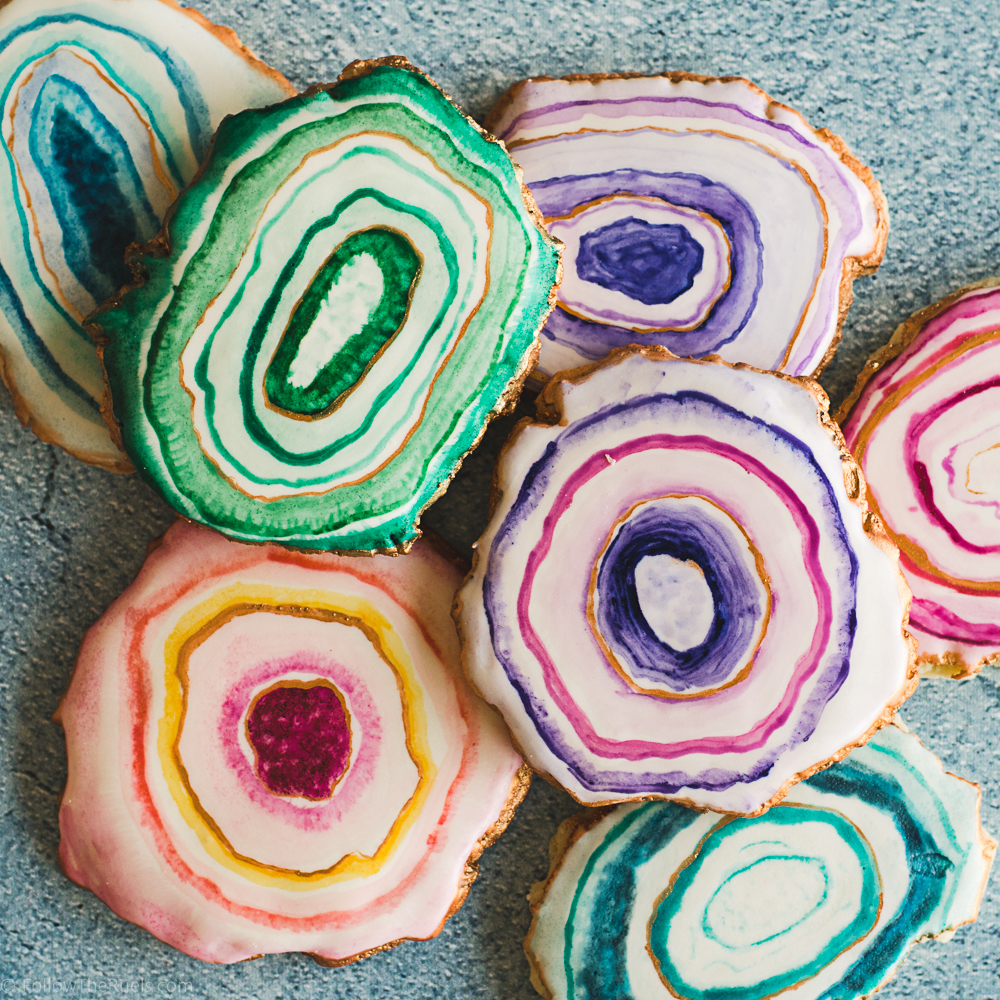
Agates and geodes are just about everywhere these days. I see them as bookends, coasters (these particular cookies were inspired by agate coasters at West Elm), jewelry, and cakes. They are all so distinct and beautiful I knew I wanted to make them into cookies. 

The good news is that these agate slice cookies are actually pretty easy to make! The cookie shape doesn’t have to be perfect (actually, the less perfect the better), no piping is necessary, and your lines don’t have to be straight! 

Of course, I used my favorite sugar cookie recipe to make these cookies. I started with a circle cookie then tore off the edges to make that rough jagged edge.

Then instead of piping the royal icing on top, I actually dipped the cookies into the icing. Not only is it easier and quicker, I actually prefer it for this these cookies because the icing goes all the way to the edge and gets into all the little nooks and crannies along the edge. 

Once the icing dried, I painted the cookies with food coloring gel diluted with a bit of alcohol (I used vodka, but you can also use almond extract) in various shades of the same color. So you can see I have a purple agate slice cookie with different shades of purple and pink, a blue in various shades of blue and turquoise, green in various shades of green and teal….you get the gist. 

I finished off the cookies with a gold edge and a little bit of gold painted around the layers of the cookie. I think the gold really helps make the cookies look even more like an actual agate slice. What do you think!?

They are almost as pretty as those coasters, but better because you can eat it!

 
[show_shopthepost_widget id=”2816954″]

/ Filed In: Cookies New, Decorated Cookies, Desserts, Eat
Tagged: agate slice, cookies, decorated cookies, painted cookies, watercolor

Follow

Hey There!

Hey there, I'm Lindsey. I'm a number cruncher by day and a home cook and baker by night. While I love to eat healthy and find fresh and healthy alternatives for my favorite foods, I will never turn down dessert! Life is all about moderation, right?

Recipes

  • All Recipes
  • Breakfast
  • Appetizers
  • Salads
  • Main Dishes
  • Side Dishes
  • Desserts
  • Drinks

Favorite Finds

[show_lookbook_widget id=”388783″]

Theme by 17th Avenue · Powered by WordPress & Genesis