As a new Georgia resident, I feel like it my duty to make my own version of peach cobbler.
There are so many different versions of peach cobbler out there, I wanted to do something a bit different. Which is why I made my peach cobbler into bars!
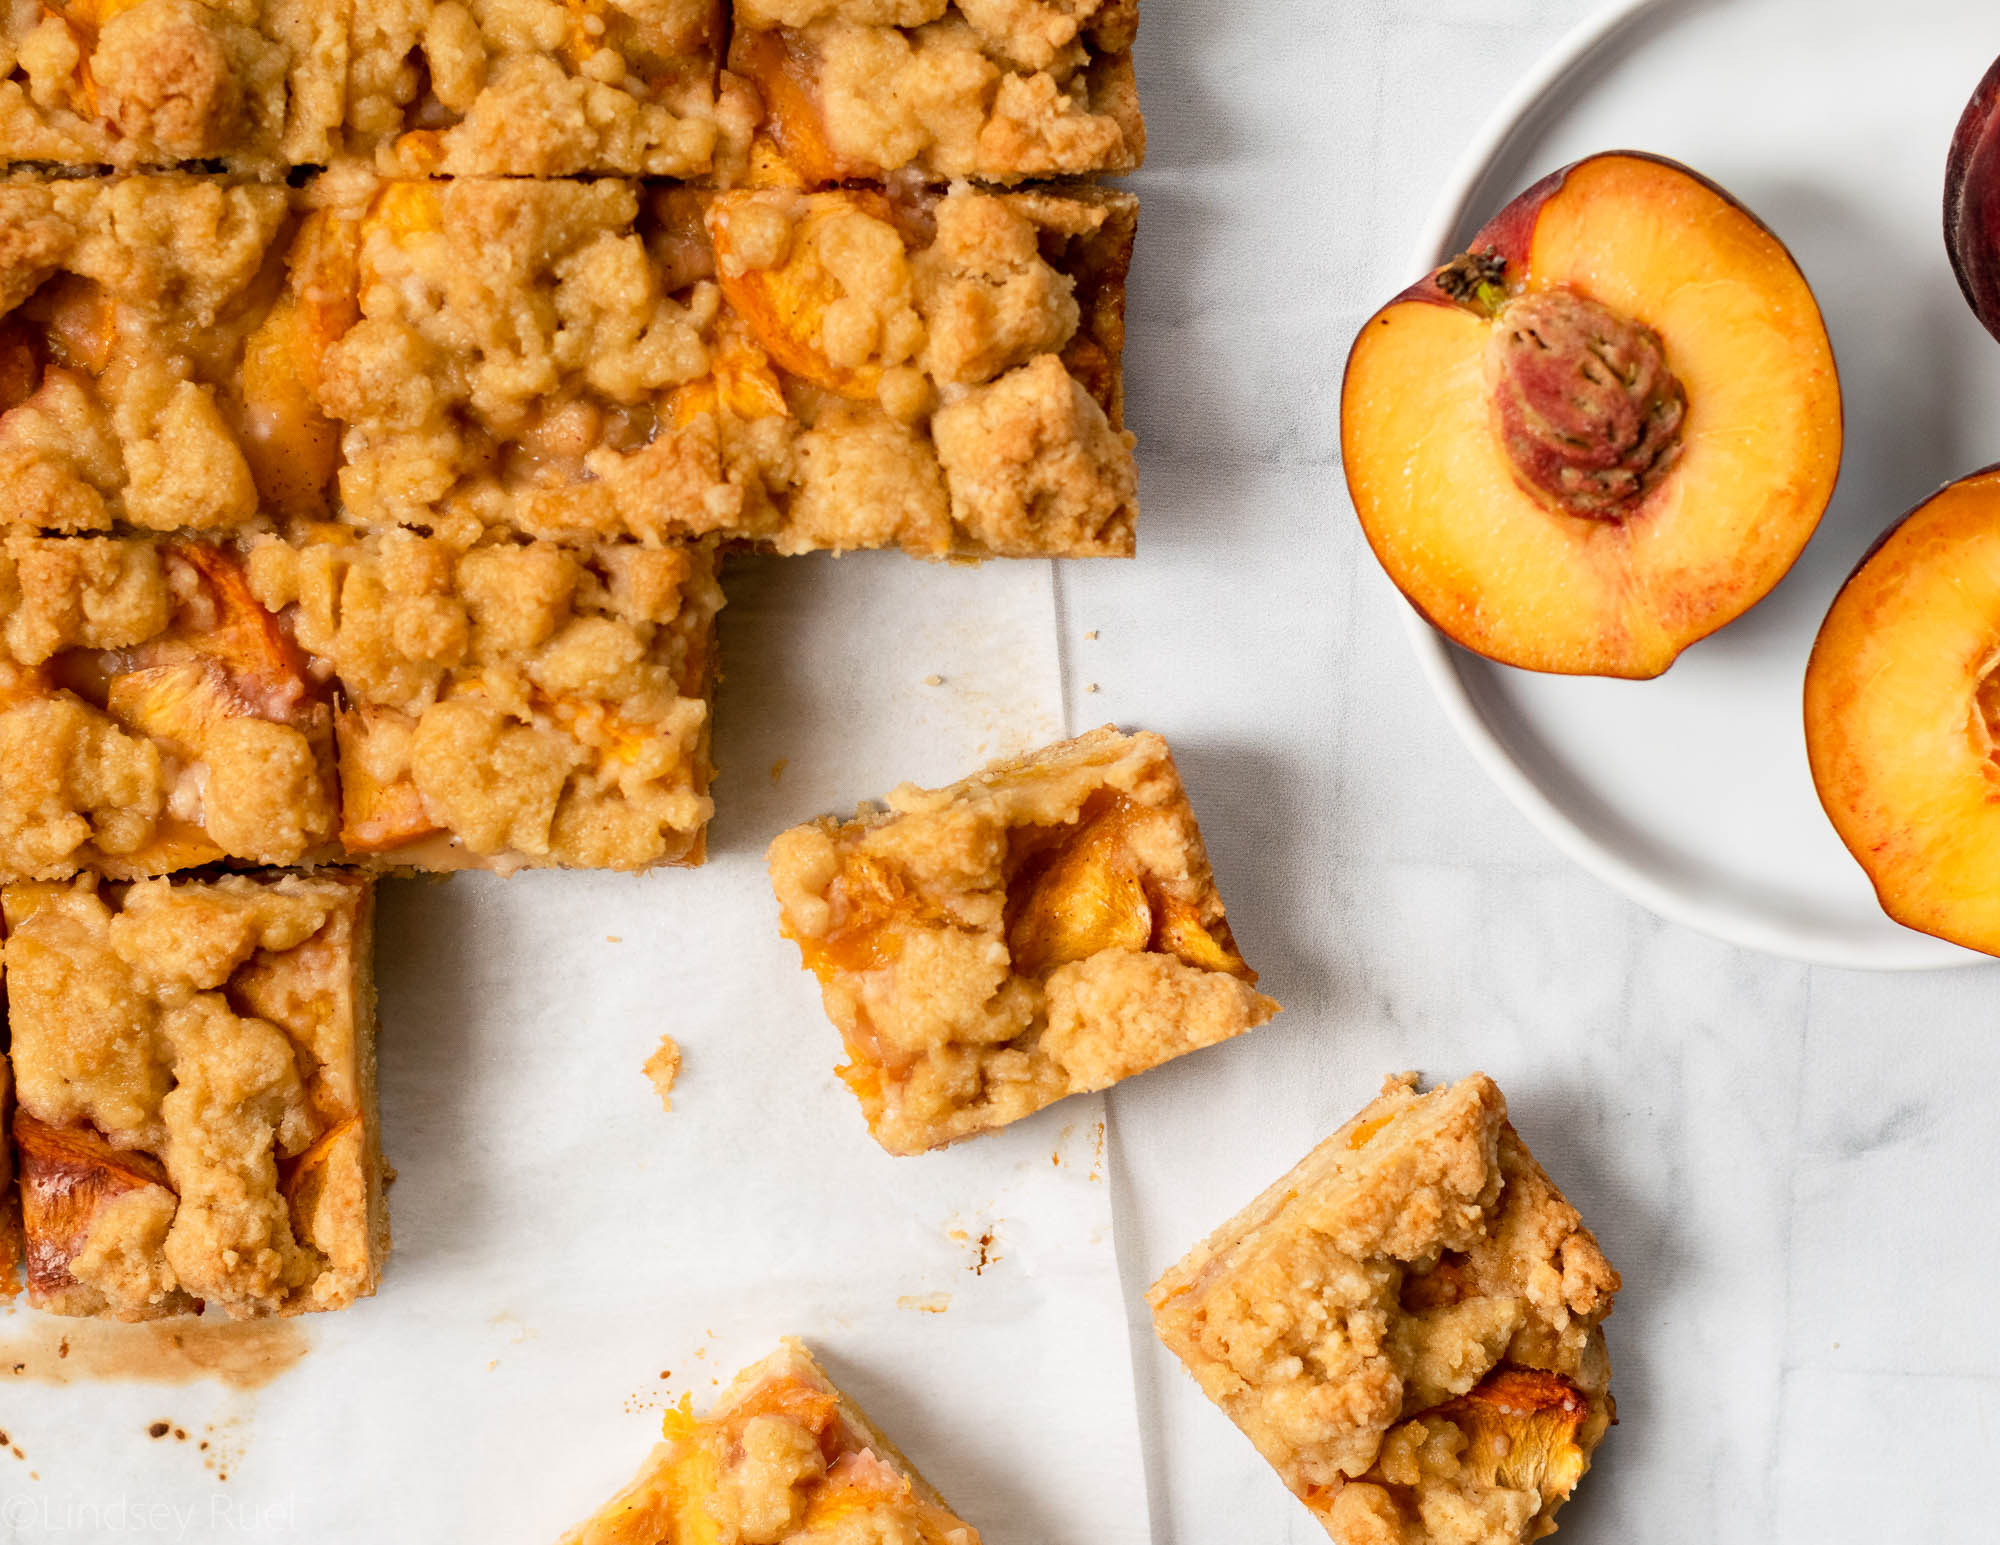
These peach cobbler bars are just as easy to make, just as delicious, but I think they are a bit easier to eat than your traditional peach cobbler. They are perfect for a Summer picnic, cookout, or any old get together!
How to Make Them
Start by making the crust/crumb topping which is fairly similar to a shortbread cookie.
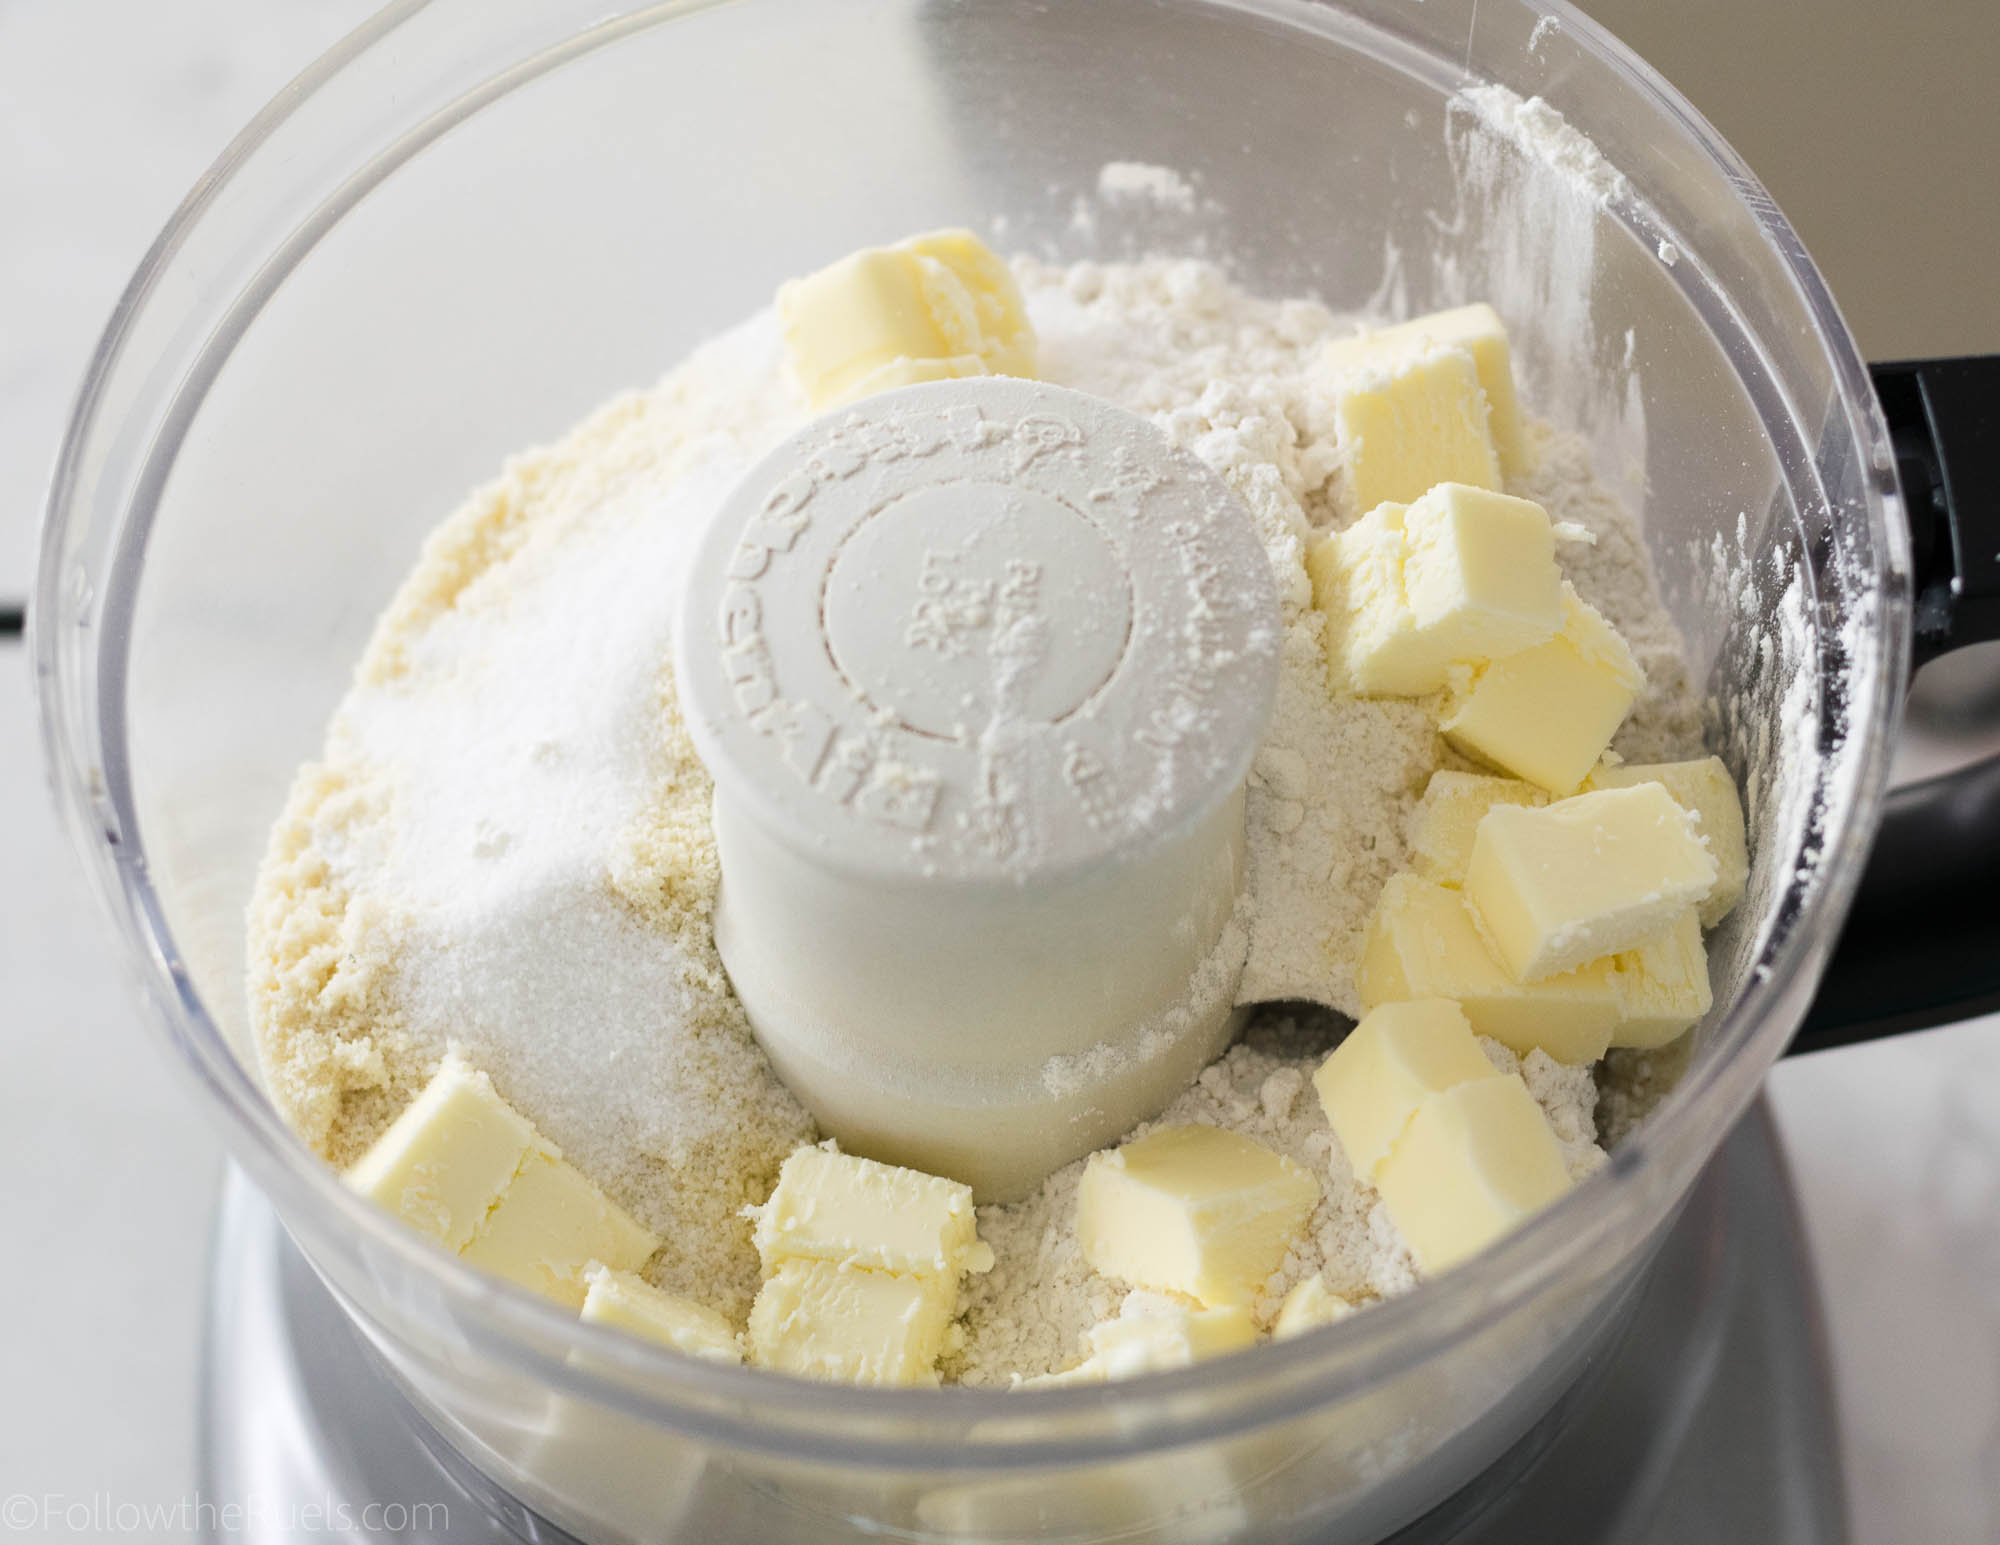
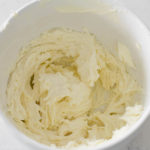
Whisk together flour, baking powder, brown sugar, and salt. Then cut in cold cubes of butter until it forms a crumb texture.
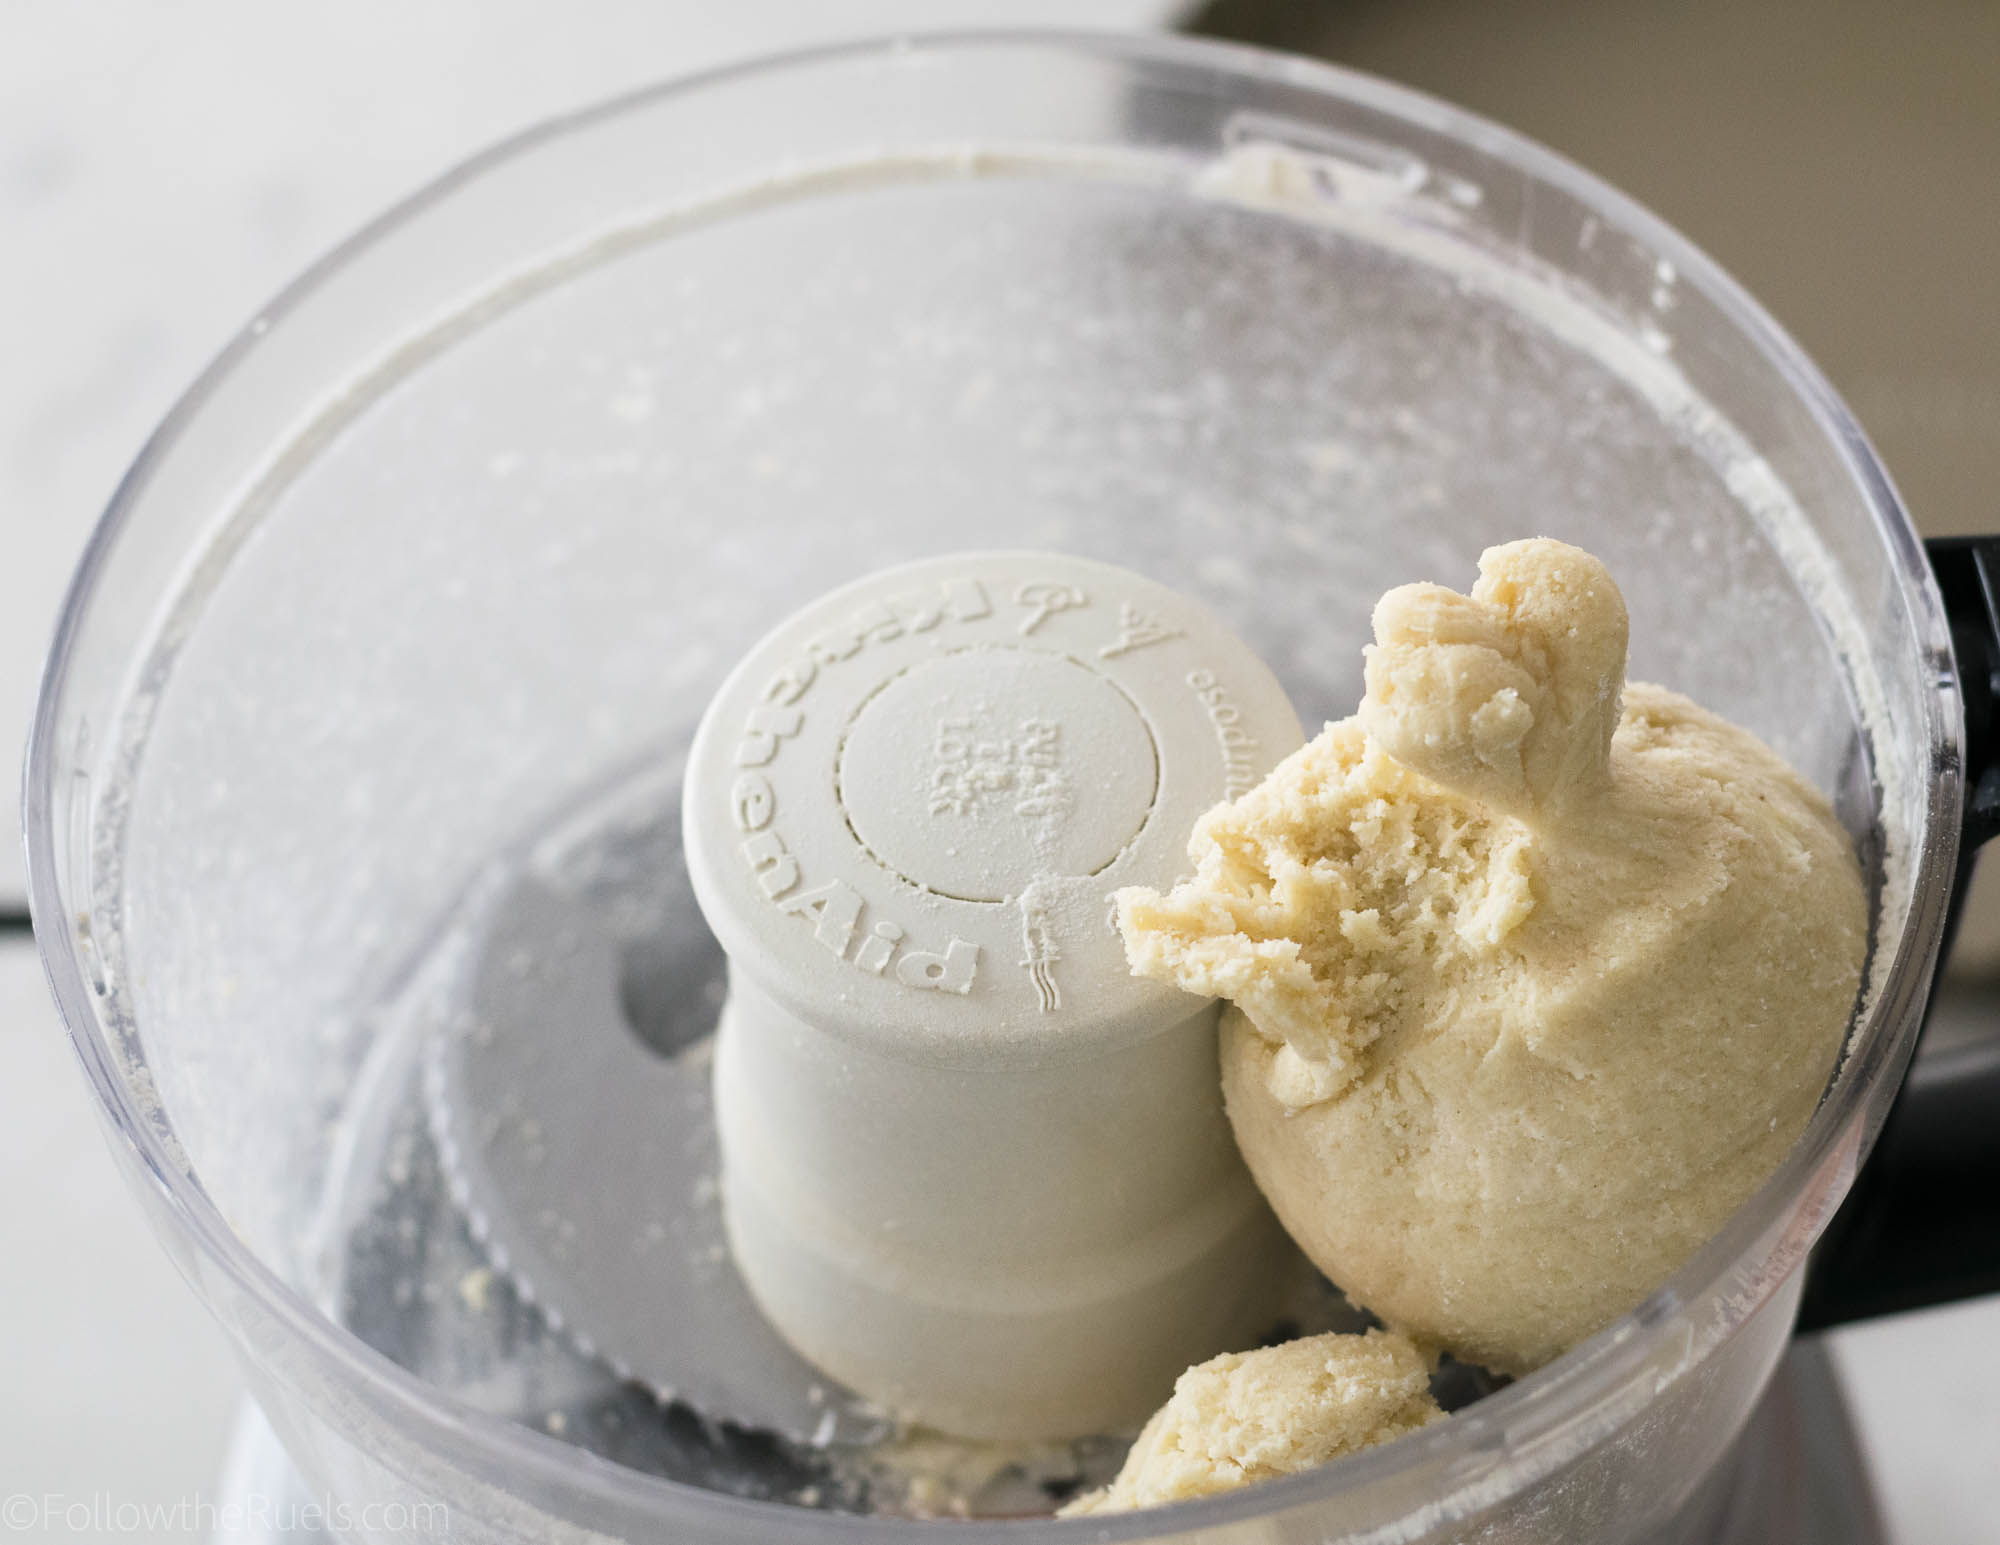
In a measuring cup, mix together the egg, milk, and vanilla. Pour the wet ingredients over the crumbs and mix in until a very shaggy dough forms.
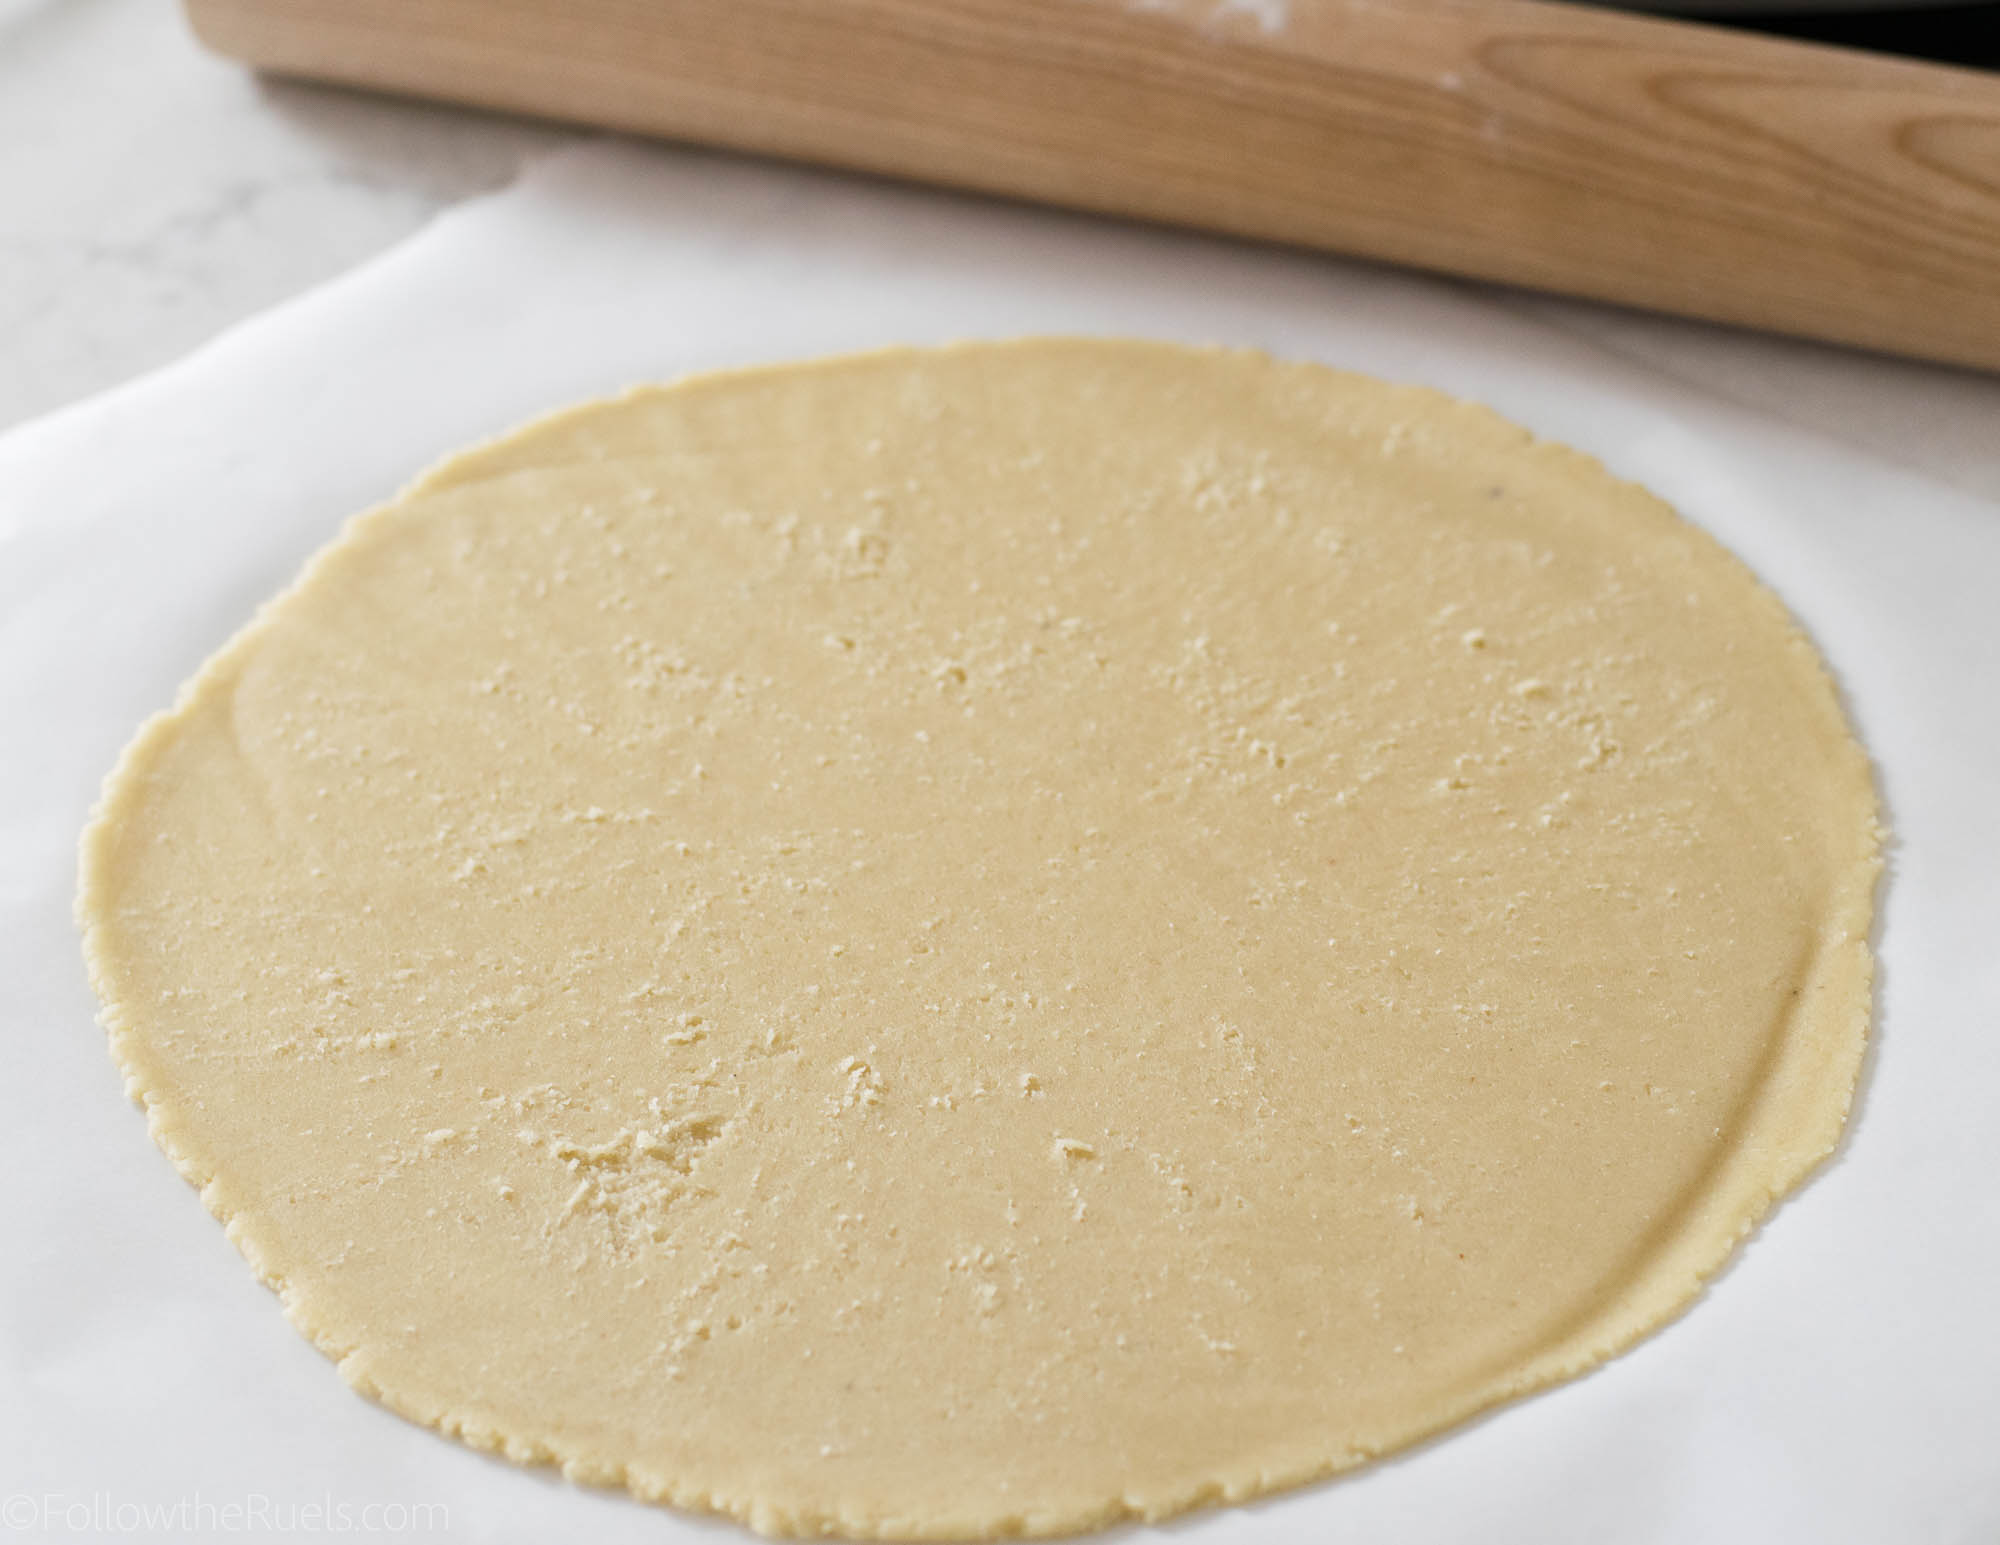
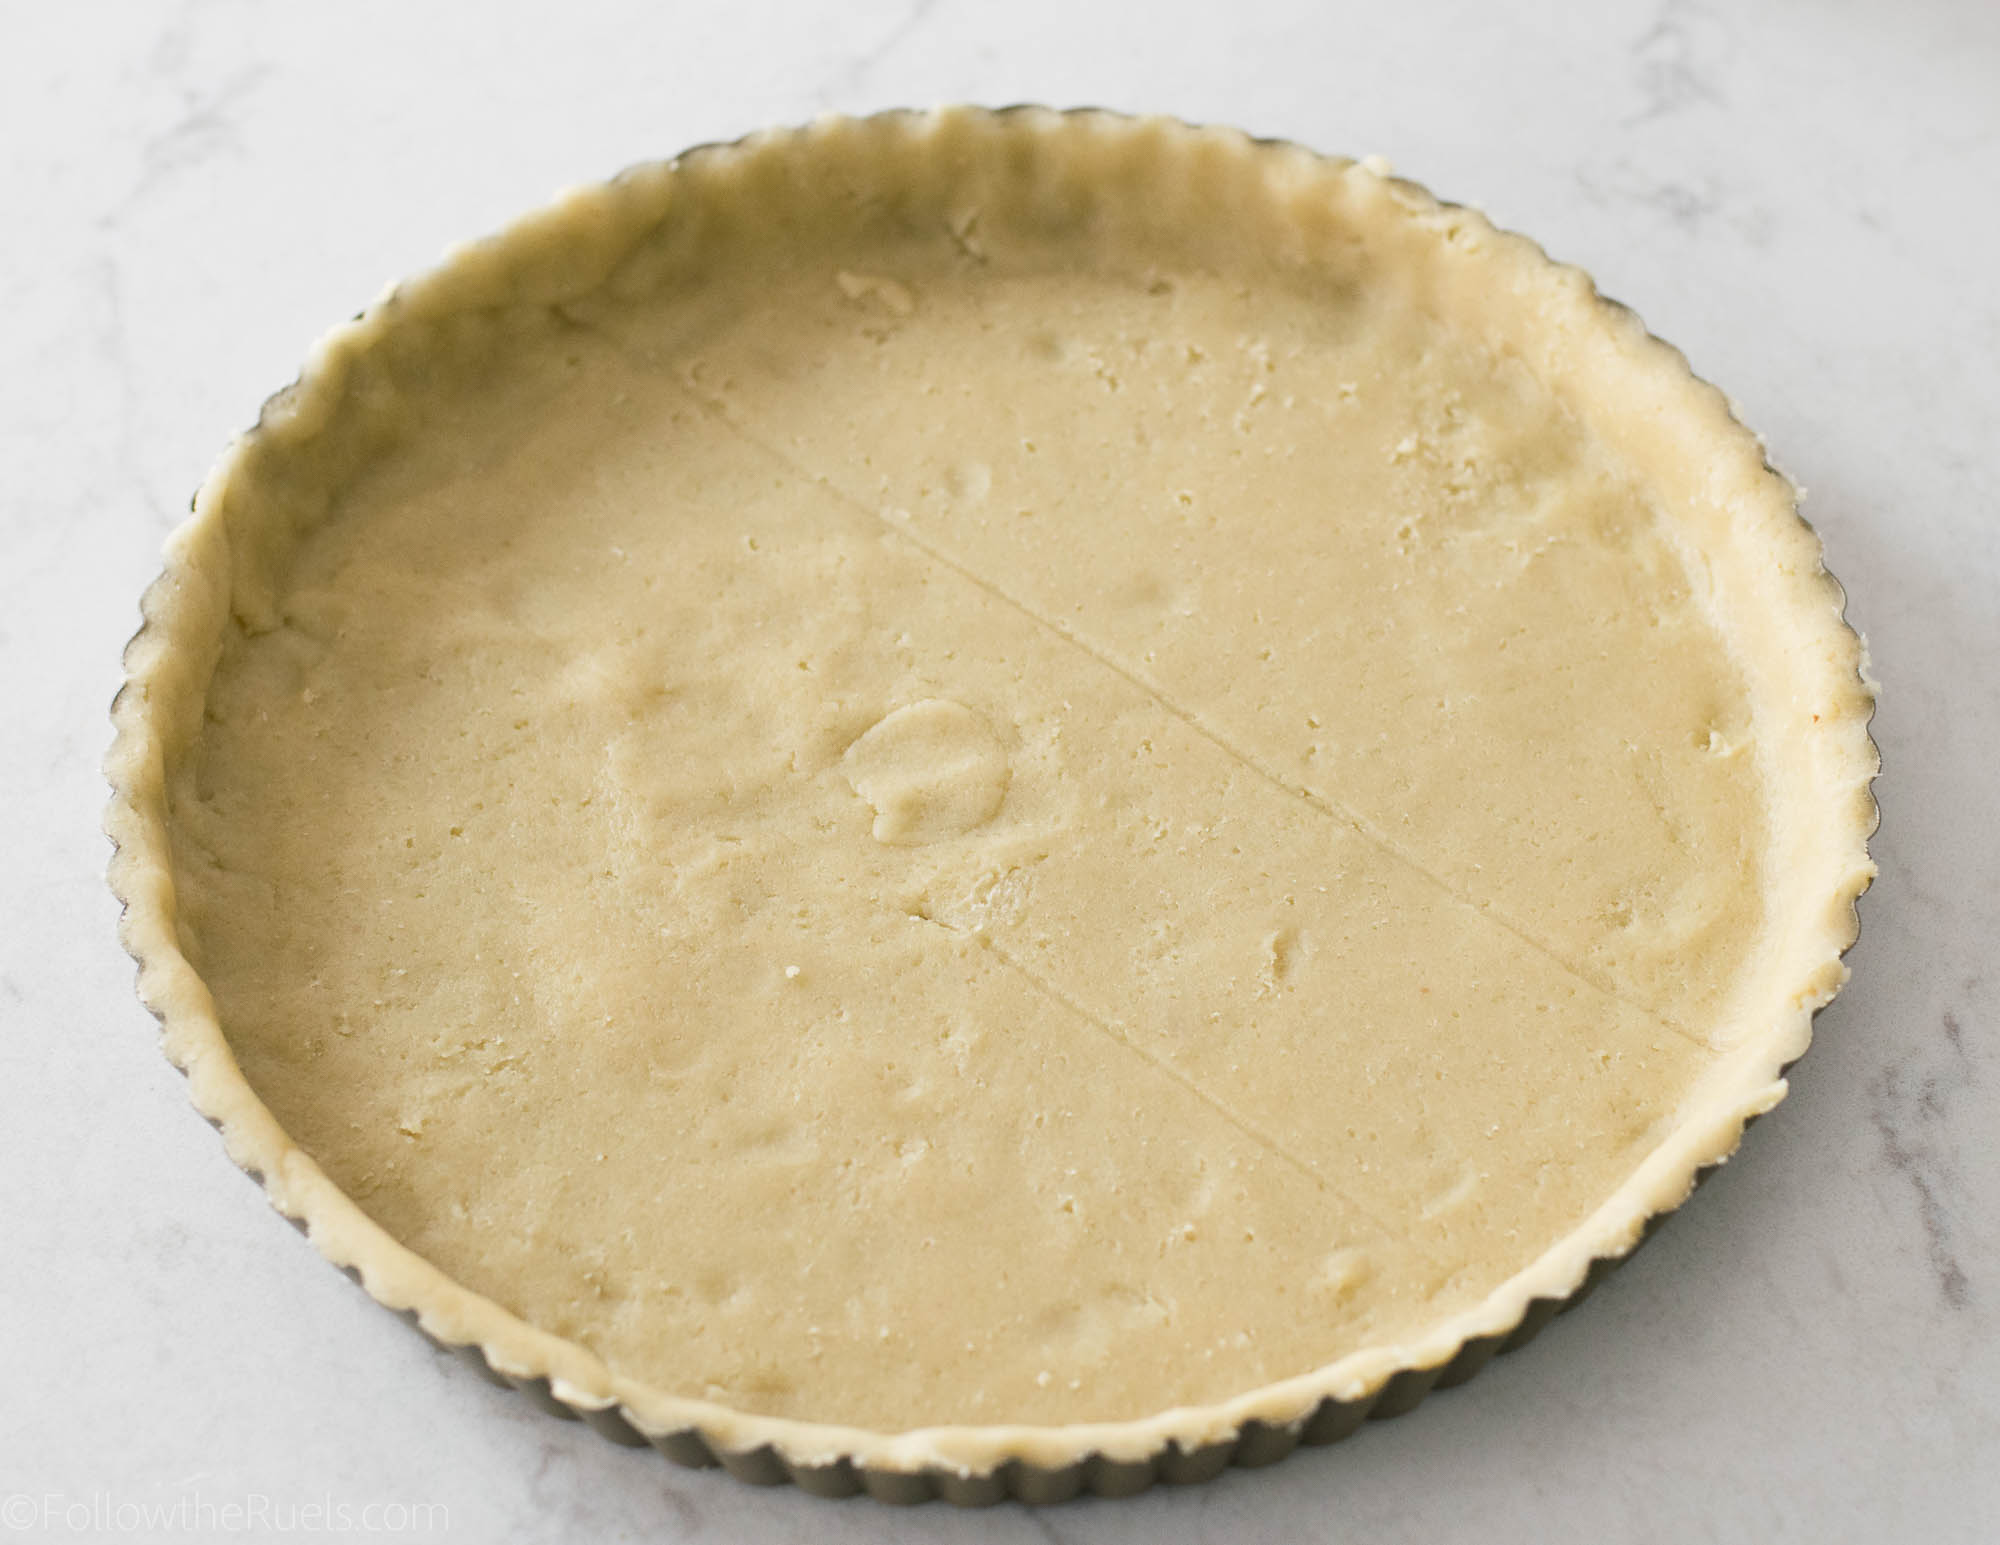
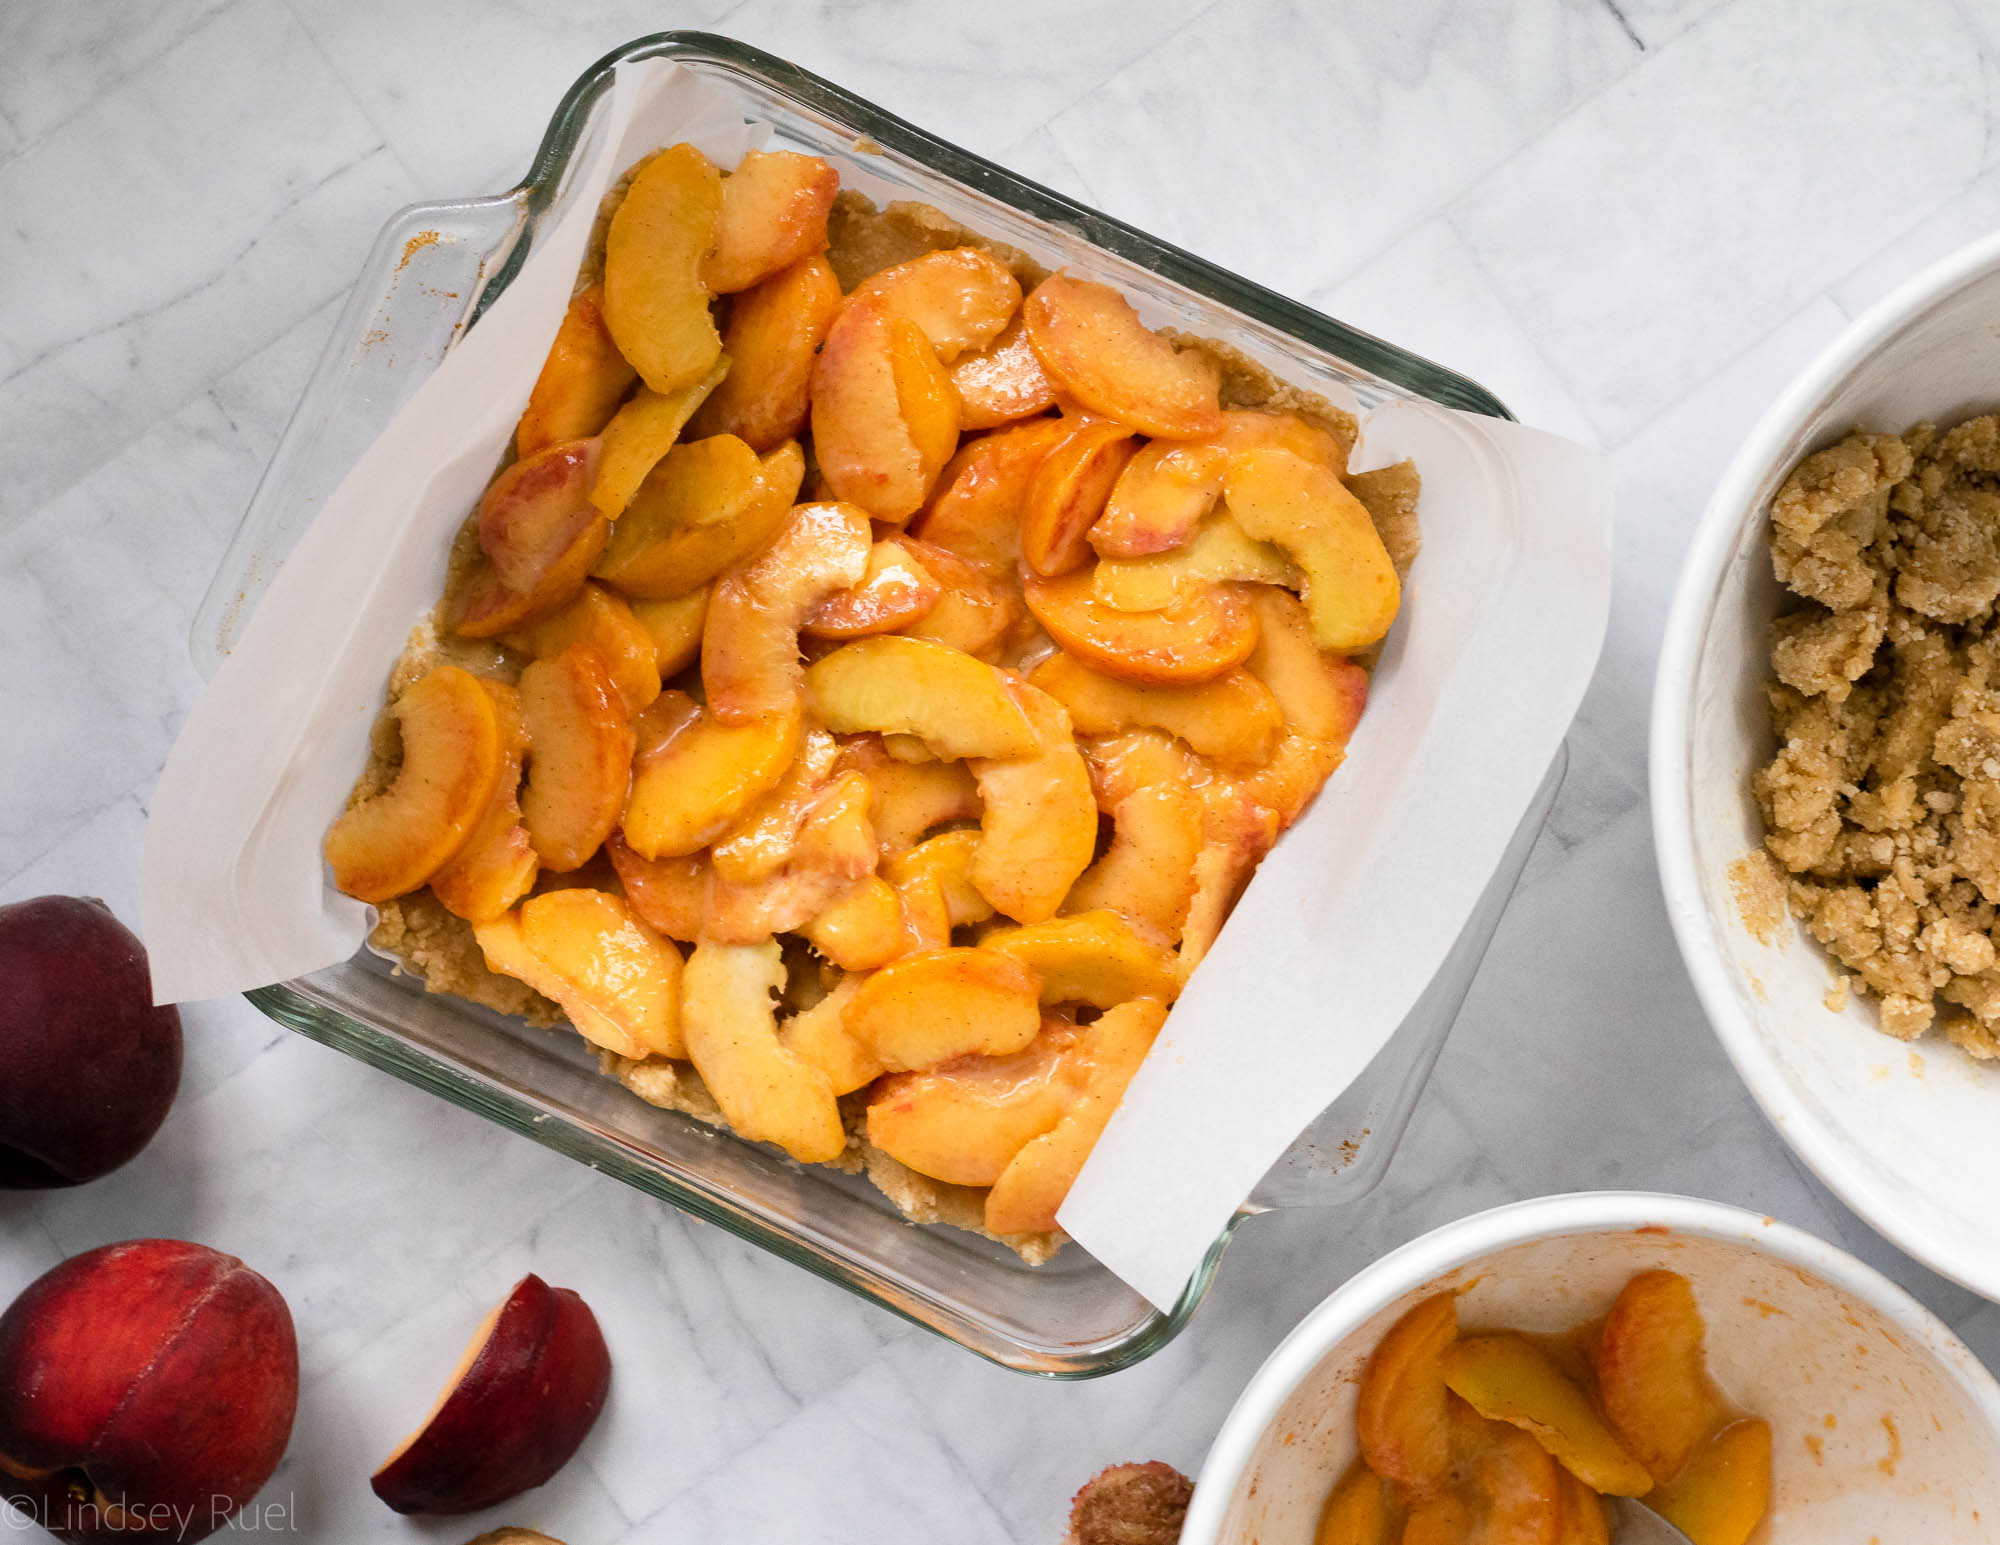
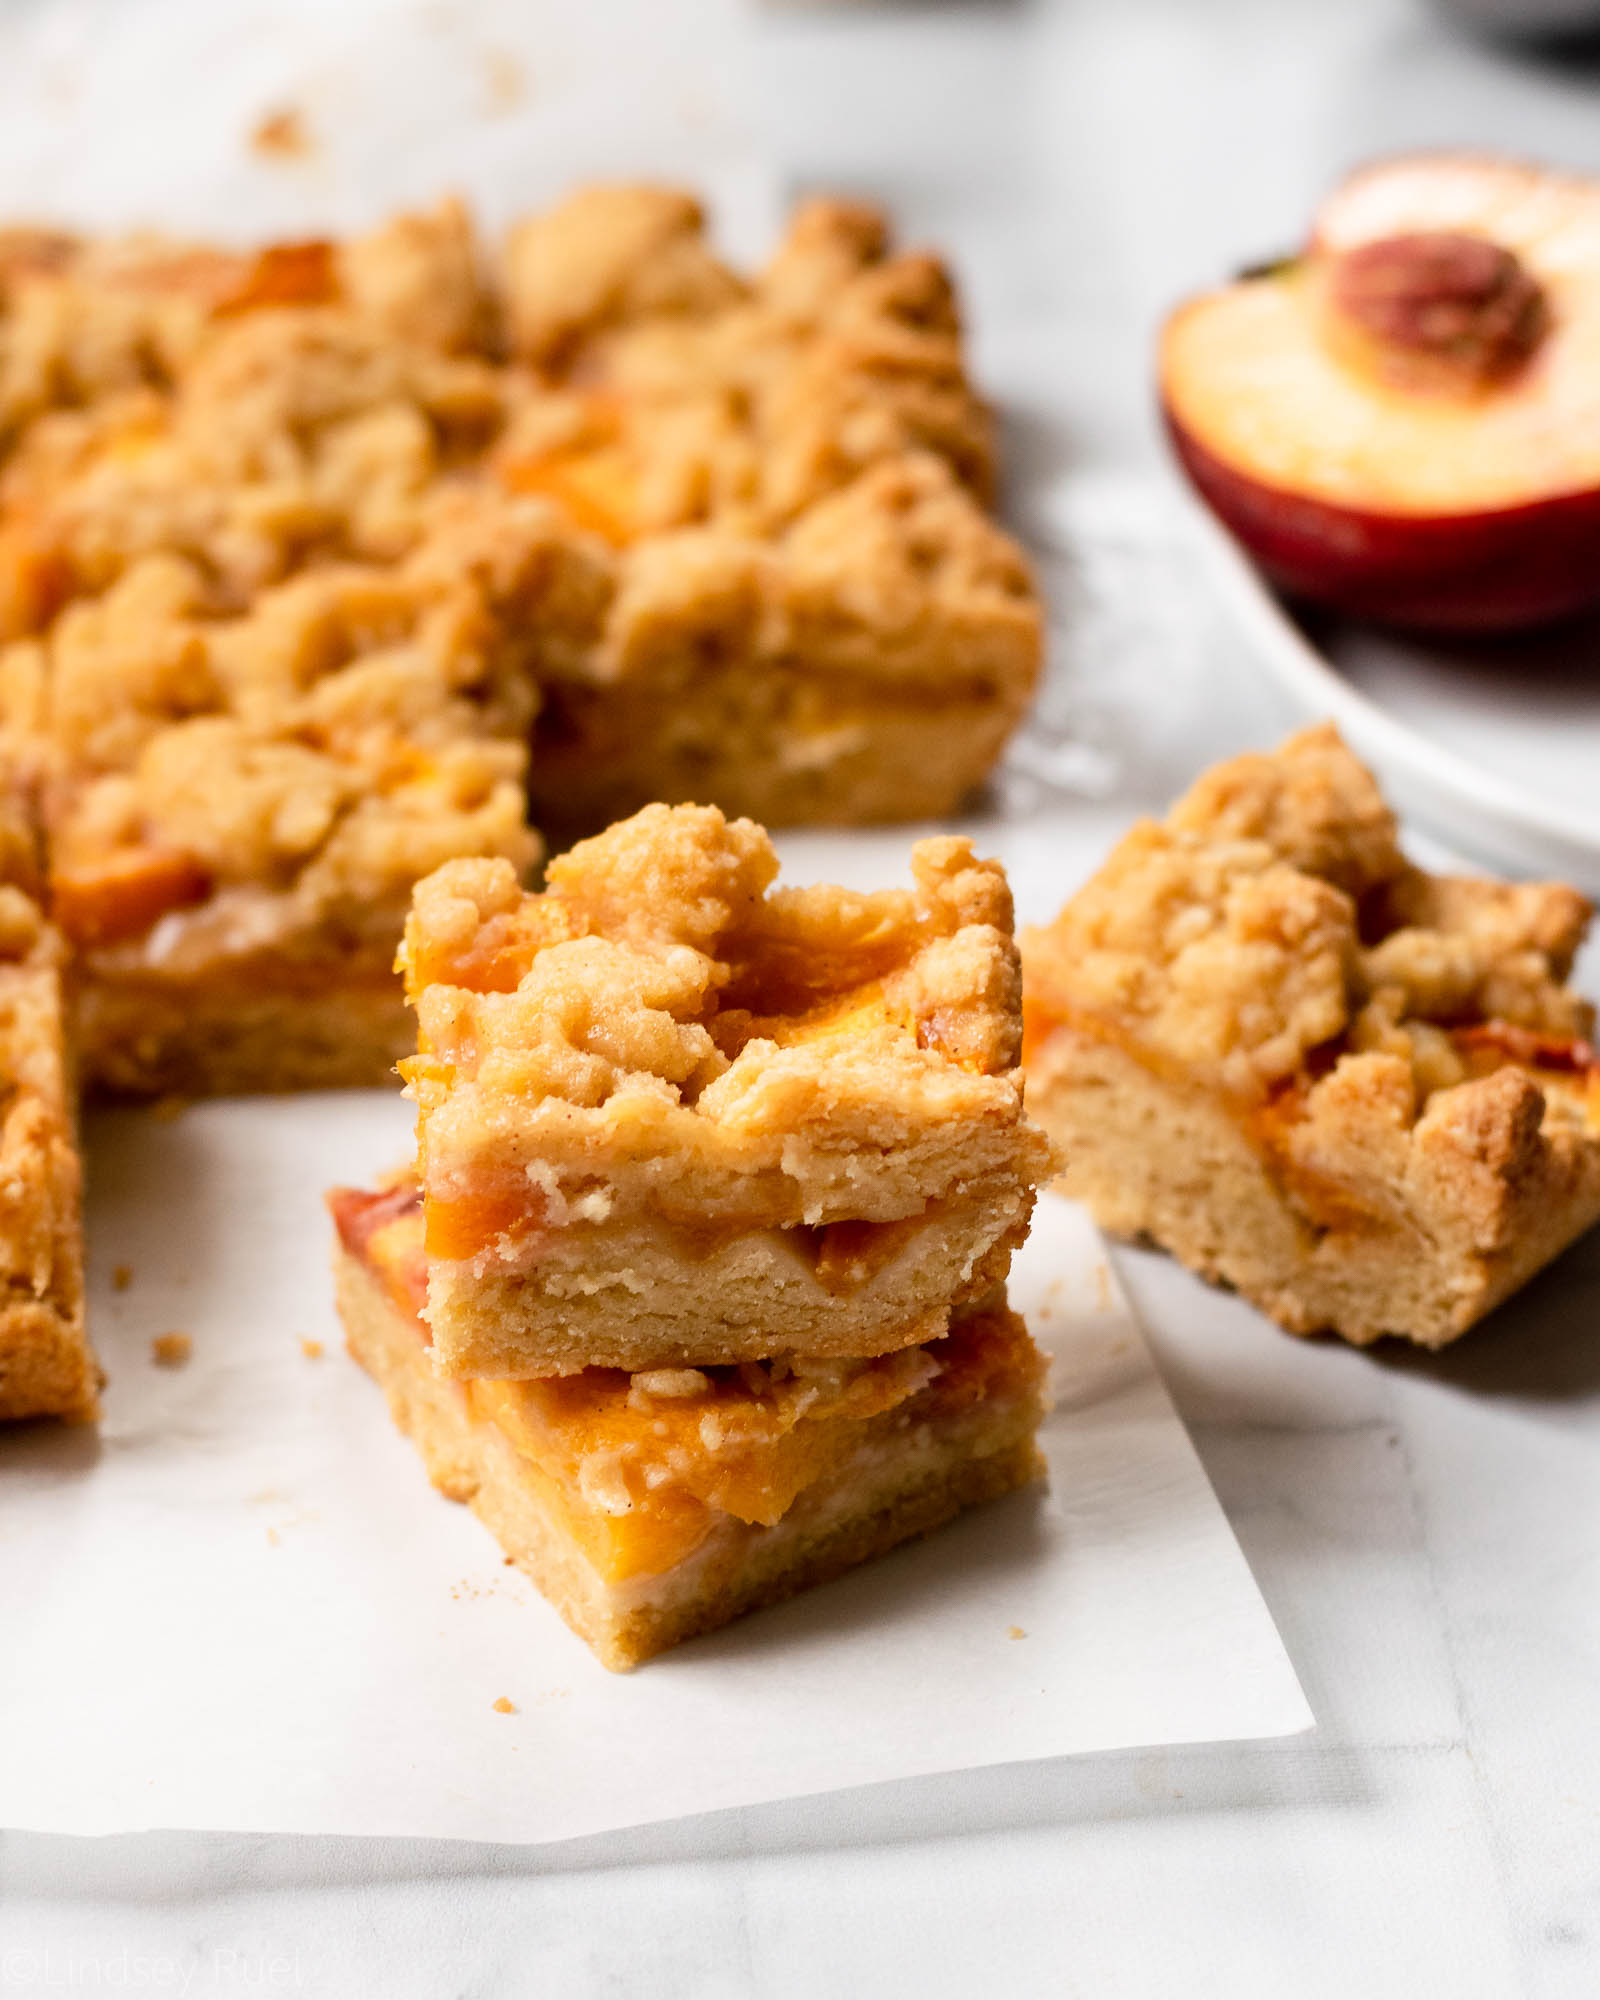
Press a little more than half of the dough into the bottom of a square dish. Top with peaches that have been tossed with a bit of sugar, cornstarch, and nutmeg.
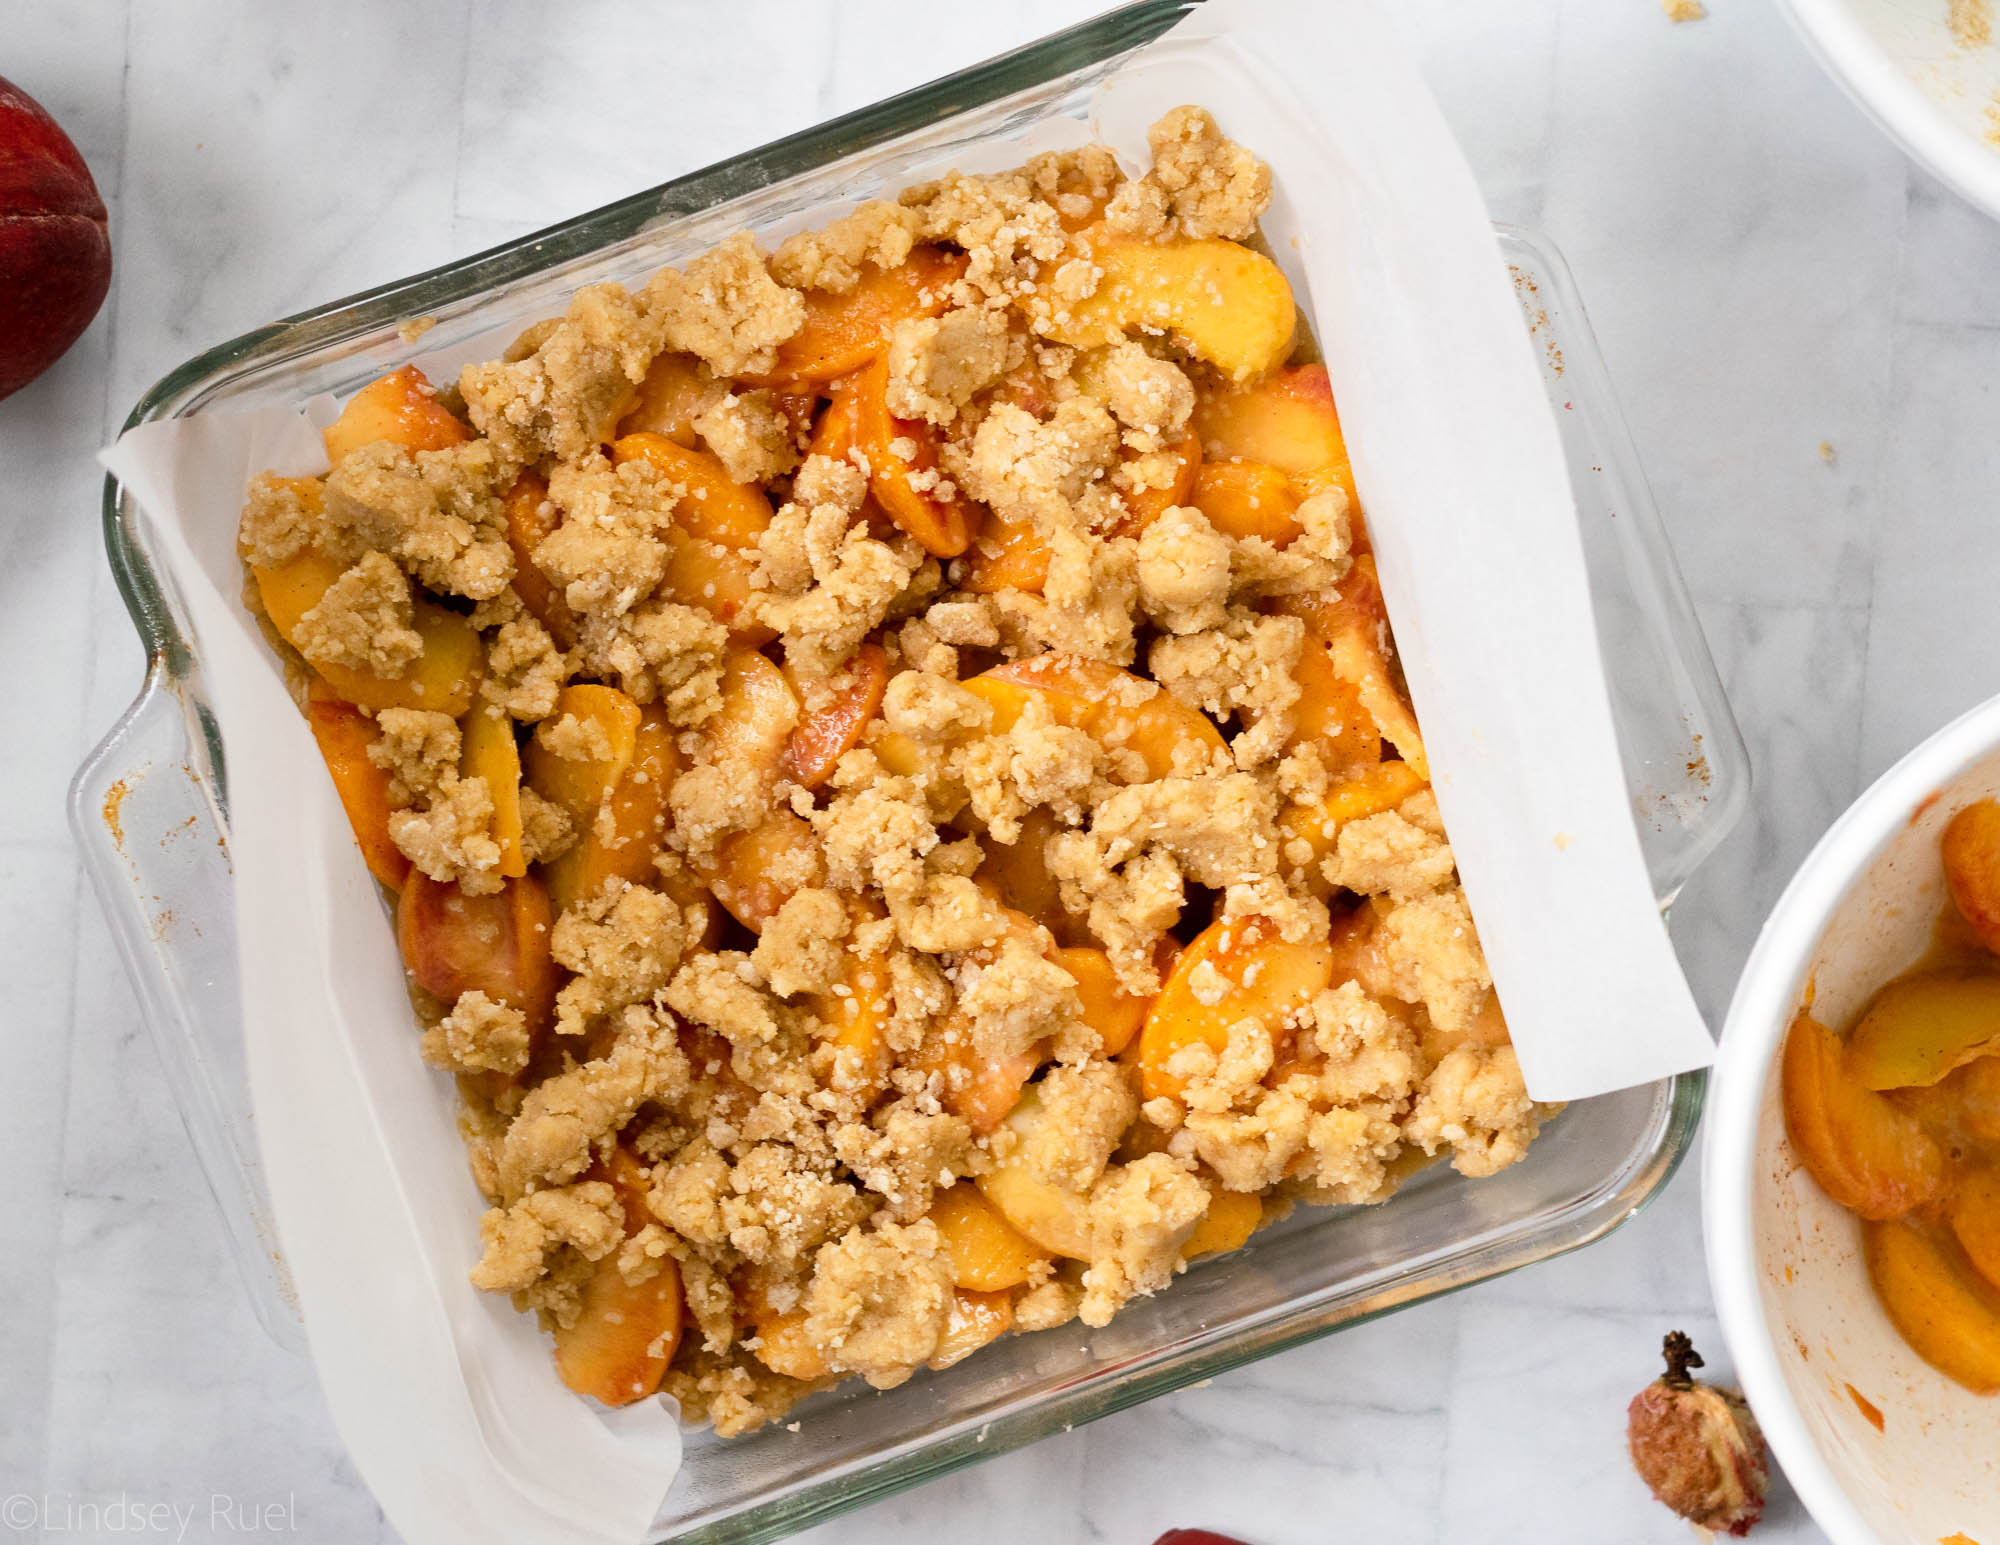
Sprinkle the rest of the crumb mixture over the top of the peaches, making sure that most of the area is covered.
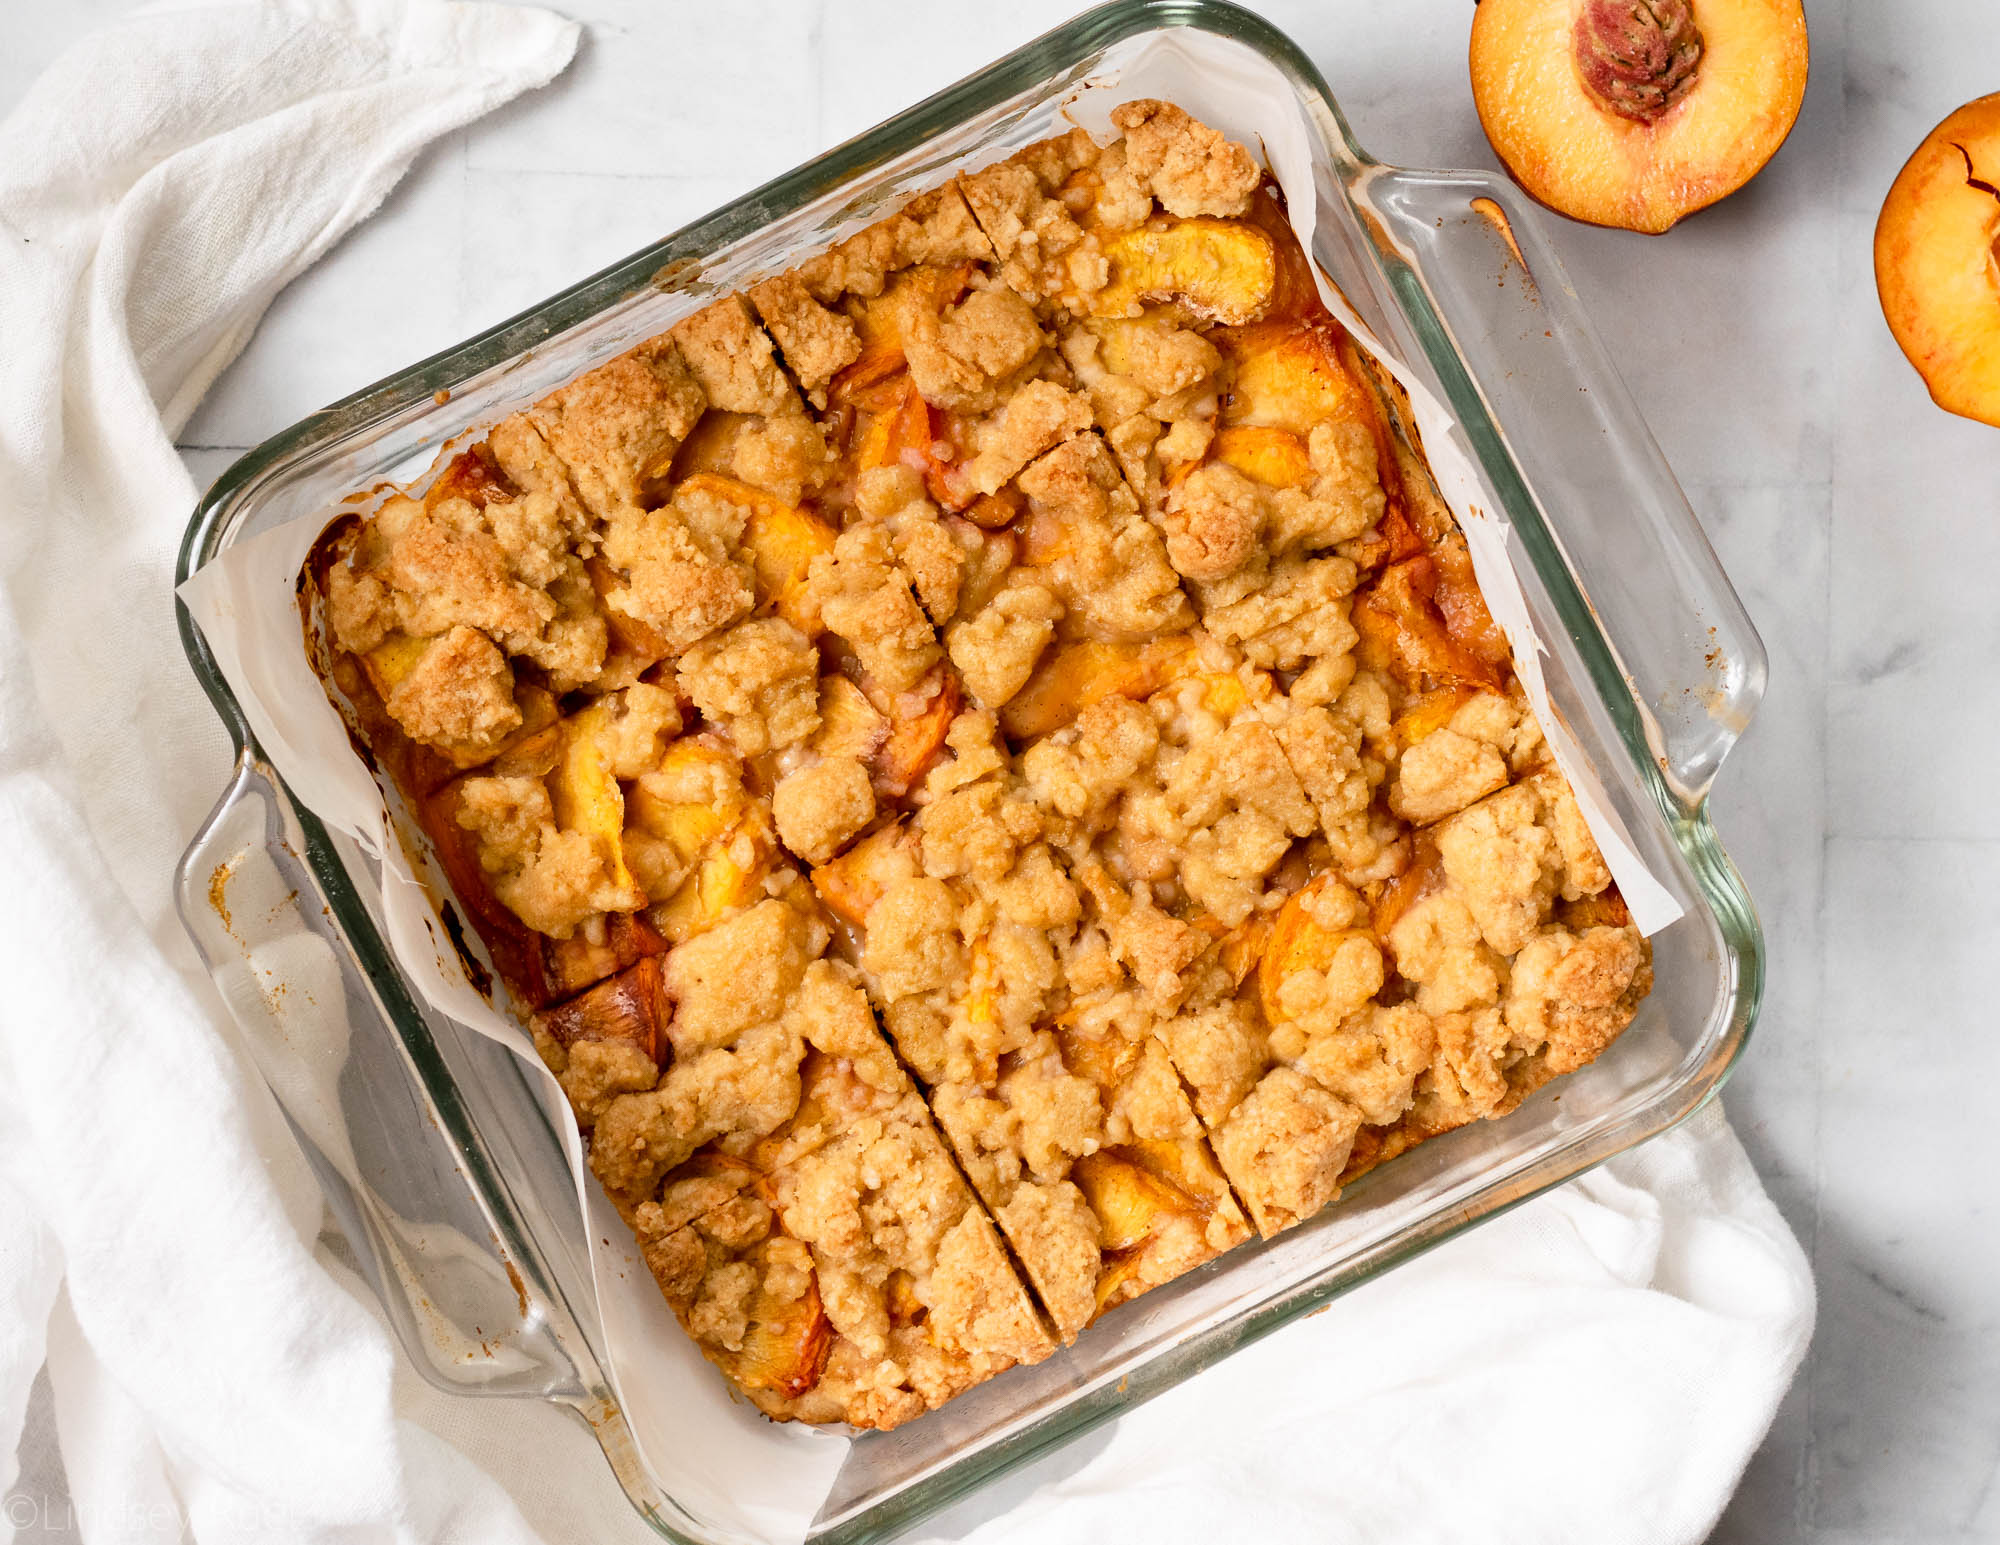
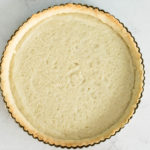
Bake at 350 until the top is golden brown.
Let the bars cool for at least 15 minutes, if not longer, before cutting.
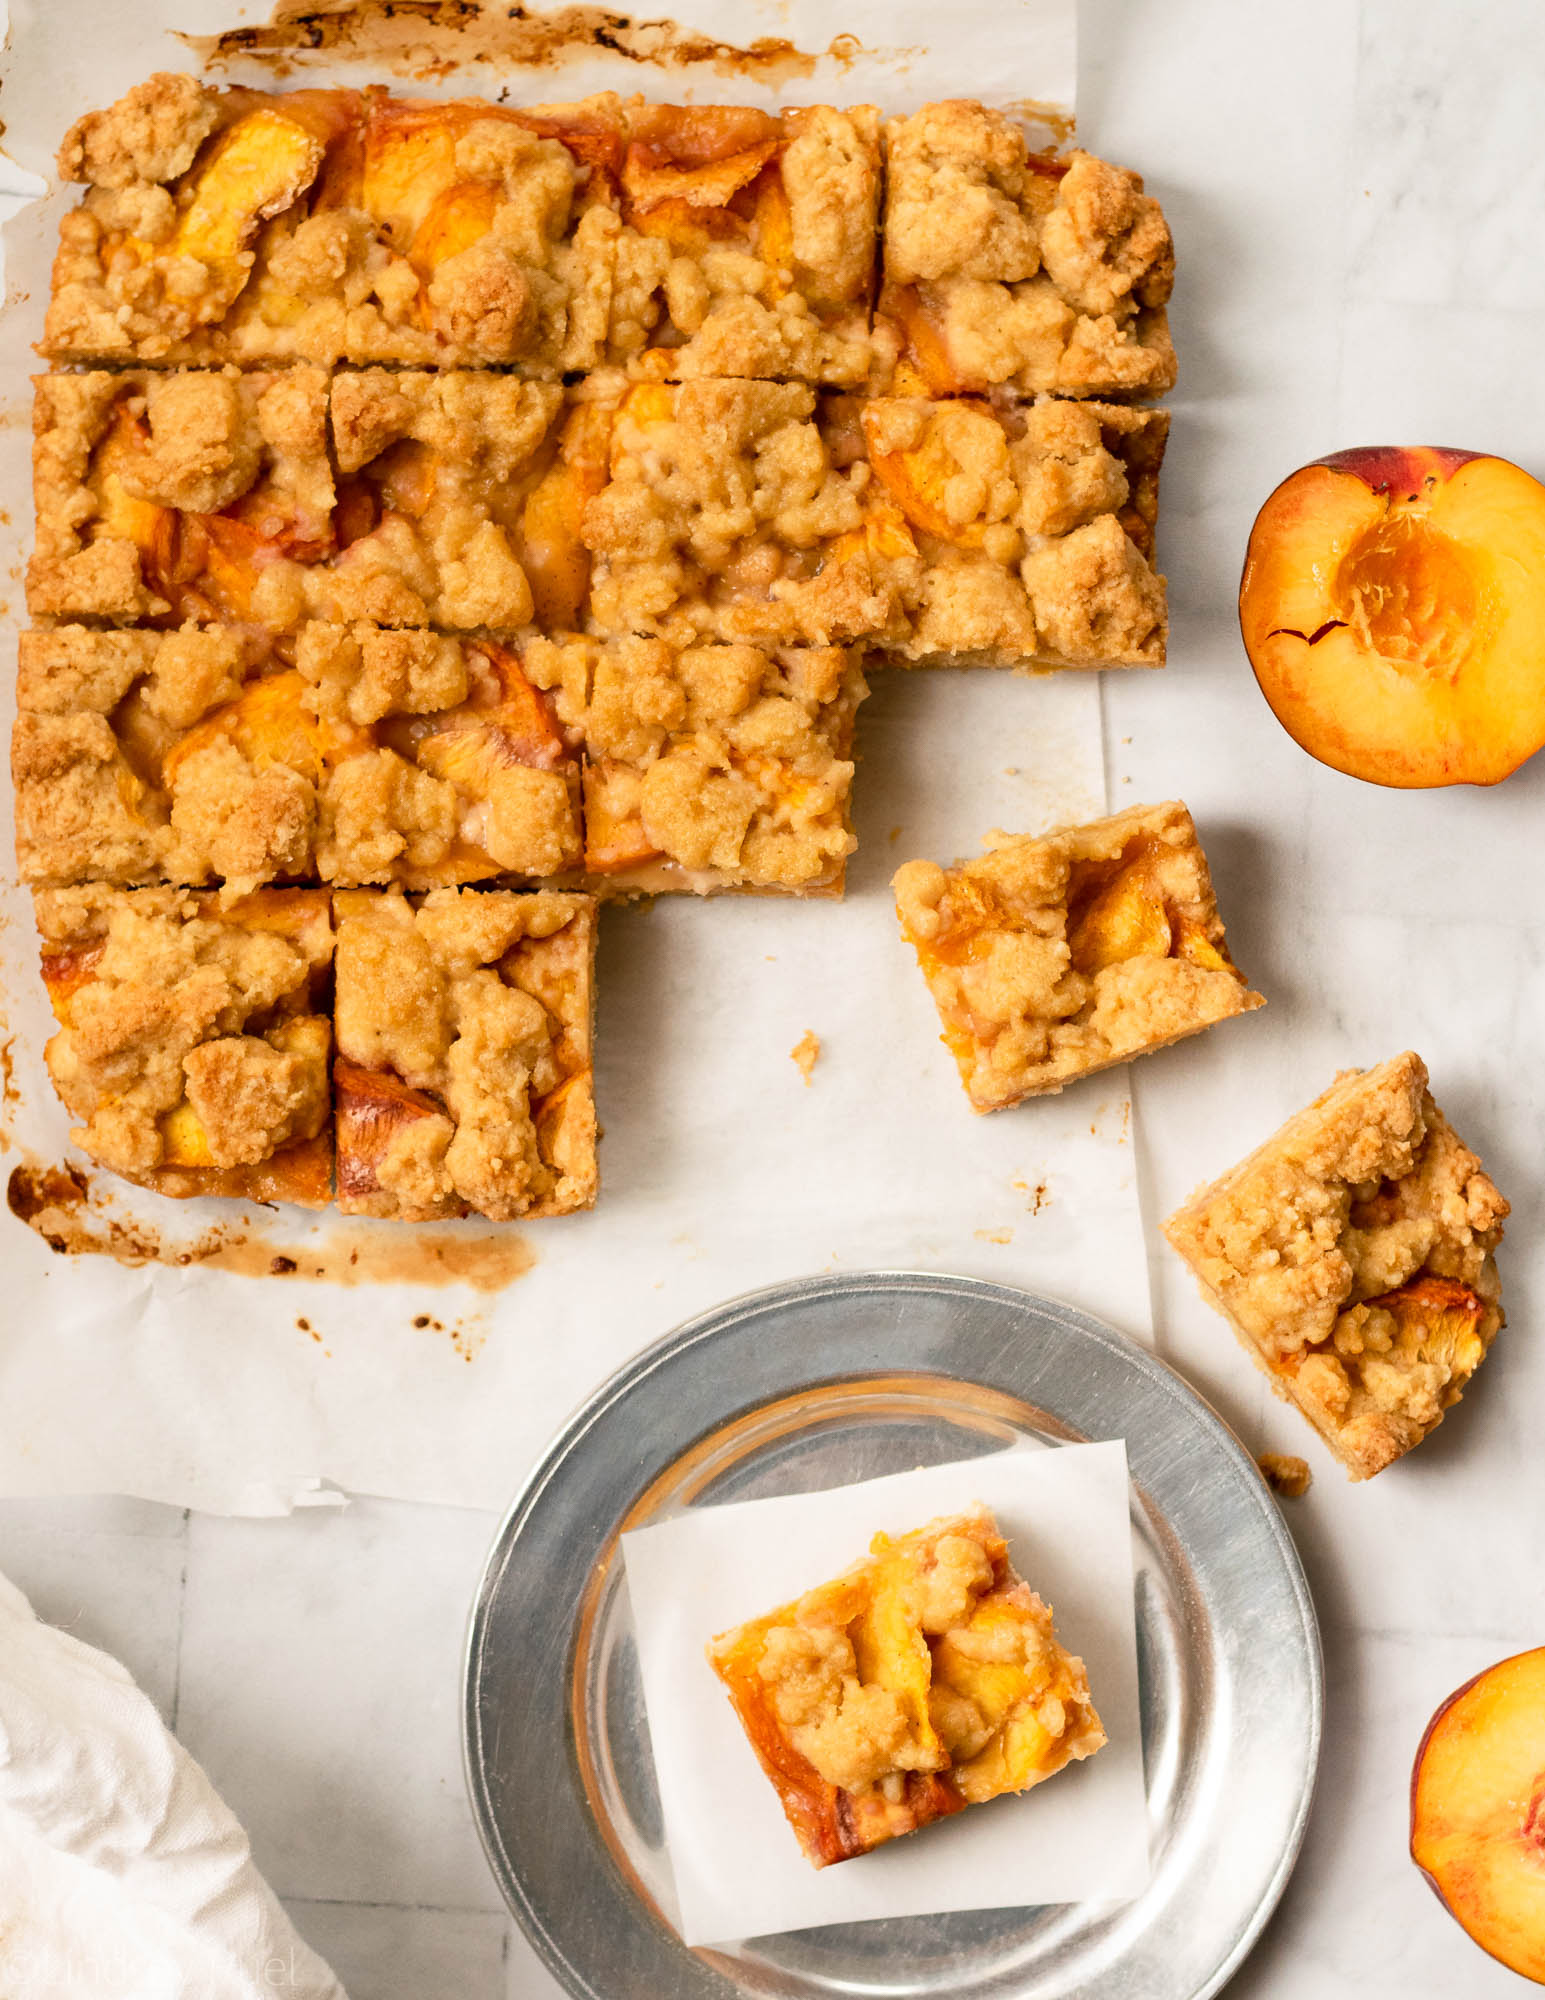
These peach cobbler bars are delicious at any temperature. But I think they are best served slightly warm. And with a side of ice cream.
Supplies and Recipe
[yumprint-recipe id=’187′]