Since gender reveal week is coming to a close, I guess it’s about time I reveal the gender.
Some of you already know or have guessed. If you follow me on Instagram, then you may have seen my latest (and only) bump pic asking you whether you thought I was carrying high or low. A few were pretty certain you knew after I posted that picture. I guess my bump gives it away.
I also mentioned in the last post that I knew the gender of this baby before it was even born thanks to an old “wives tale” that my former boss used to preach to us anytime anyone we knew ended up pregnant.
Here’s how it goes:
Because the gender of the baby is determined by the father (sperm), look at his family line. Is he the youngest of all girls? Is his dad one of four boys? If the male side of the family is dominated by girls, then there is a good chance you are having a girl. If it’s dominated by boys, well then you are having a boy.
I think this wives tale only really works well if there are lots of kids in the family and it heavily swings one way or the other. Otherwise, if the grandfather had an older sister, but dad has a younger sister, it may be a total crapshoot.
Luckily for me, Billy’s side of the family swings very heavily in one direction.
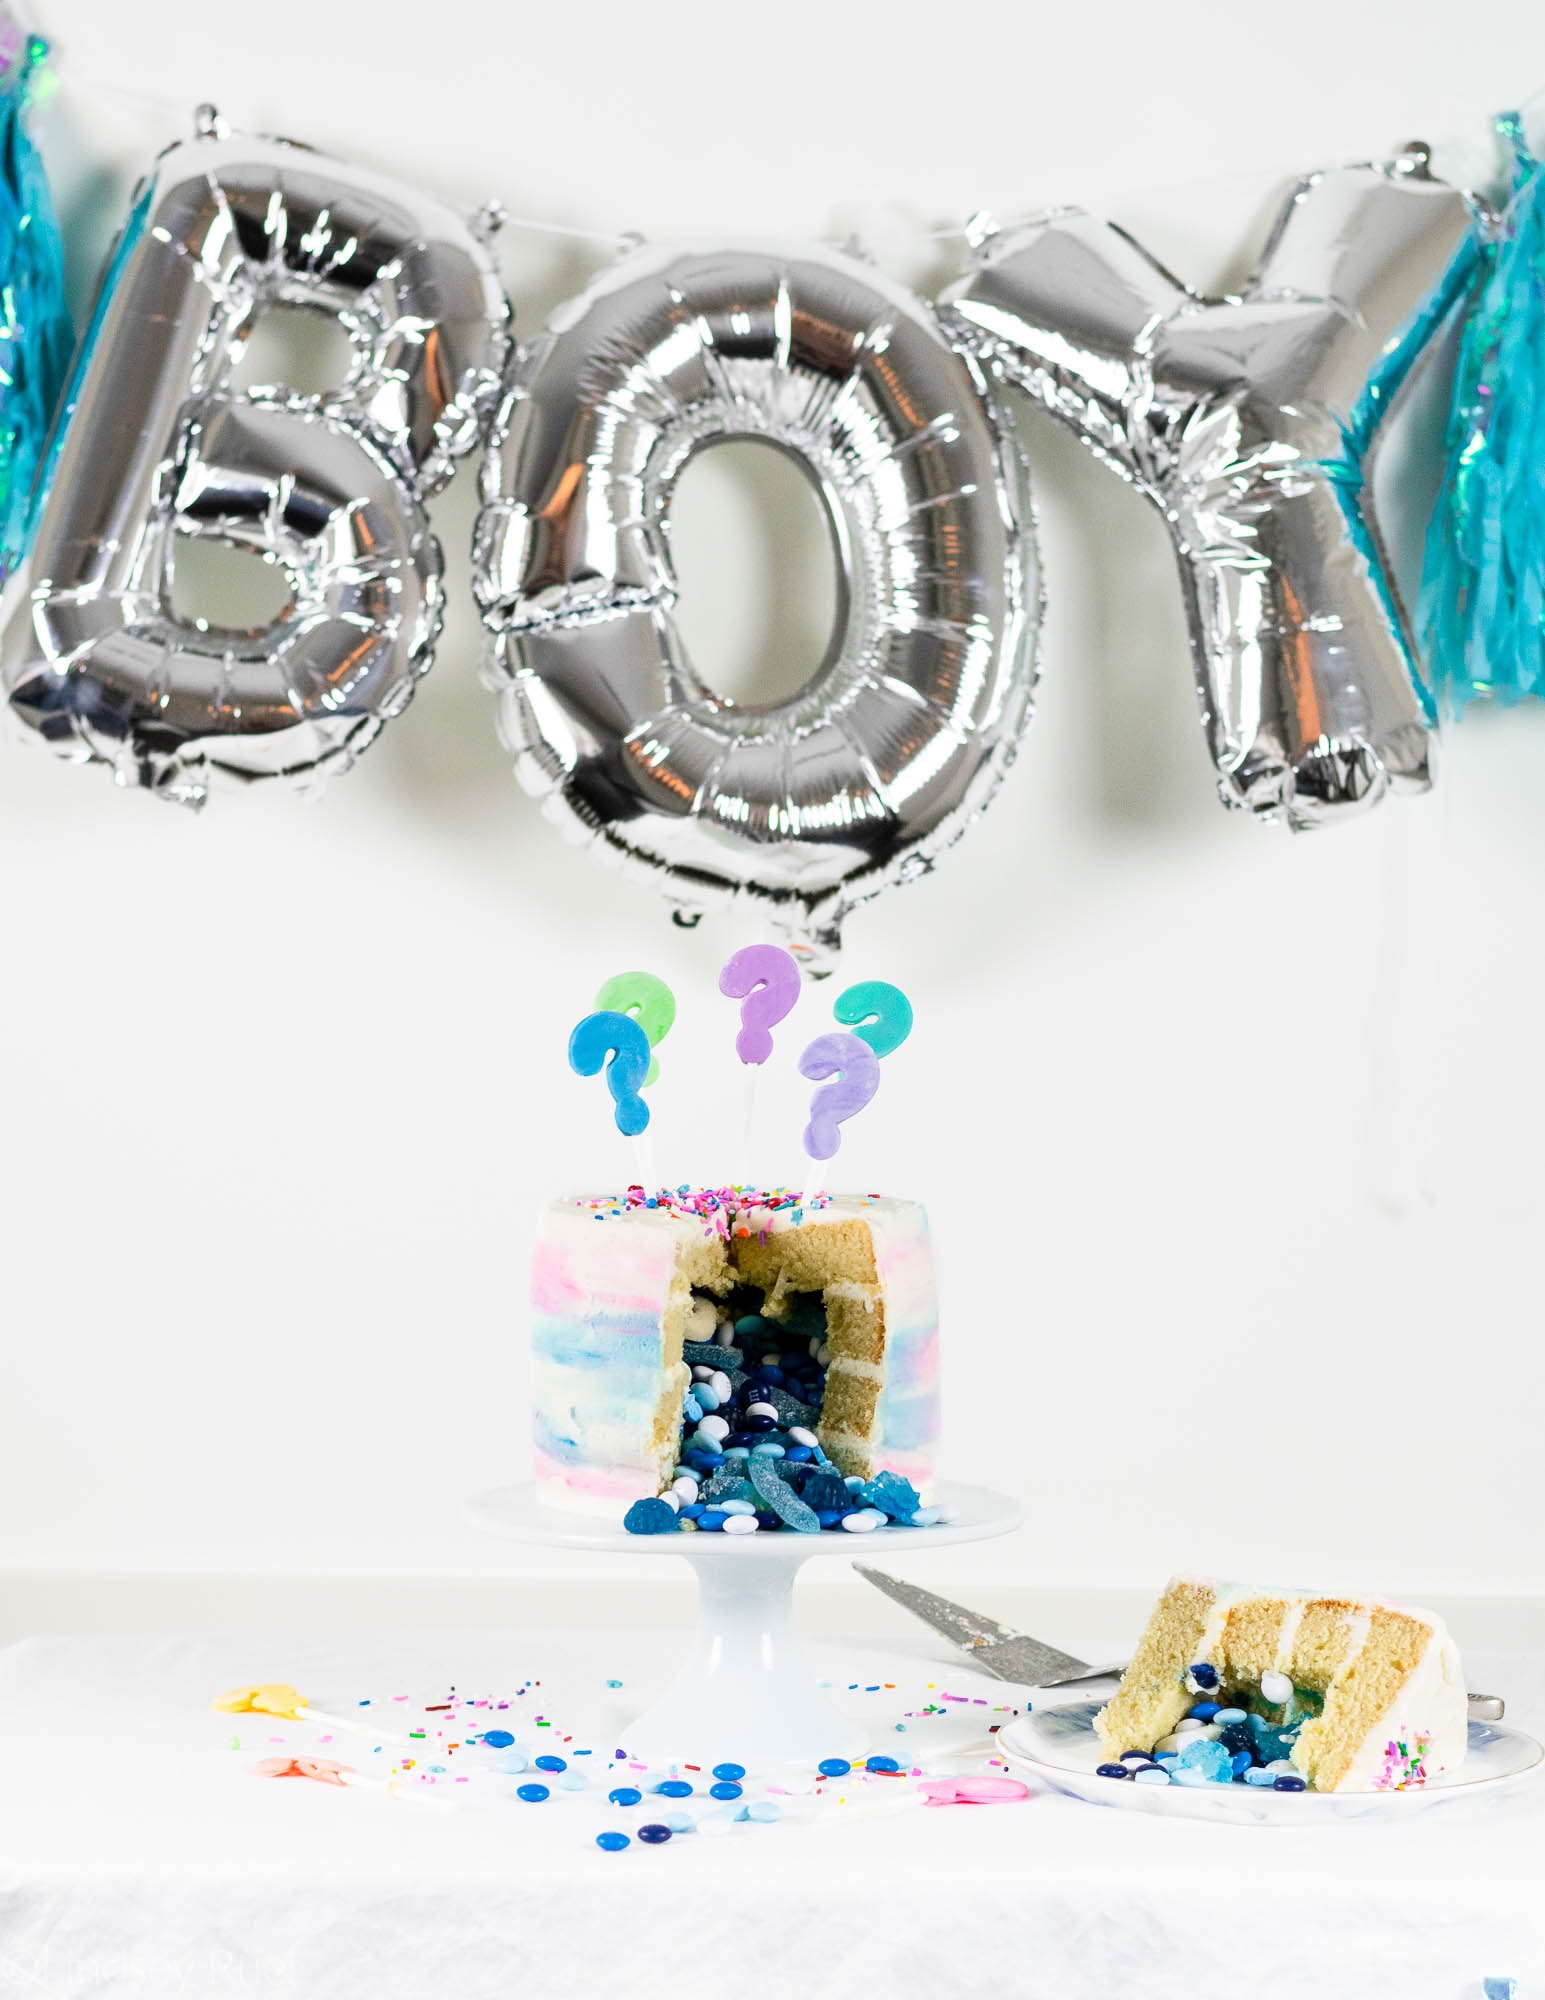
It’s a boy!!
Because Billy’s family is pretty much all boys (I don’t think he has a single girl cousin on his dad’s side of the family), we were pretty sure we were having a boy. So when the nurse called us after my 12-week blood test with the news, we were not surprised in the least to hear the results!
Of course, we would have been happy with either, but we are thrilled for a boy. If we were having a girl, I just know she would have her dad wrapped around her finger the instant she was born. At least now this child stands a slight chance of not being completely spoiled by dad.
We’ll leave the spoiling for the grandparents.
Okay, enough about this baby boy. Let’s get to the cake!
Recipes and Supplies
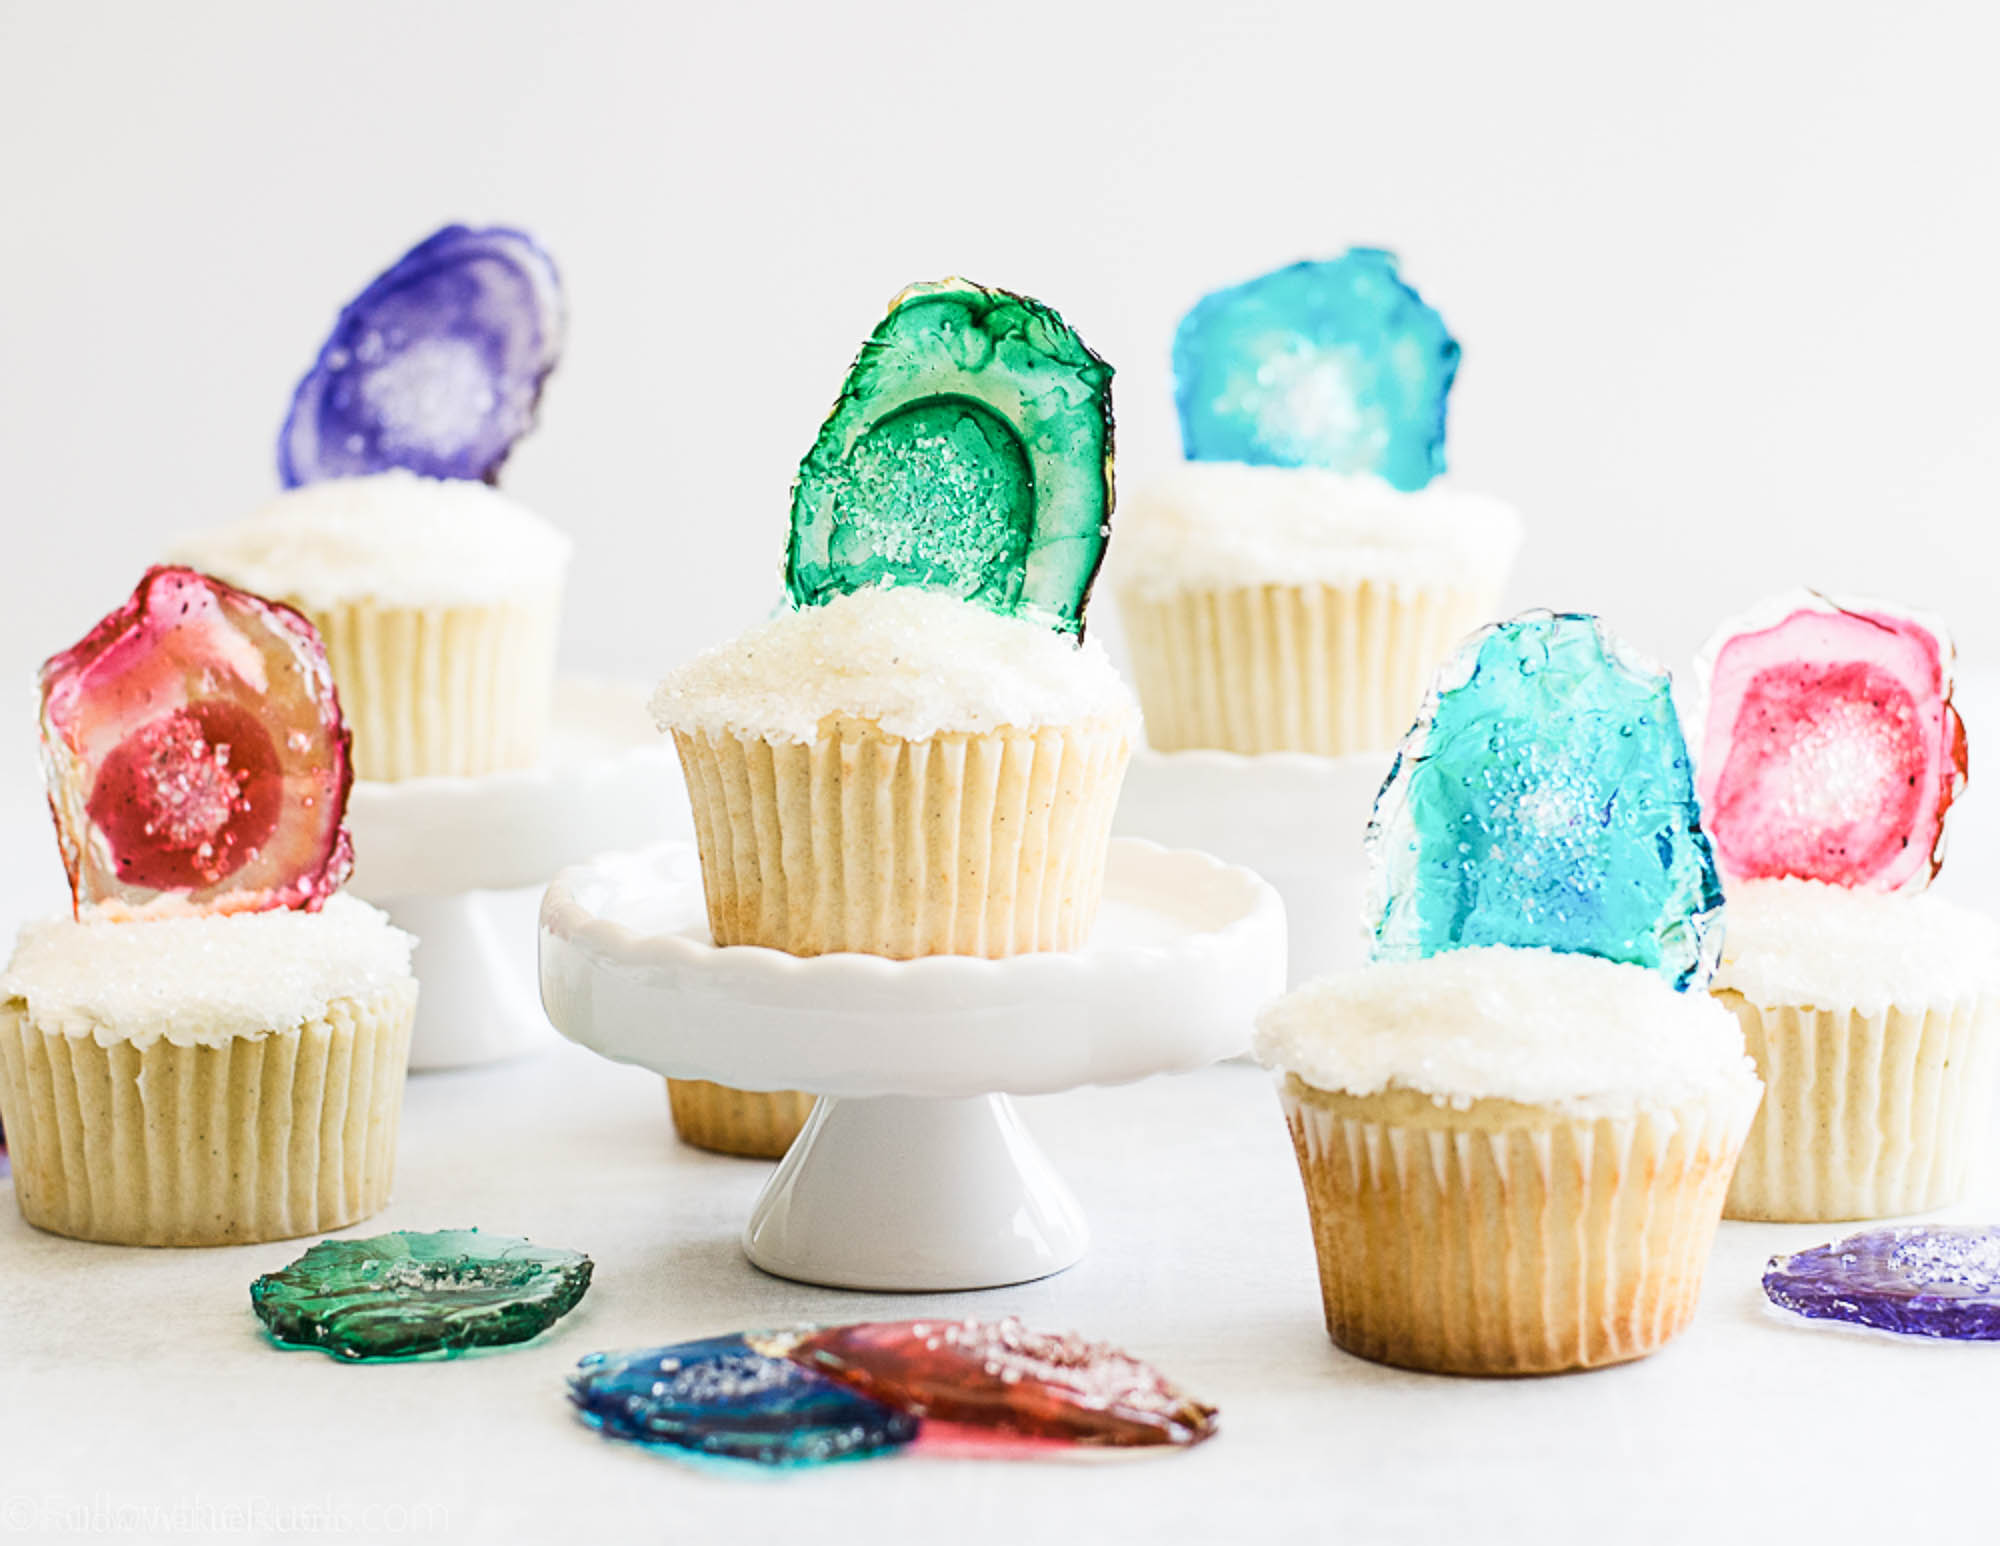
The beauty of this cake is that you can make any flavor you like! The only thing that really matters is the color of the candies in the center.
However, I will caution you against strawberry cake if you are having a boy. That may be a little confusing.
For my cake, I made a simple vanilla cake recipe, adapted from my favorite cupcake recipe. You can find the recipe at the end of the post.
You could also make a boxed cake because there is no shame in that. Here are my tips for making a boxed mix taste like a homemade cake.
You just need enough cake to make at least 3 layers of cake, so that one layer can hold the candy center. A typical cake recipe can make a 3 tiered 6″ cake, but I would double most recipes if you want to make a bigger cake, such as a 8″ or 9″ cake.
For reference, I made a 4 tiered 6″ cake. I doubled my cake recipe and had enough batter left over to make a few cupcakes. It would have been the perfect amount of batter to make a 4 tiered 8″ or 9″ cake.
Aside from the actual cake, you will need the following:
- 1-2 batches of buttercream (1 batch for a 2 tiered cake 6-9″ in diameter, 2 batches for a 3-4 tiered cake 6-9 inches in diameter)
- Food coloring
- Fondant
- Lollipop sticks
- Sprinkles
- Assorted candies in pink or blue
I would also recommend the following to make your cake assembly and decorating much easier:
[show_shopthepost_widget id=”3217770″]
How to Make It
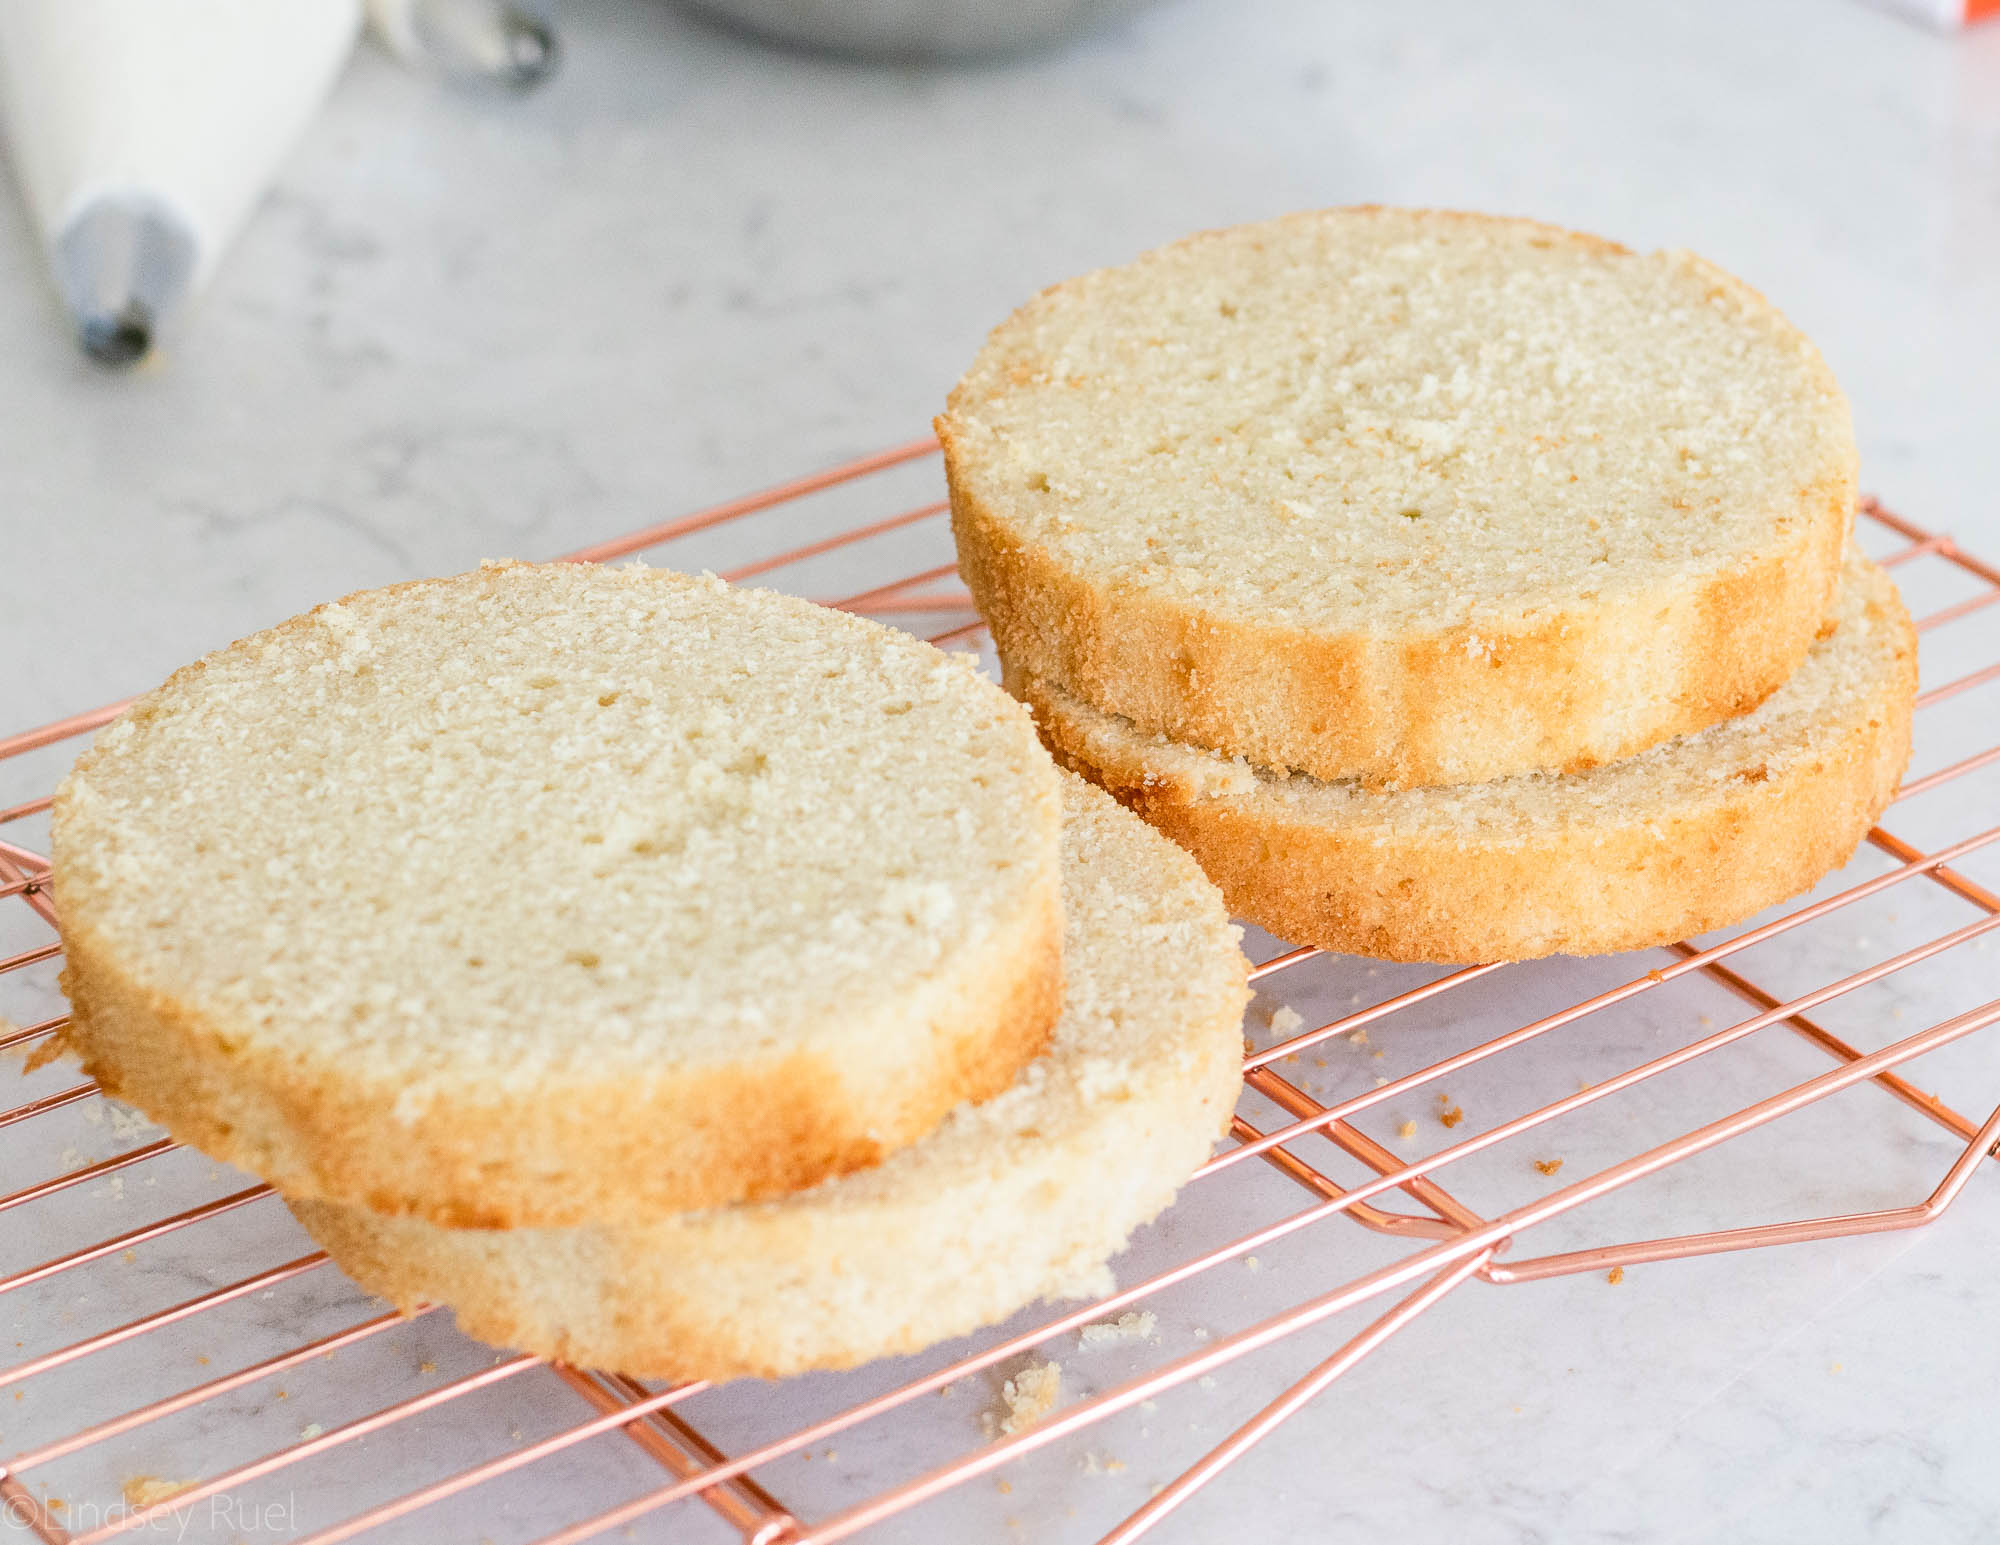
Start with your already baked cake. Level and divide the cake into however many layers you like.
Tip: Chill your cake before you start cutting into it. It will cut much easier and will not produce as many crumbs.
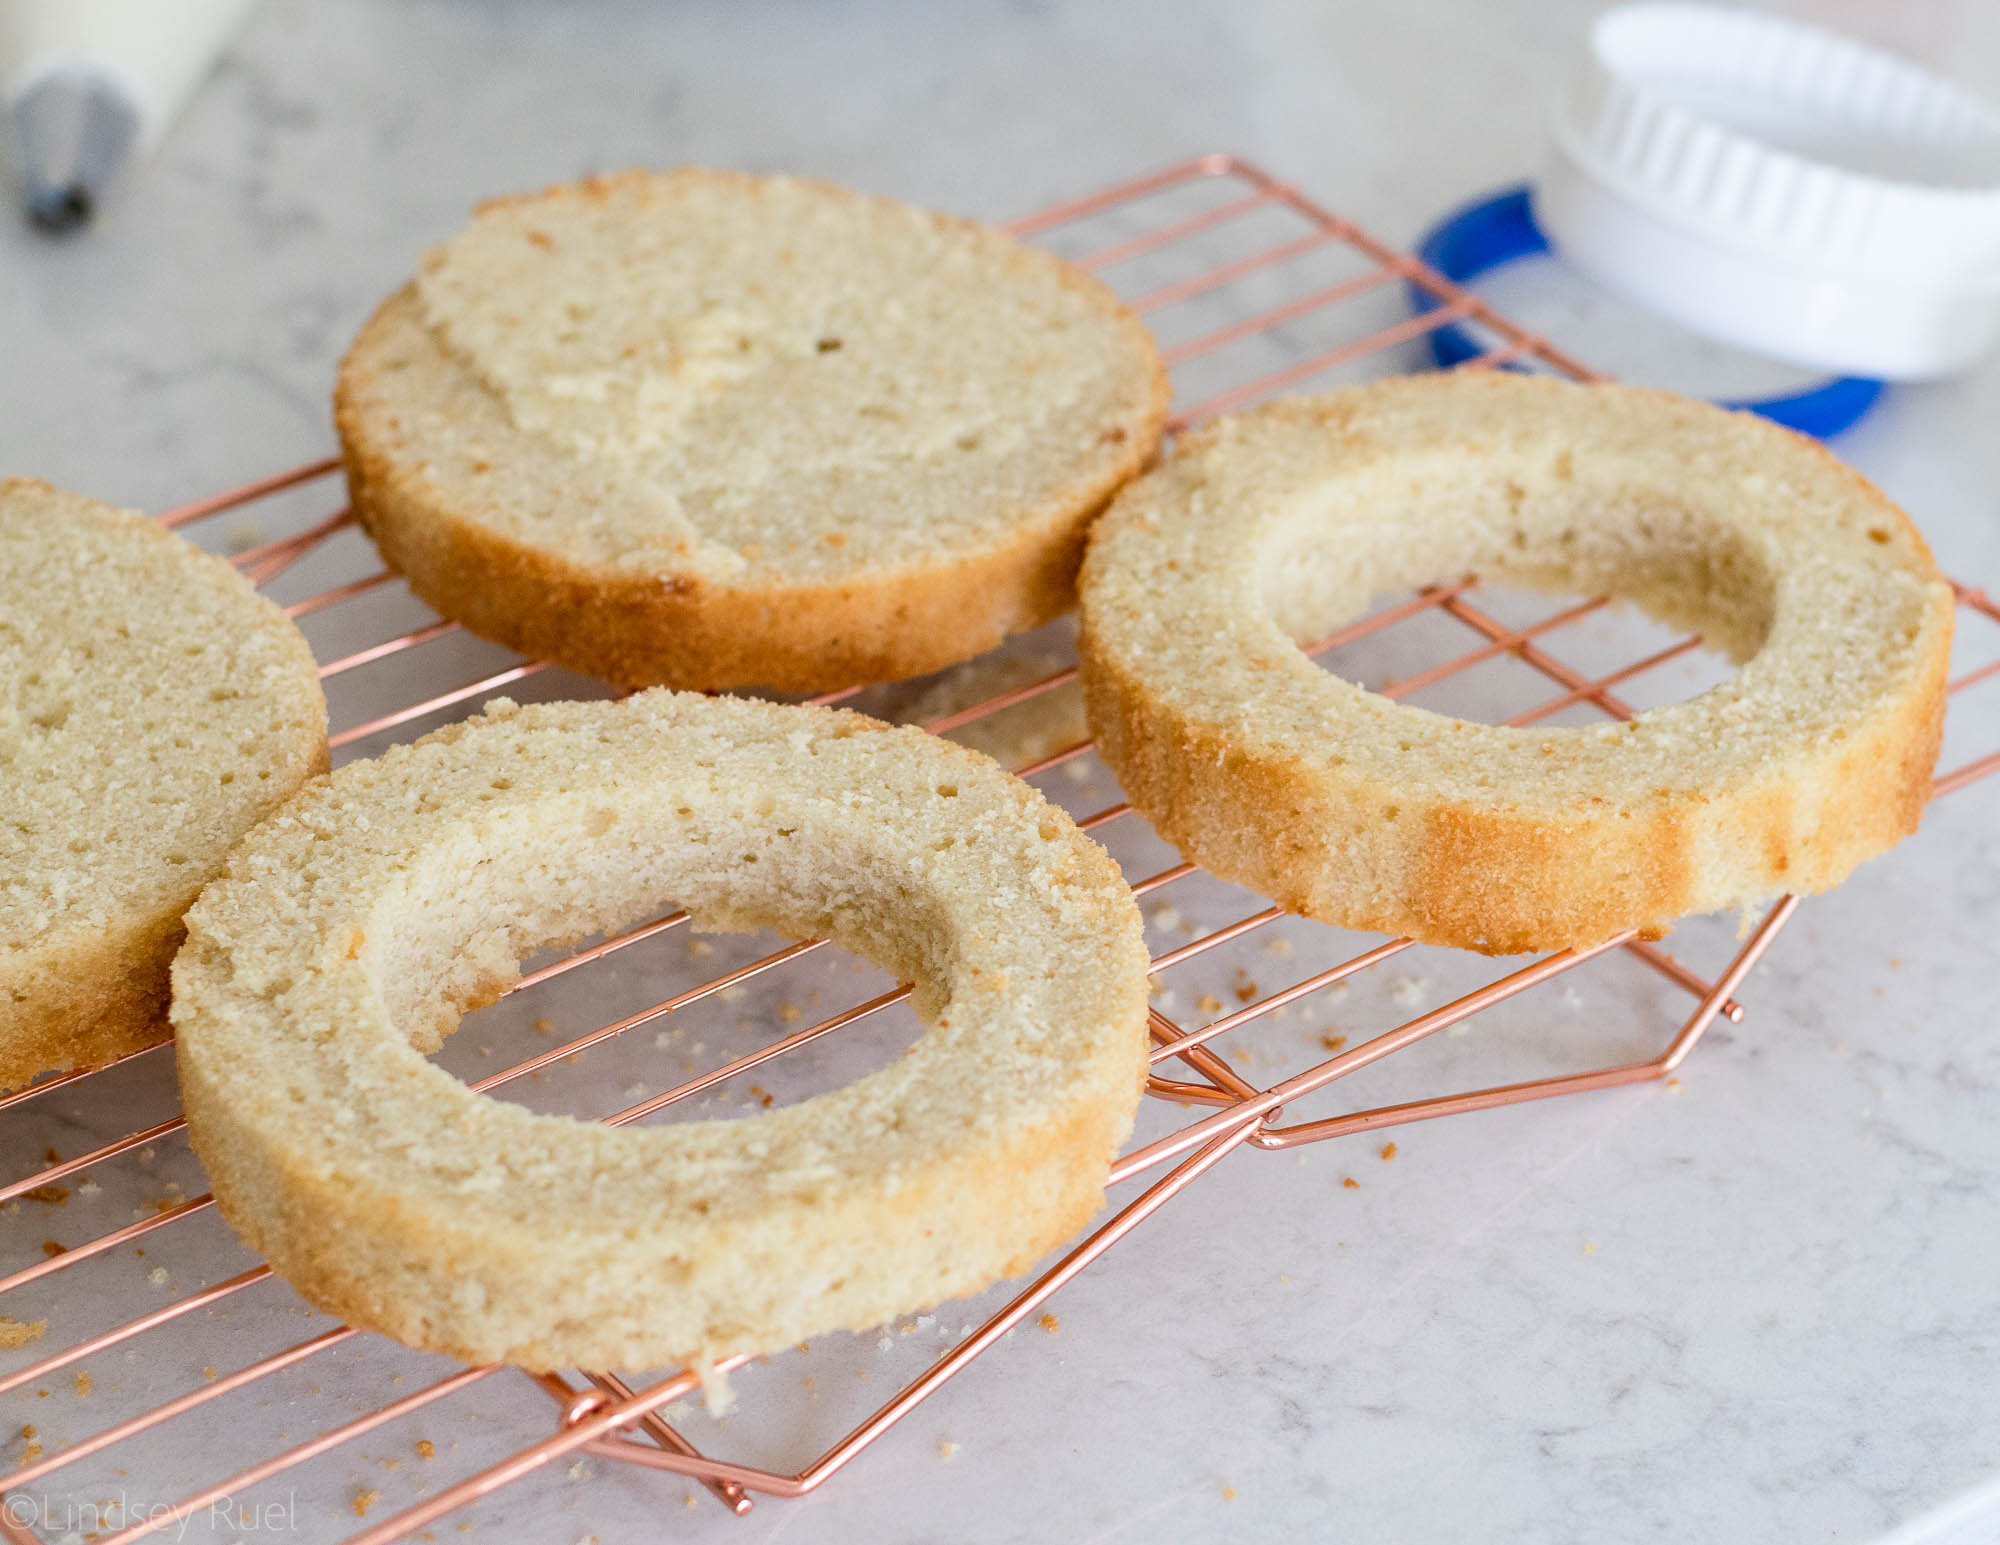
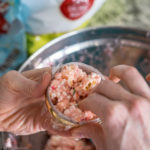
Identify your center layer or layers. Use a round cookie cutter to cut a circle in the center of the layer(s).
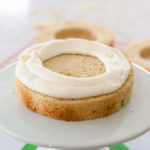
To build the cake, start by placing the bottom layer on a cake board or cake stand. Afix it to the board or stand with a little buttercream.
Then pipe a ring of buttercream around the edge of the cake as wide as the second layer.
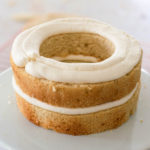
Place the second layer on repeat with the third layer.
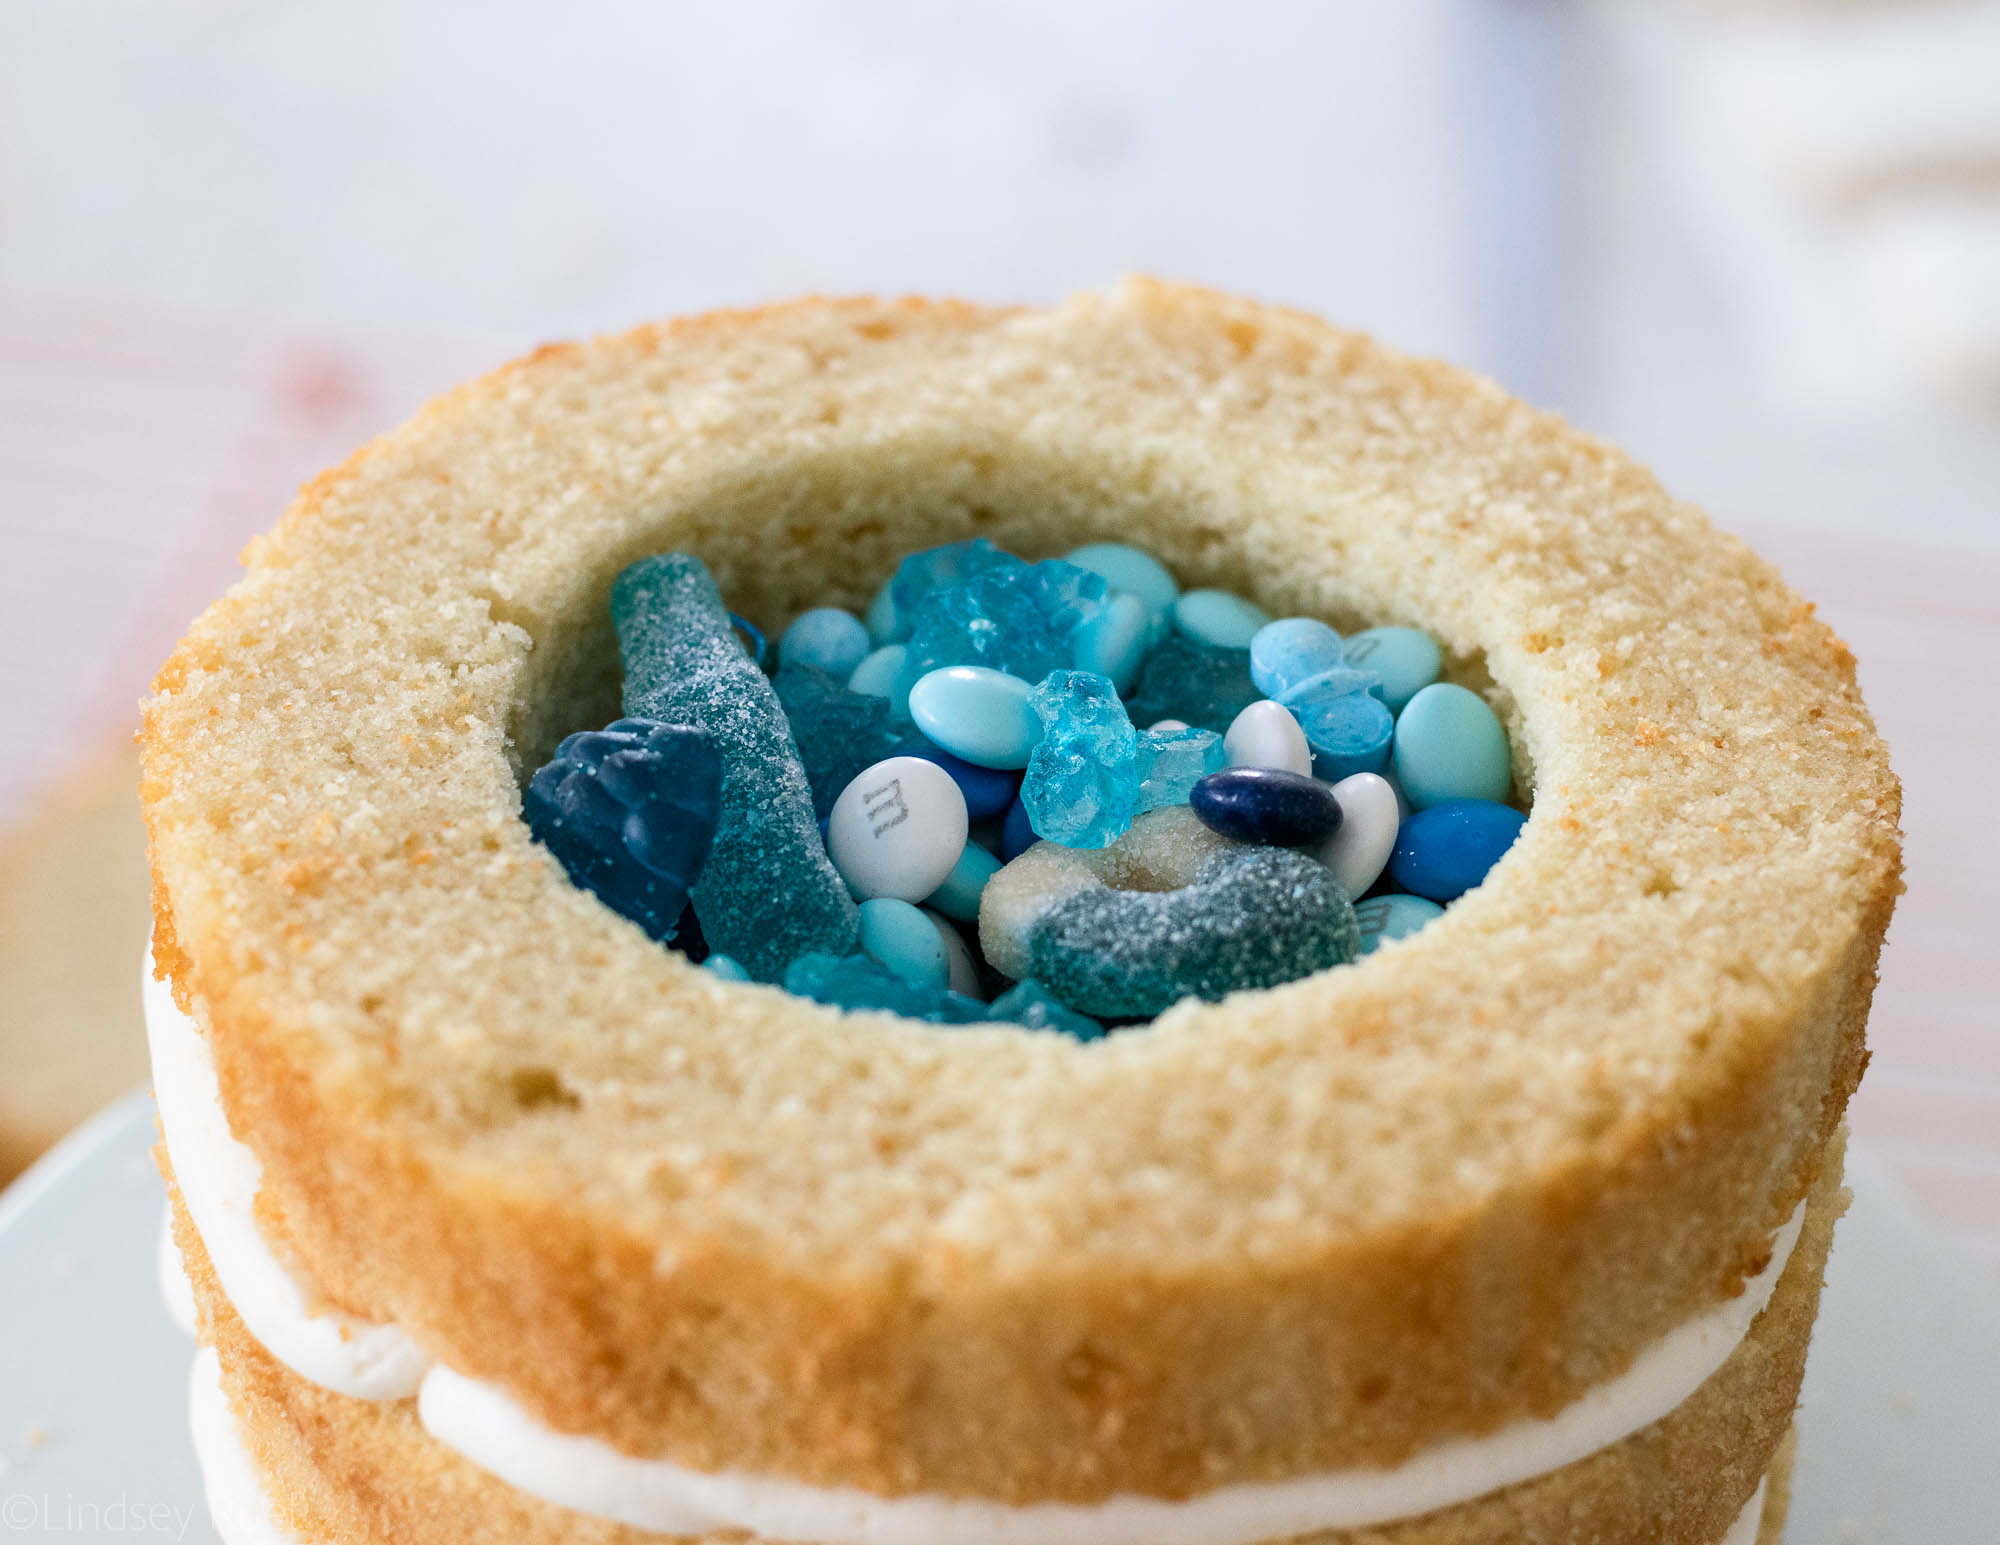
Fill the center hole with blue or pink candies.
Tip: Hit up your local candy store that sells candy by color. Many sell M&Ms, Jelly Beans, and other goodies separated by color. That way you don’t have to go digging through a bag of M&Ms for just the blue or pink ones.

Top with the final layer of cake and press down to make sure all layers are secure and level.
Cover the entire cake with a very thin layer of frosting to trap in all the crumbs then place back in the fridge to set for about 20 minutes.
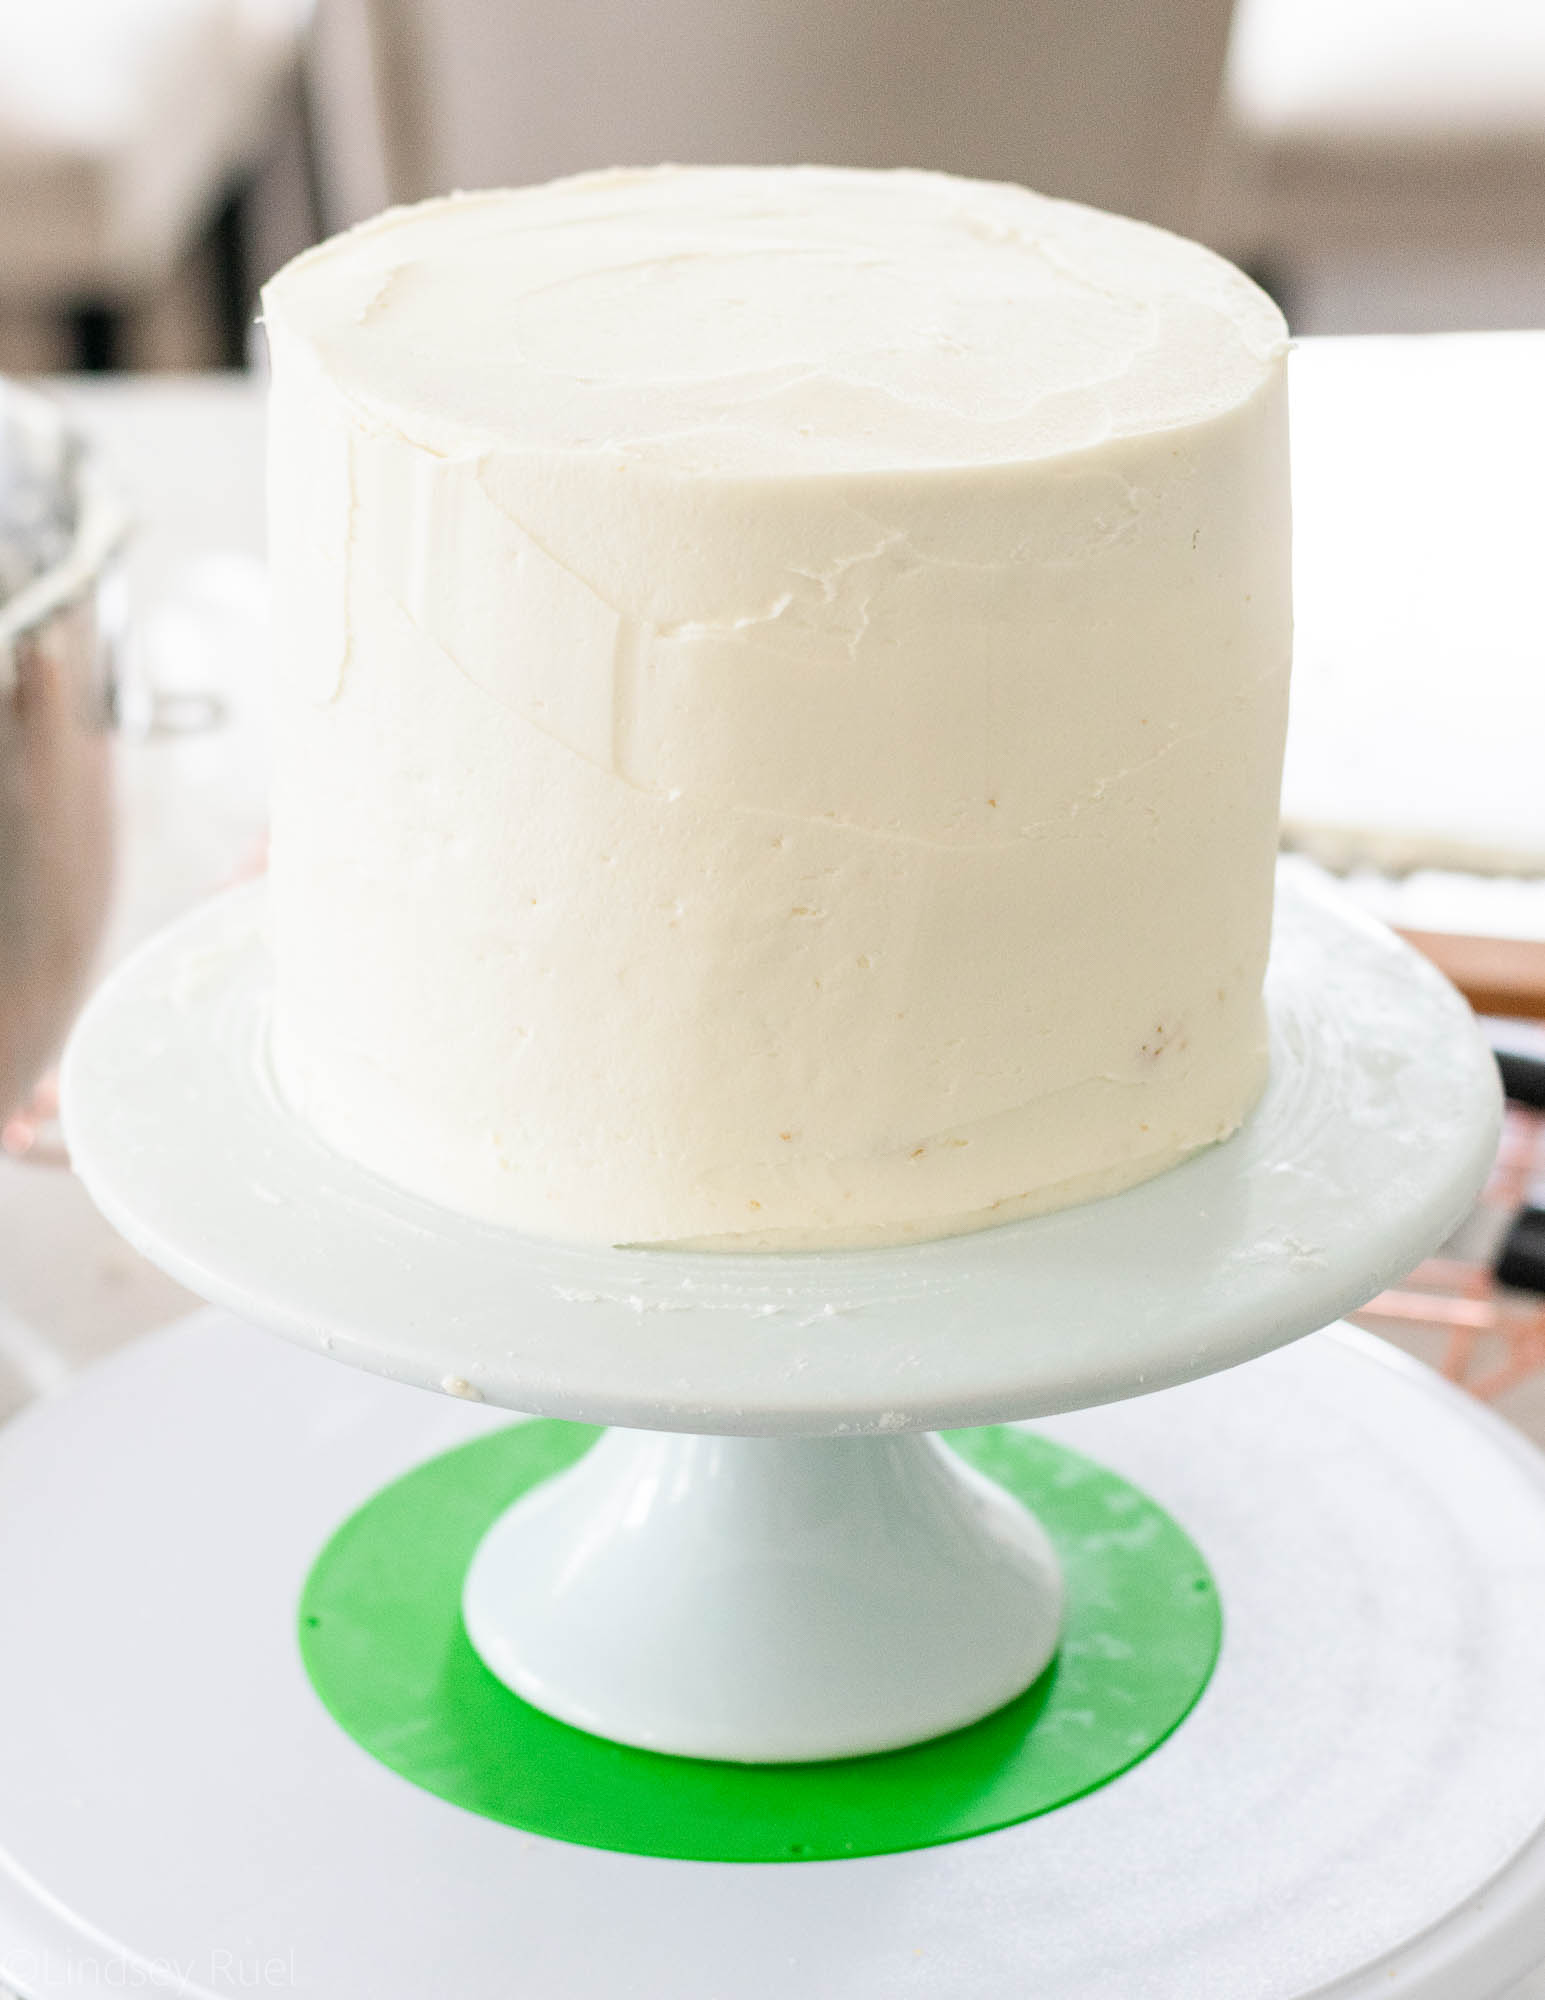
Once the cake is out of the fridge, cover the entire thing with a generous amount of frosting. The frosting doesn’t have to be perfect but make sure the entire cake is covered and it’s generally pretty square and level.
Using a large spatula will make your life a lot easier in this endeavor!


To get the pink and blue streaks, just tint a small amount of frosting pink and blue. Then add dots of frosting haphazardly around the cake. Use a spatula or bench scraper to then drag the icing around the cake in one big motion.
If you want to add more color, add more dots of icing and repeat the process.
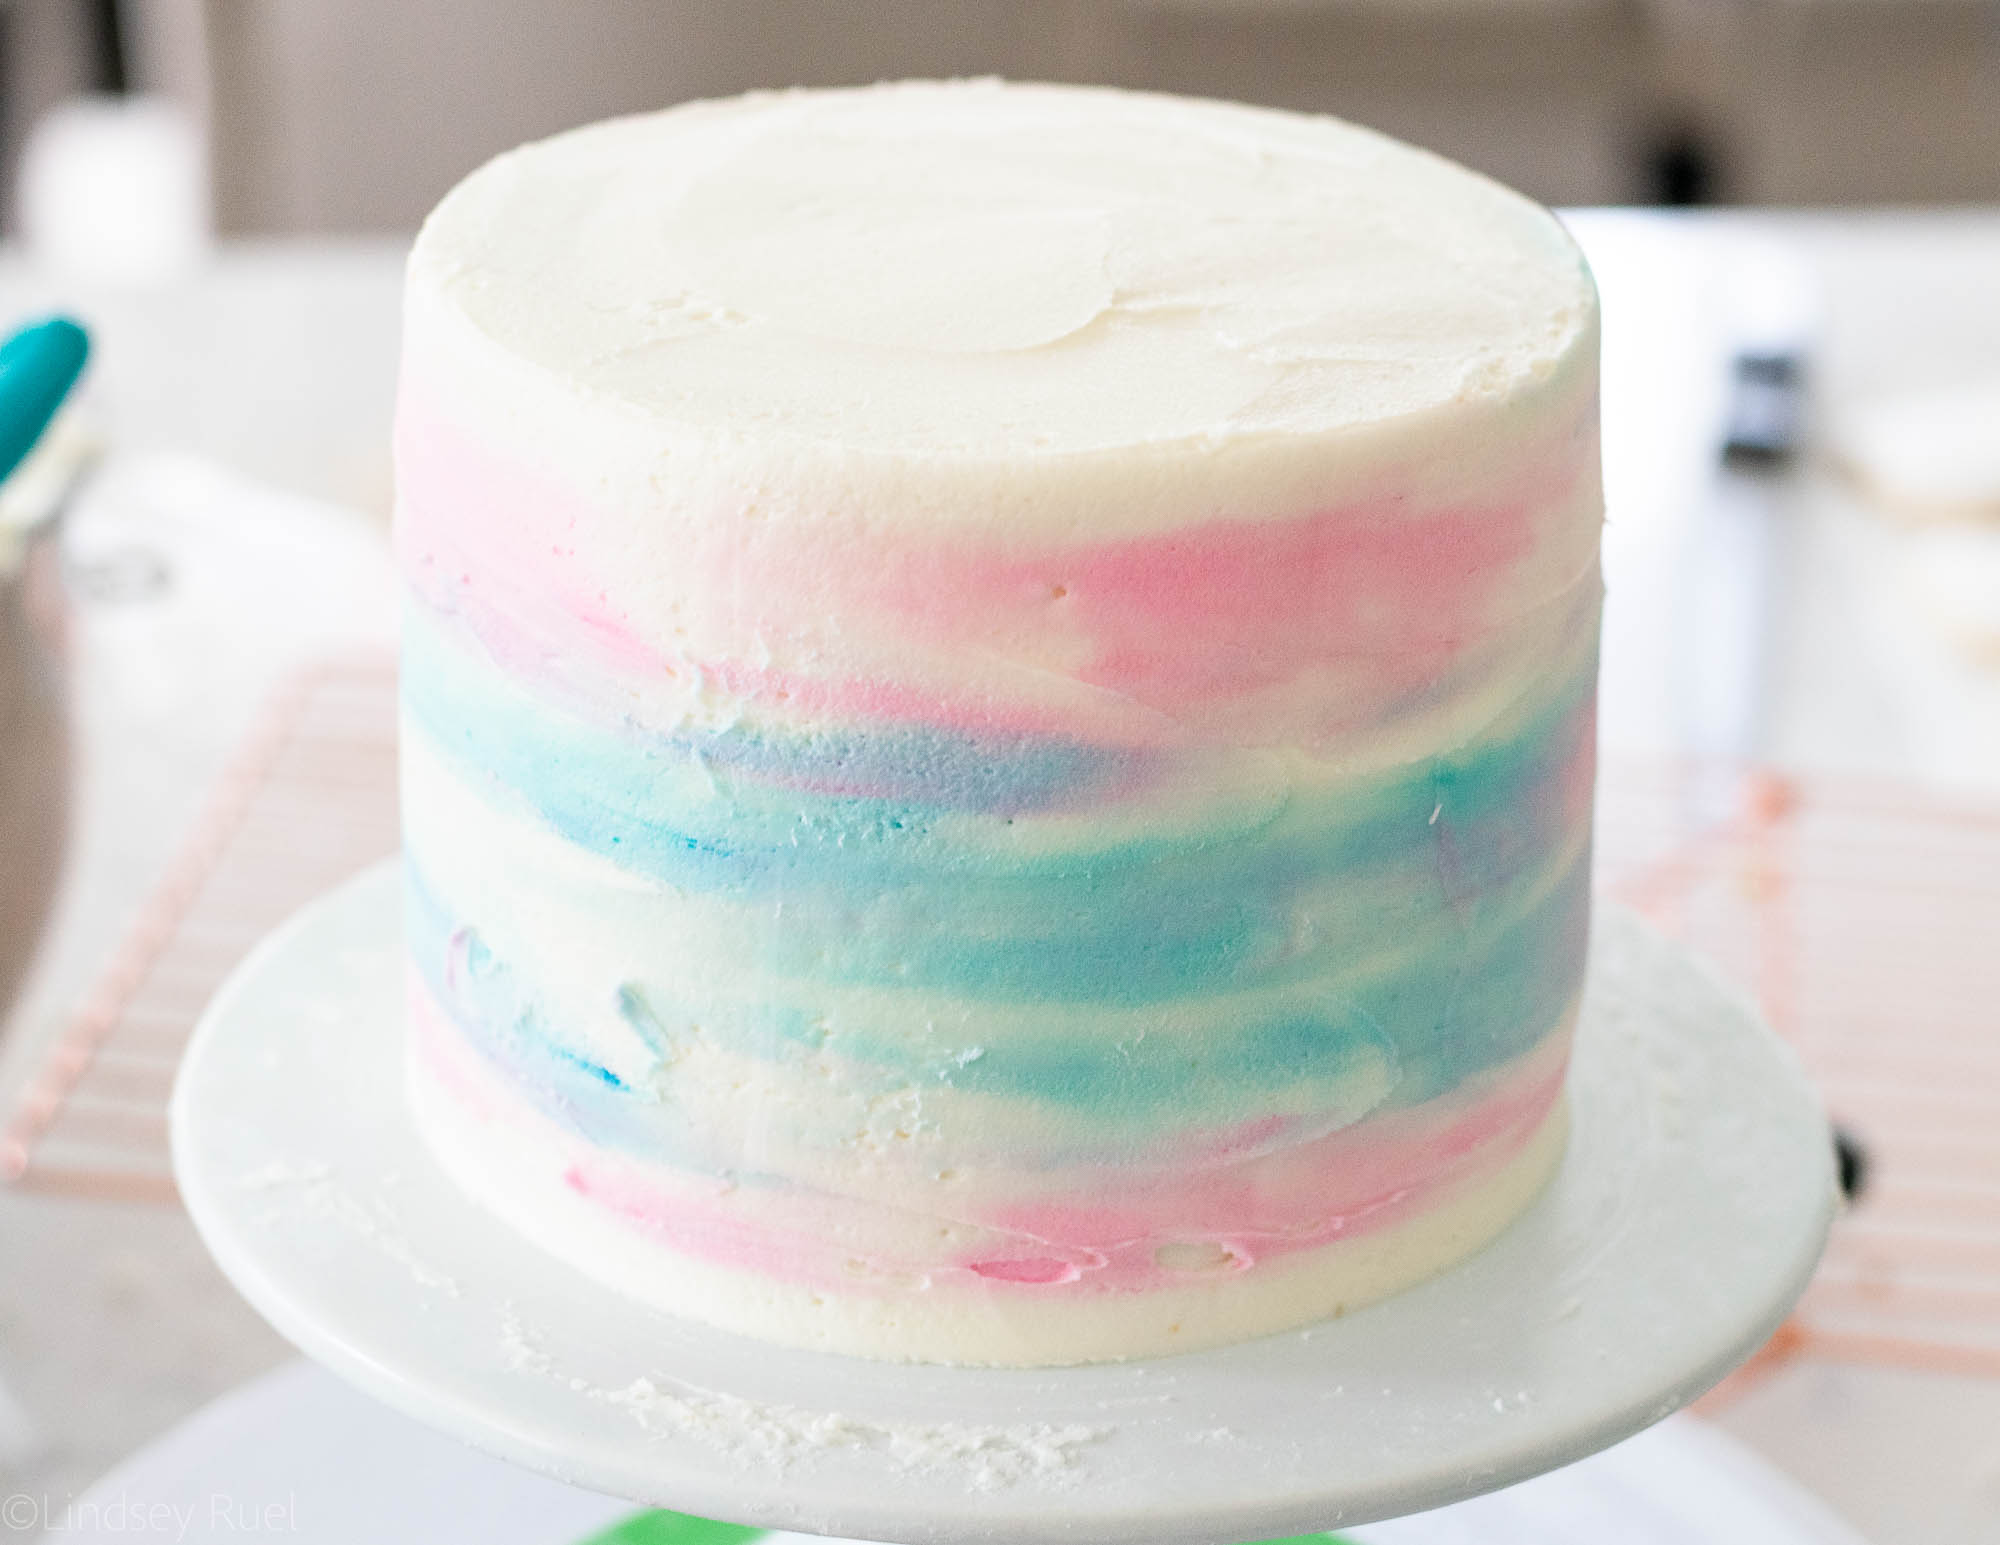
There is very little technique involved with this! Just keep spreading the frosting until you are happy with the results.


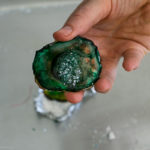
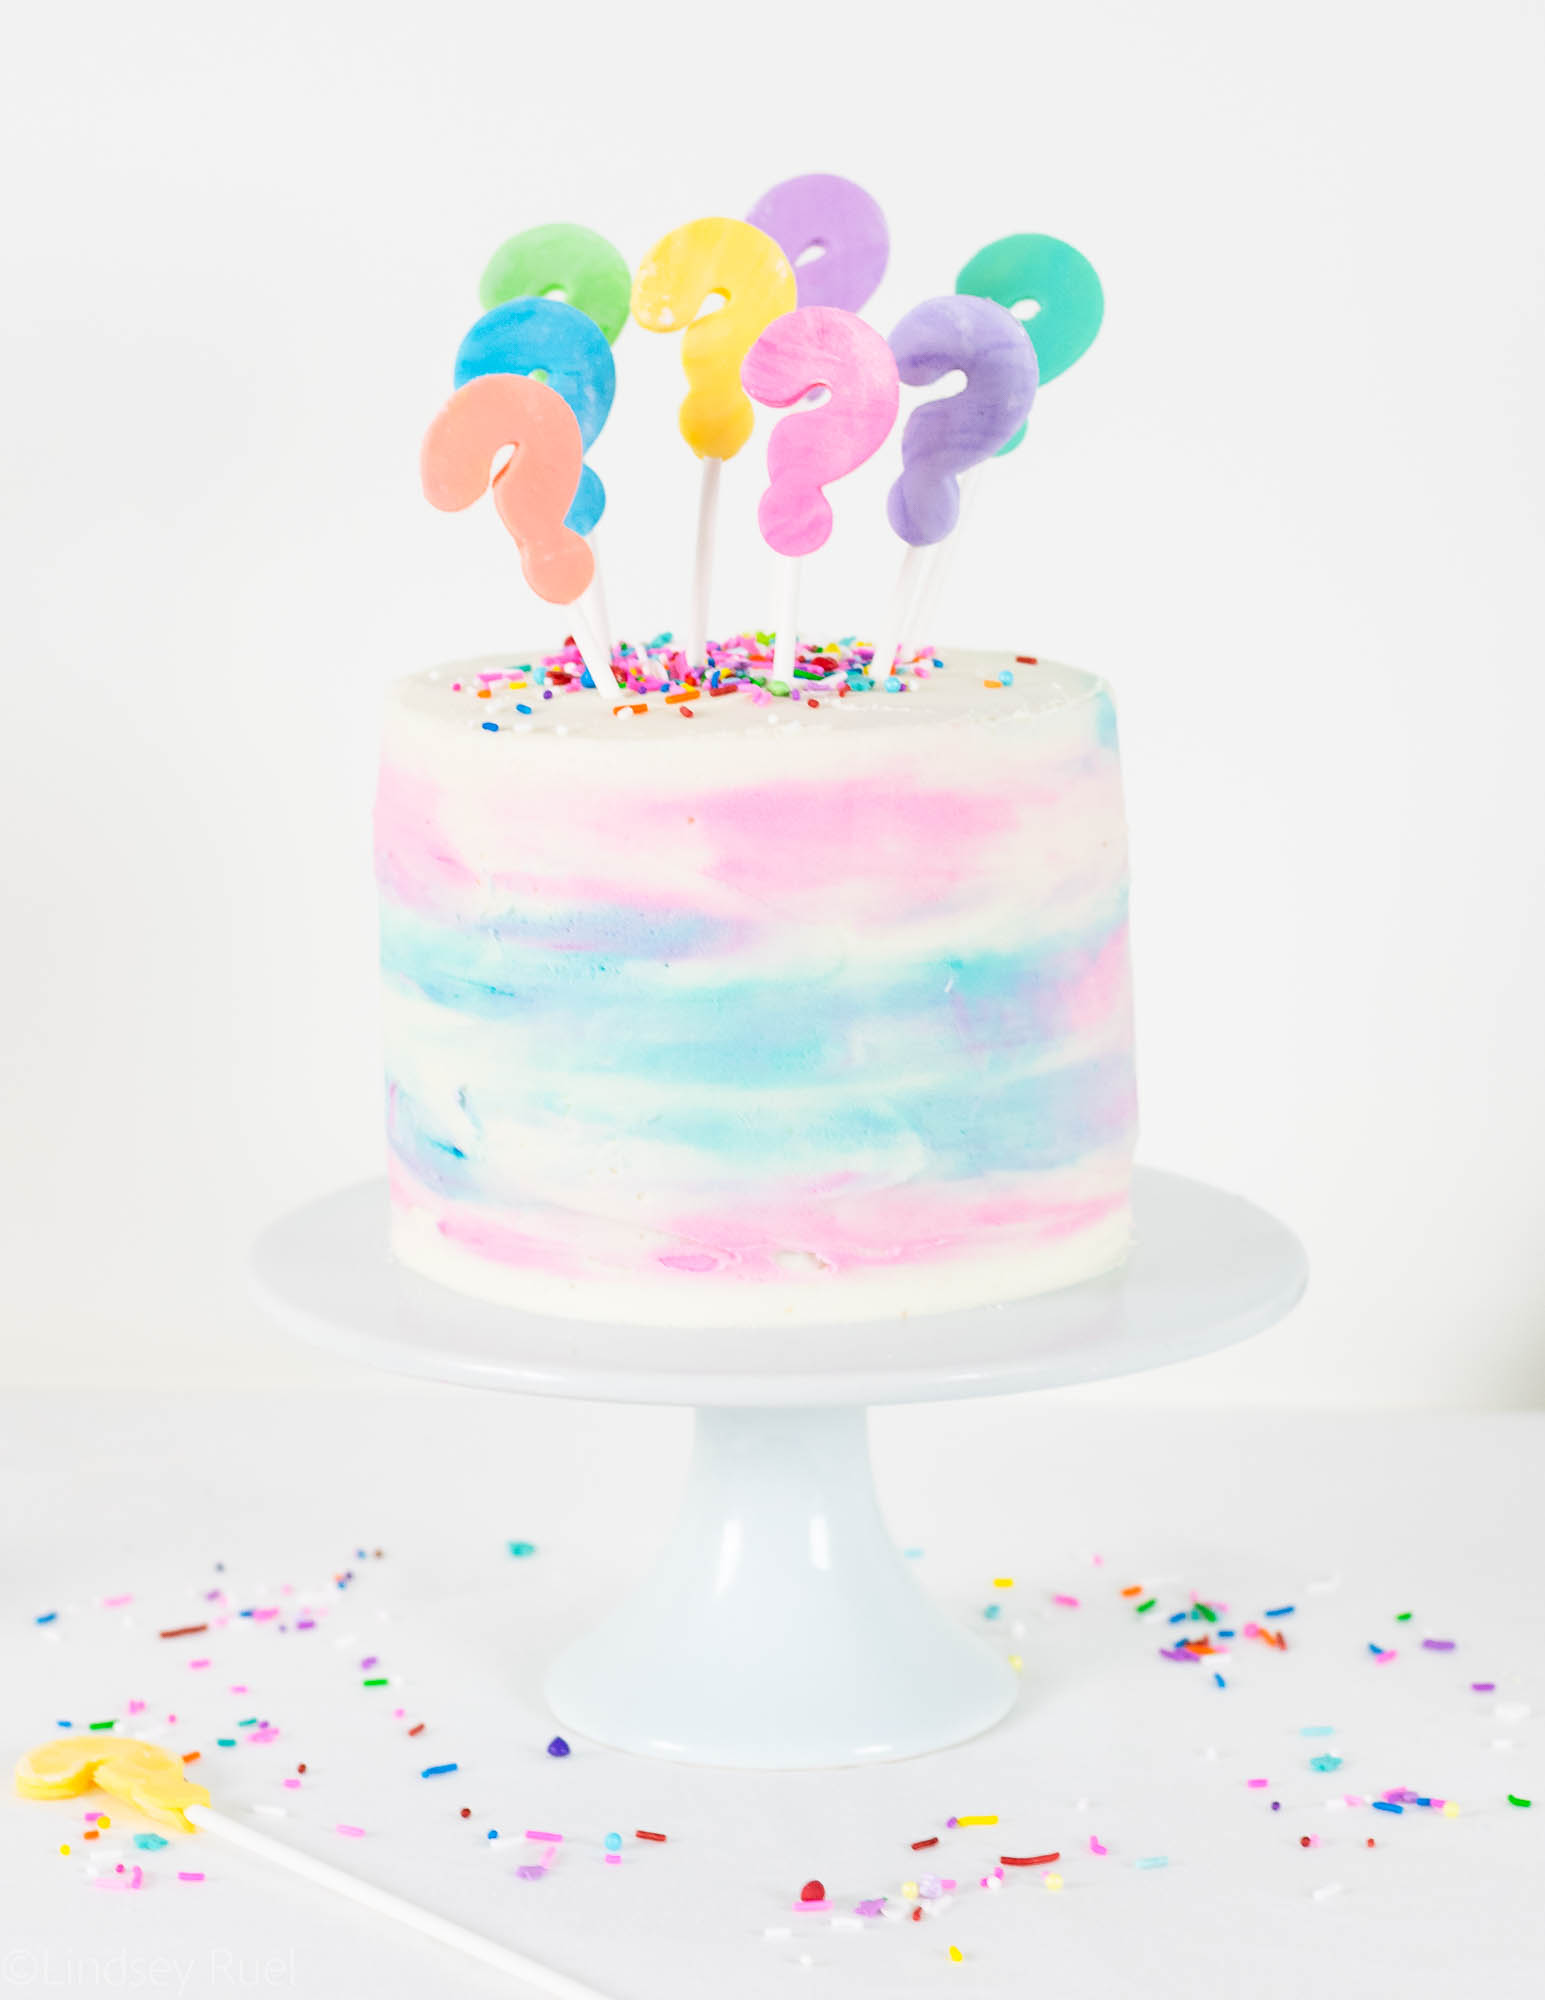
If you want to add a little something extra to the top of the cake, might I suggest these little fondant question marks!
I colored several small balls of white fondant with gel food coloring. Rolled them out and cut them with a question mark cookie cutter, then attached them to a lollipop stick.
Place one cut out question mark backwards on your work surface, spread a bit of water on the back, place the stick in the center, then add the other question mark on top. Be sure to press down the edges and wrap the top question mark around the stick.
Let these sit out flat for at least an hour so they can dry and harden.
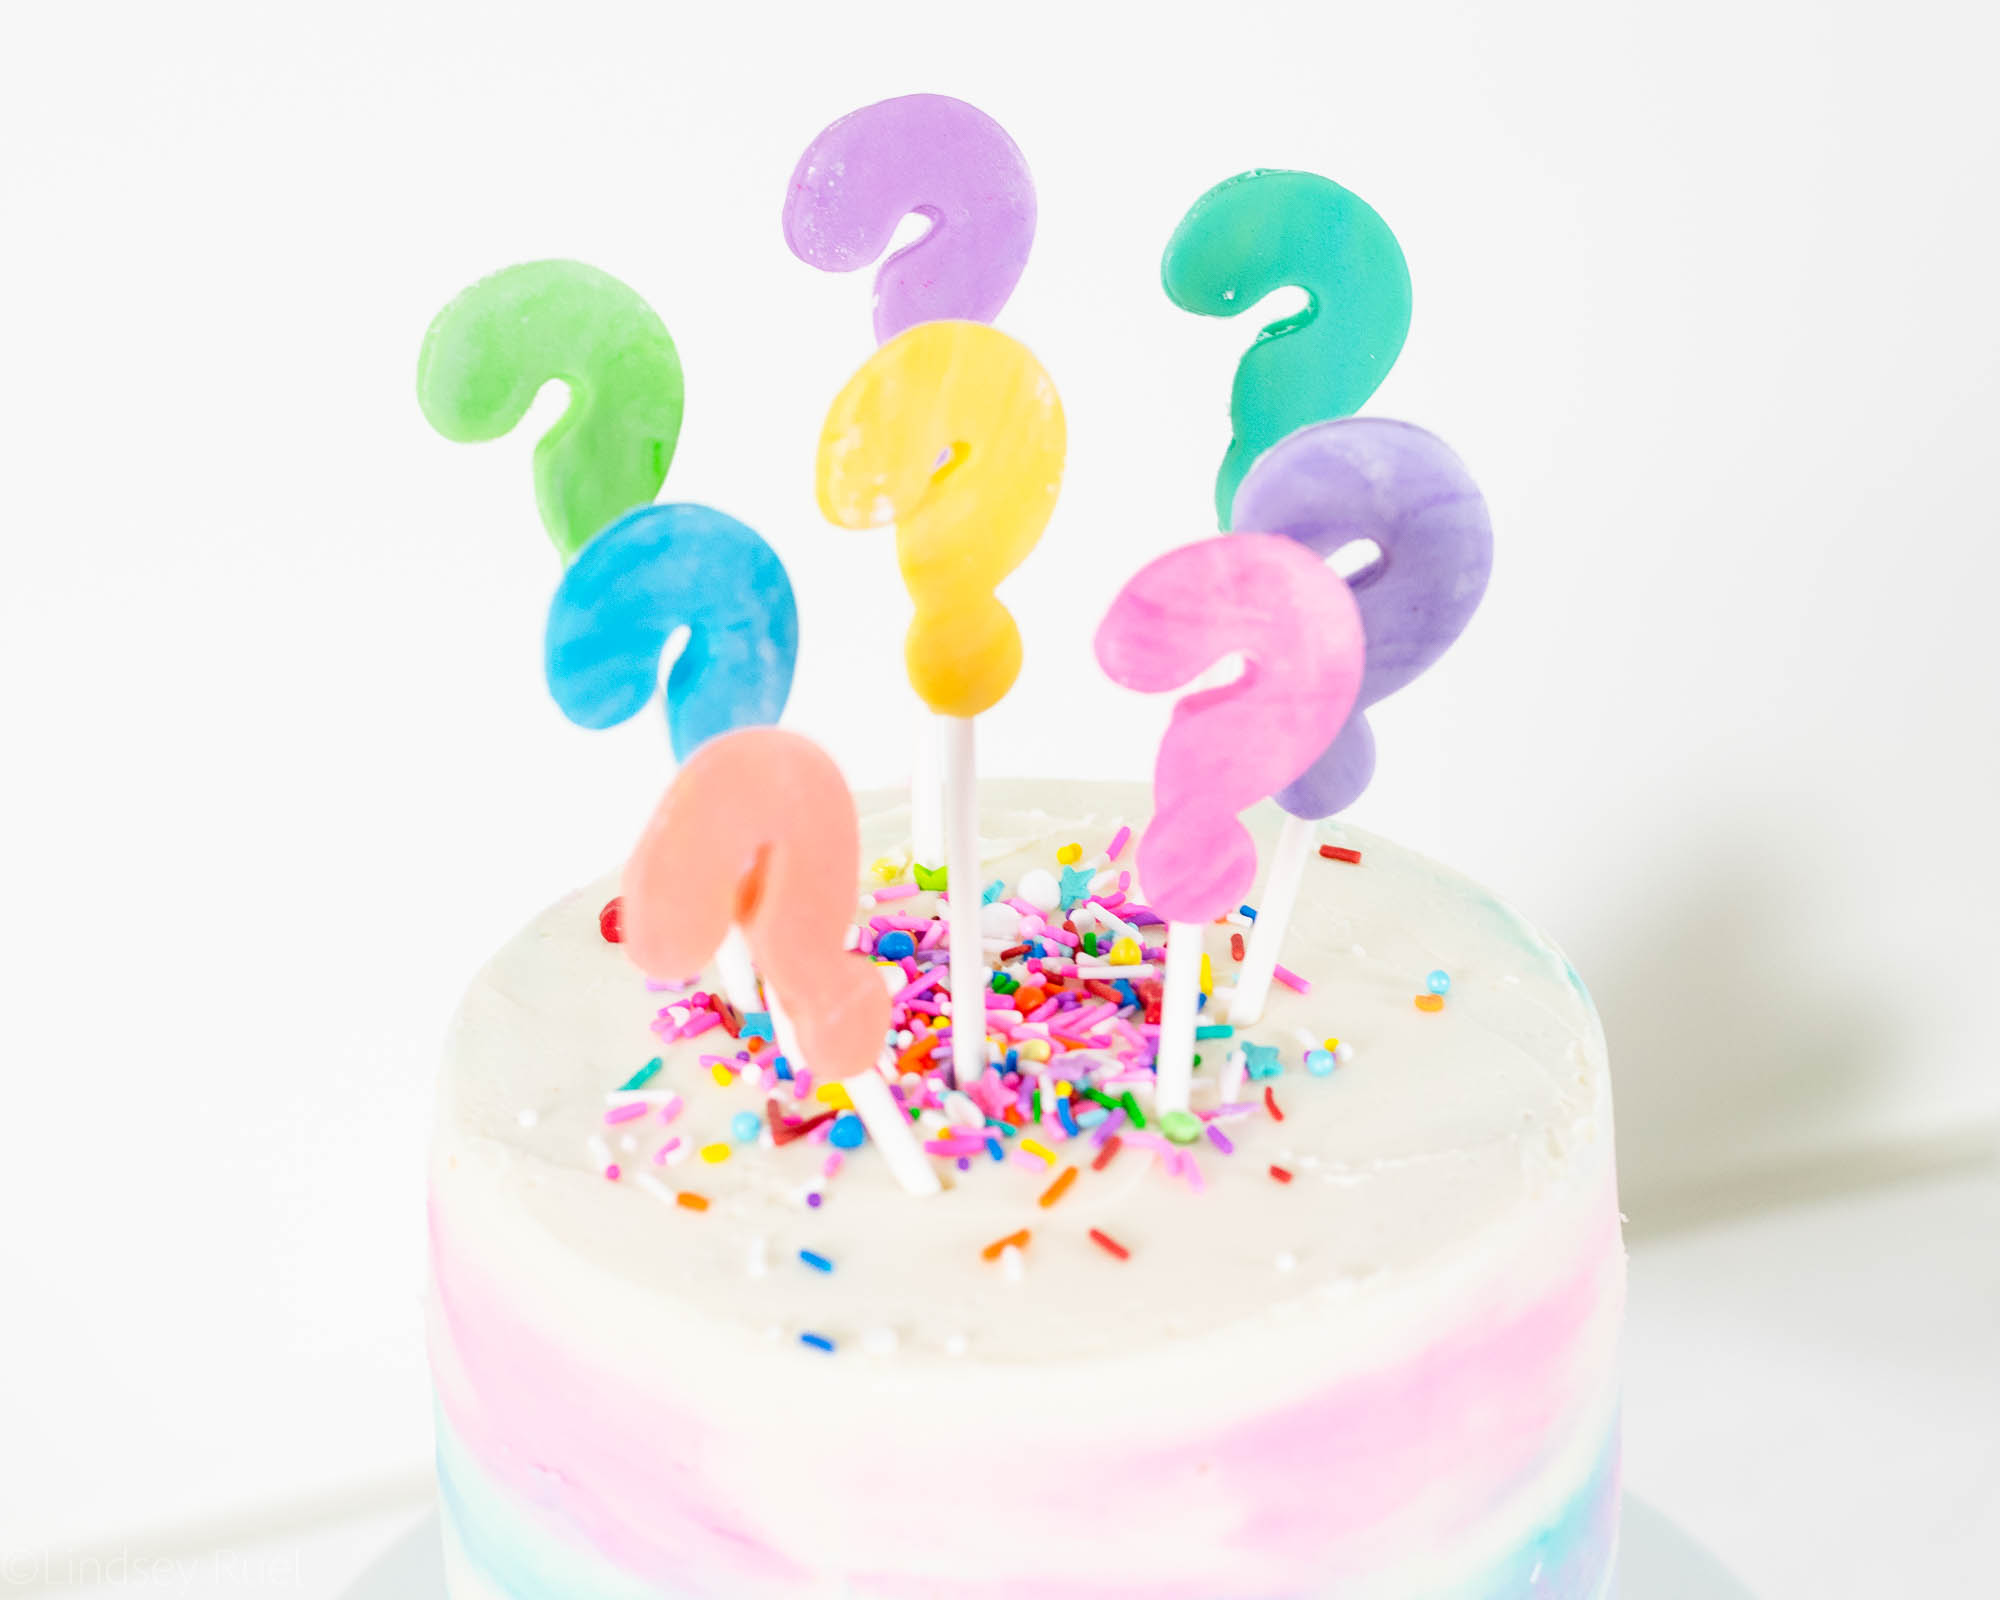
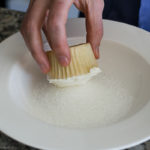
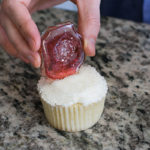
All that’s left to do is to add some sprinkles on top and stick the question marks in!
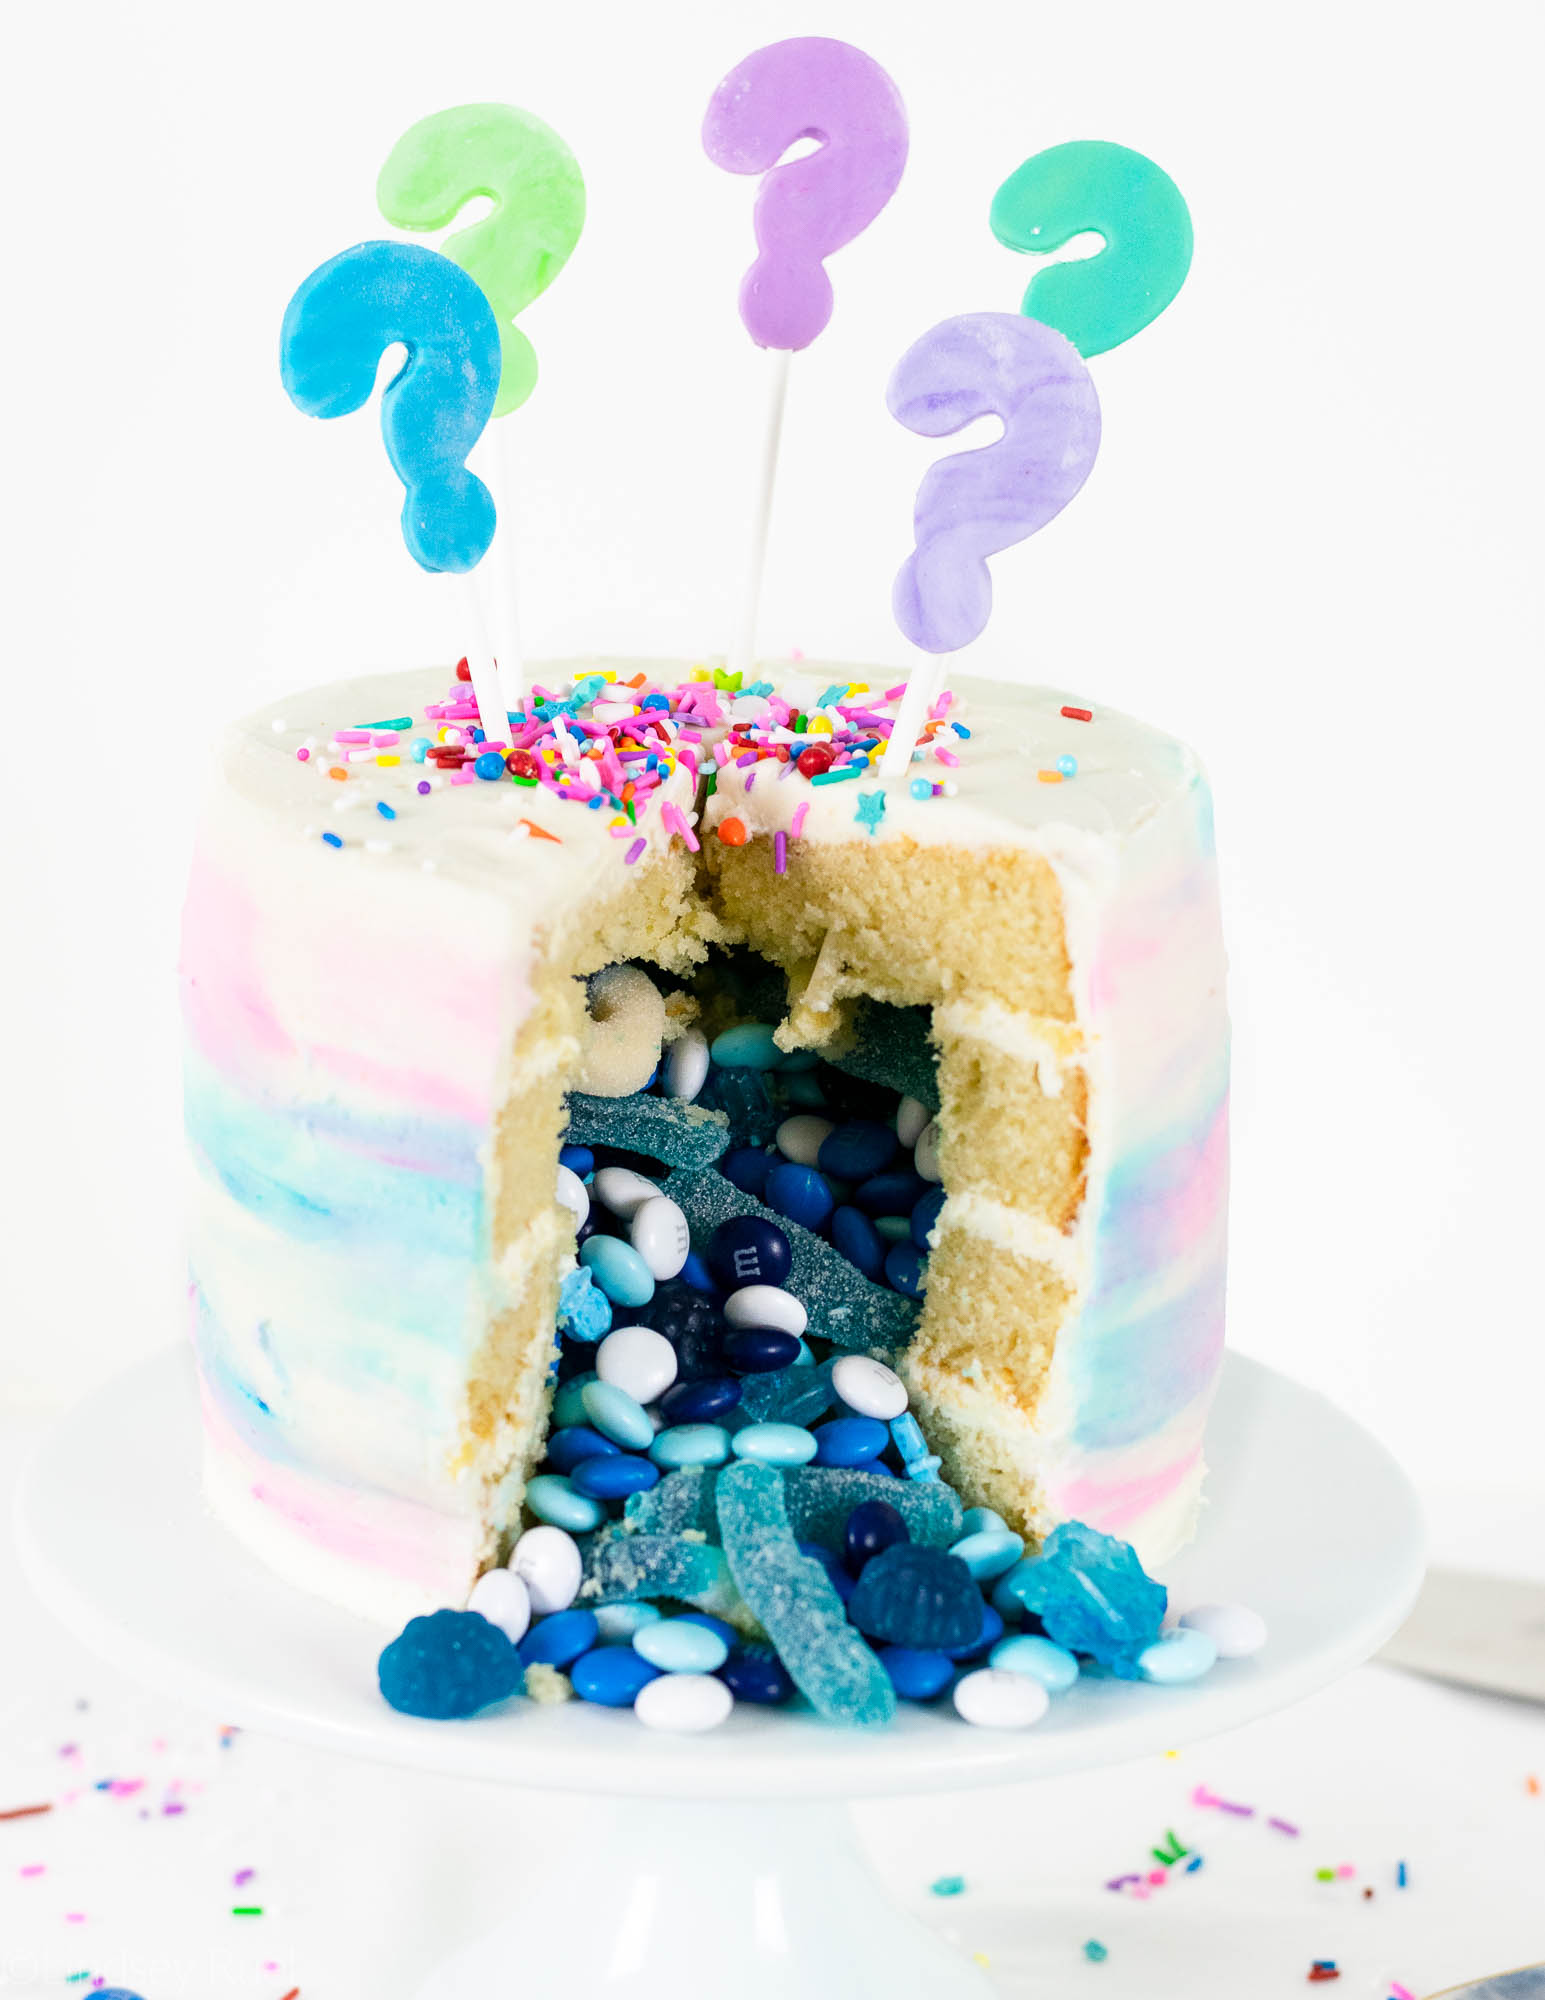
Oh…and cut into it!
That’s the best part.
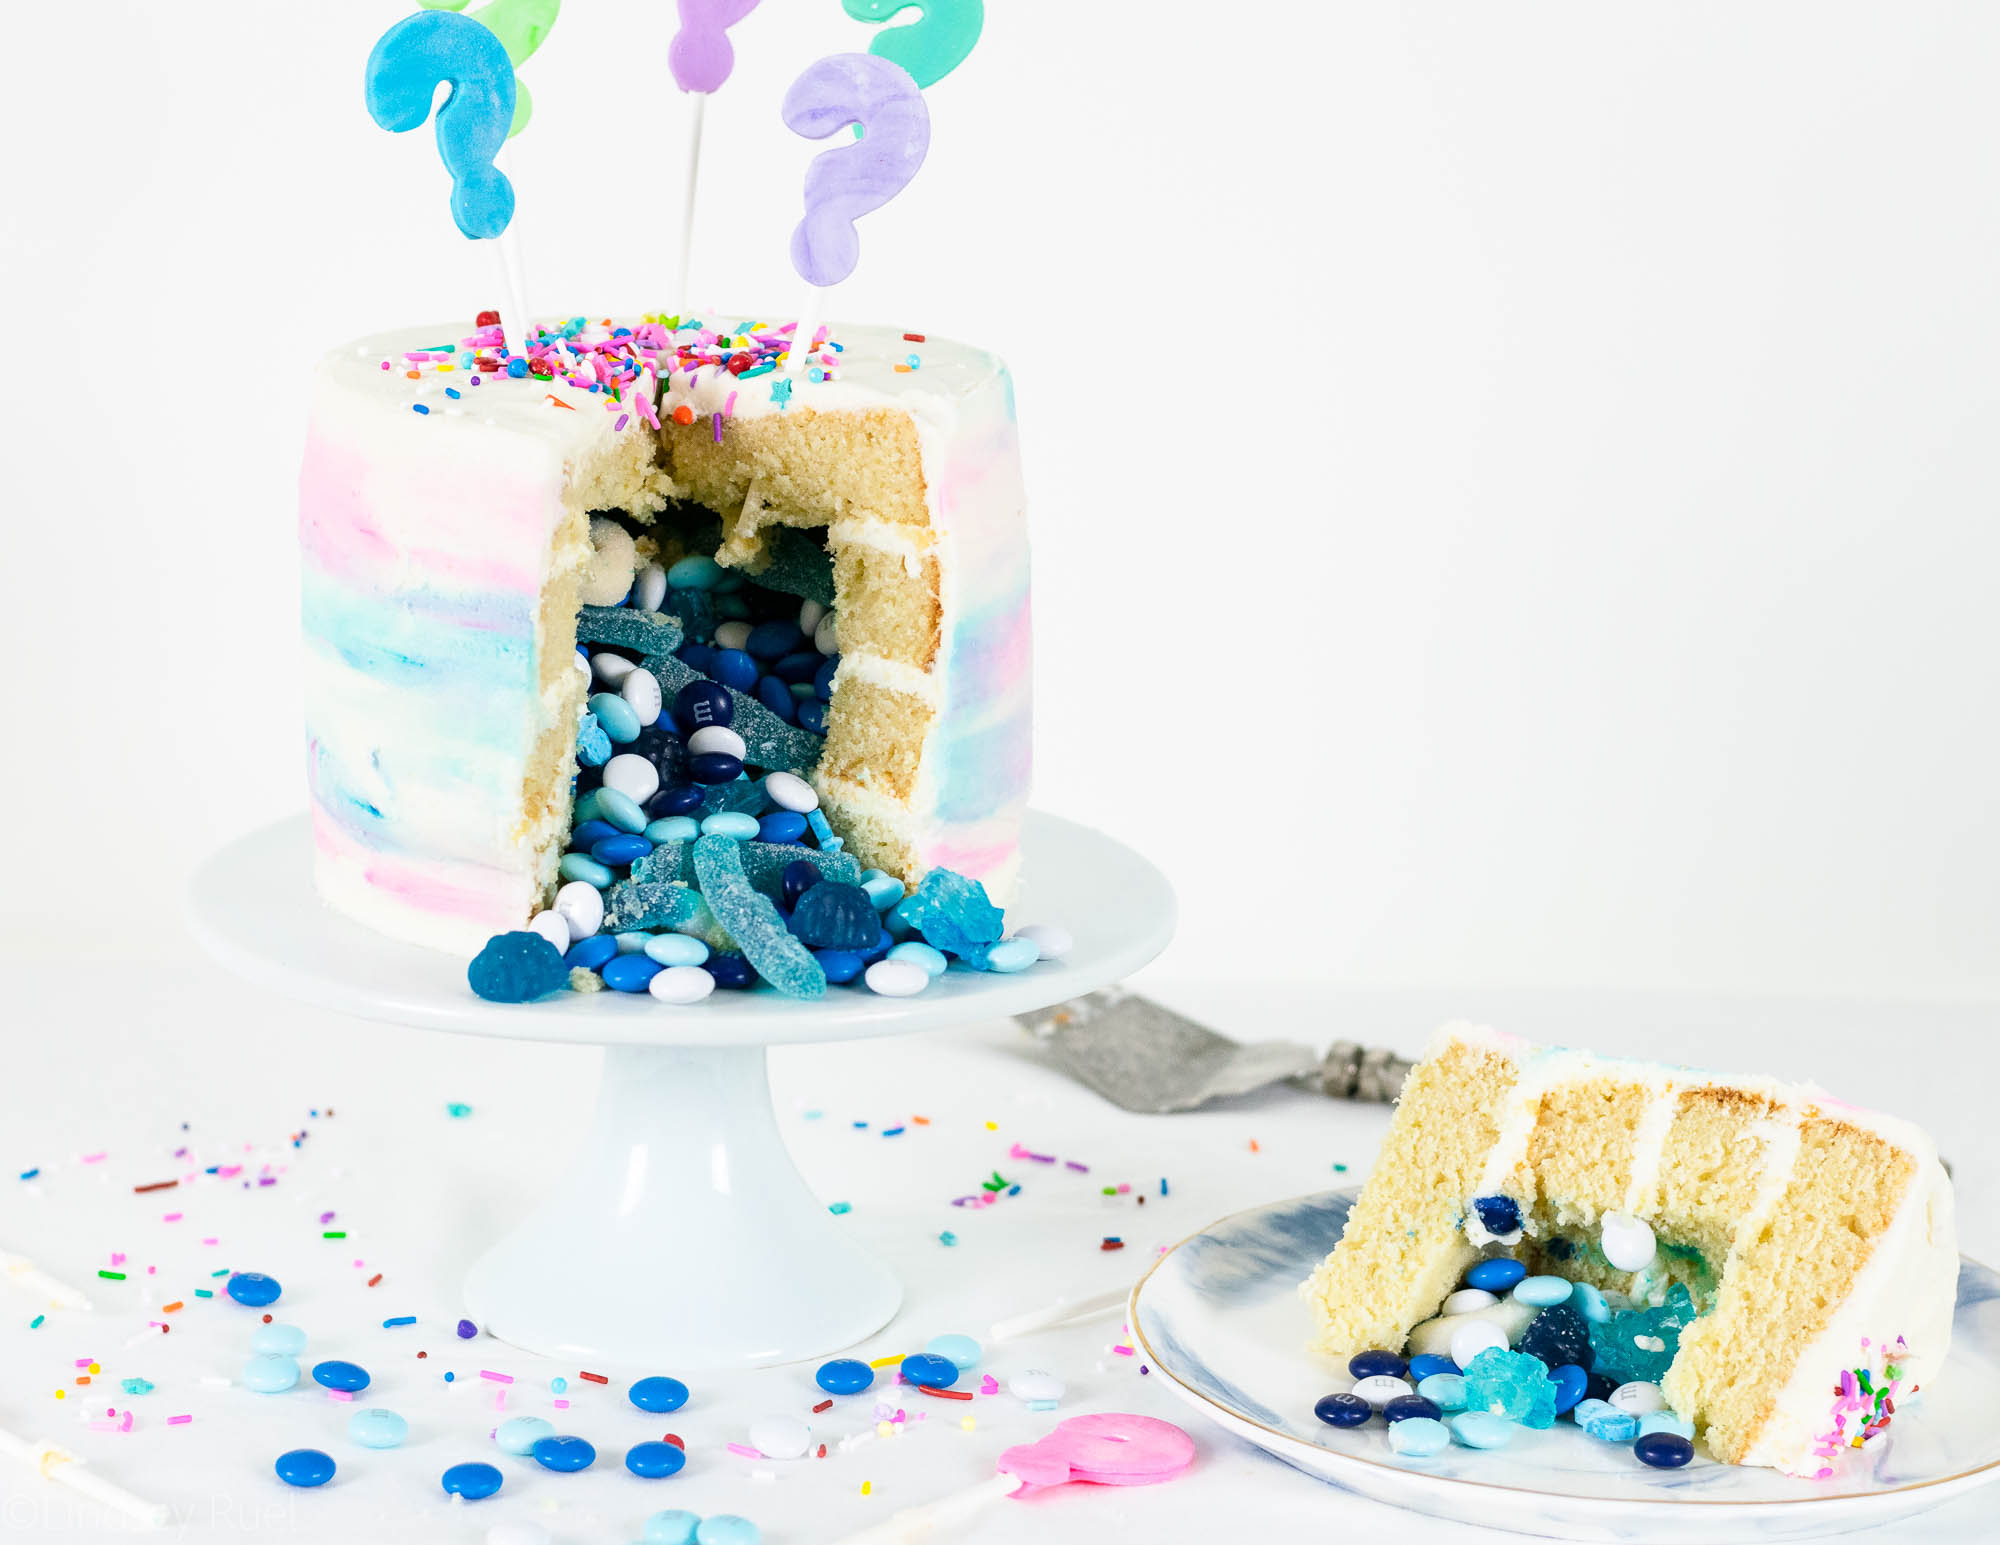
Which just slightly edges out eating it!
Vanilla Cake Recipe
[amd-yrecipe-recipe:167]